3 PROGRAMMING
3.3 Communication Example of Safety Communication Function
181
3
21. Write the set parameters to the Safety CPU on the master station.
[Online] [Write to PLC]
22. Visually check if the safety communication setting is correctly written after writing parameters. For how to check the
parameters, refer to the following.
GX Works3 Operating Manual
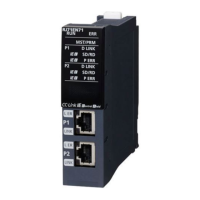
23. Open the "Command Execution of Slave Station" window in the "CC IE Field Configuration" window.
[Navigation window] [Parameter] [Module Information] [RJ71GF11-T2] [Basic Settings] [Network
Configuration Settings] Select the NZ2GFSS2-32D in the list of stations. [CC IE Field Configuration] [Online]
[Command Execution of Slave Station]
24. Select "Start of checking the module position" in "Method selection" and click the [Execute] button.
25. The SAFETY LED of the NZ2GFSS2-32D flashes. Check if the NZ2GFSS2-32D on which the SAFETY LED flashes has
been installed on the desired position.
26. After checking the position of the module, select "Stop of checking the module position" in "Method selection" in the
"Command Execution of Slave Station" window and click the [Execute] button.
27. The flashing of the SAFETY LED of the NZ2GFSS2-32D stops.
28. Select "Safety module validation" in "Method selection" and click the [Execute] button.
• In this example, default values were used for parameters that are not shown above. For the parameter
setting, refer to the chapter explaining the parameters in this manual. ( Page 124 PARAMETER
SETTINGS)
• Depending on the time after logon to the Safety CPU, user authentication may be required again.
 Loading...