NOTE
l
Although
“PHONE” appear on the display,
the PHONE function is inoperative.
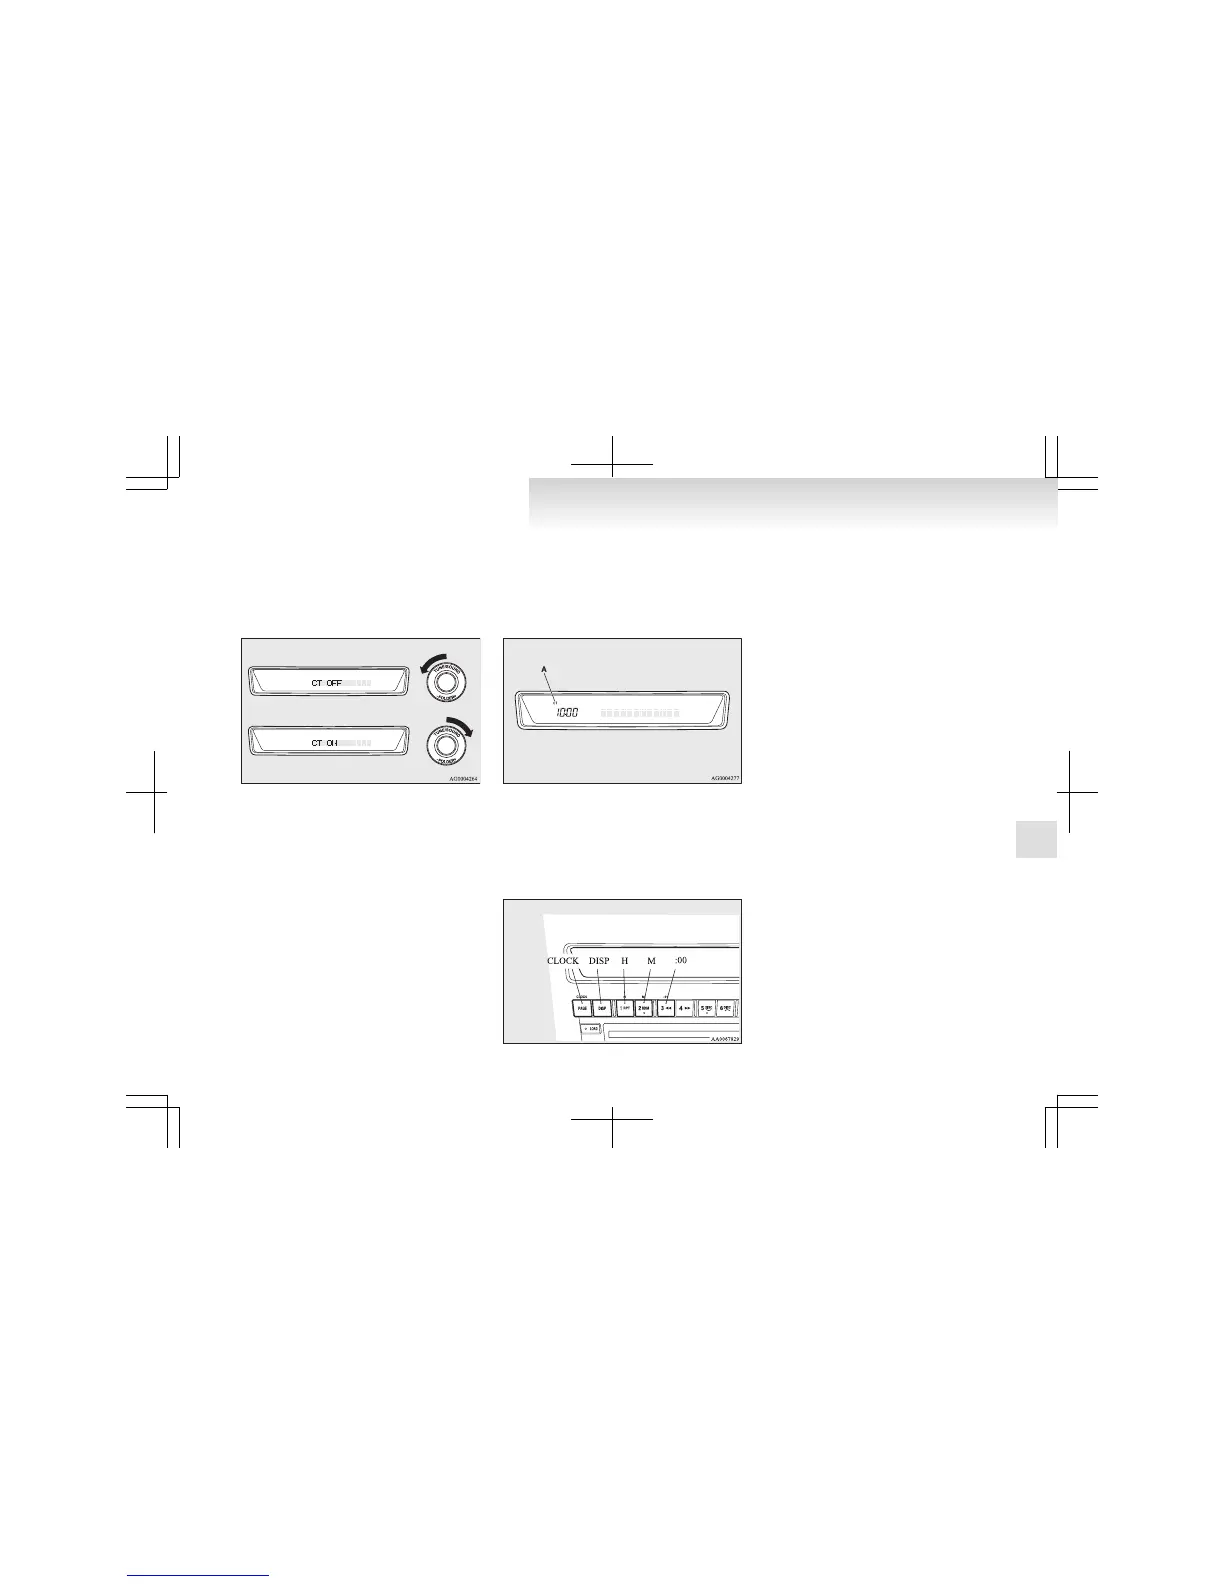
4. Turn the TUNE switch (B) left and right and
select either ON or OFF.
CT ON- Automatic mode
CT OFF- Manual mode
NOTE
l
After
selecting a mode, you can leave the func-
tion setup mode by taking either of the fol-
lowing steps:
• Press the TUNE switch (B) for at least 2
seconds.
• Make no entry for 10 seconds.
Automatic mode
The
automatic mode can set the local time automat-
ically by using the signal from the local RDS sta-
tions. In this mode, CT (A) is shown in the display.
Refer to “Radio data system (RDS)” on pages 5-14,
5-28.
Manual mode
The manual mode is also available in case the “Au-
tomatic mode” shows the incorrect time when the
adjacent local RDS stations are located in a differ-
ent time zone. Refer to “Radio data system (RDS)”
on pages 5-14, 5-28.
Set the time by pressing the various buttons as de-
scribed below.
1. Keep the CLOCK button pressed until the
time display flashes.
2. Press the appropriate buttons to adjust the
time.
“H” button - To adjust the hour
“M” button - To adjust the minutes
“:00” button - To reset the minutes to zero
10:00 - 10:29...... Changes to 10:00
10:30 - 10:59...... Changes to 11:00
3. Once
the time is set, press the “DISP” but-
ton, and the time display will stop flashing.
When a time adjustment has been made, the
flashing stops automatically.
NOTE
l
If the battery cables are disconnected during
repairs or for any other reason, reset the
clock to the correct time after they are recon-
nected.
l
The digital clock does not have a second dis-
play. When the “minute” display is adjusted
and reset to zero, the clock begins at zero sec-
onds for the selected minute.
For pleasant driving
5-63
5