15
Need help or have any questions? Call us at 1-714-963-0329 or send us an Email at service@globalhobby.net
❑ Kwik Bond Thin C/A
❑ Kwik Bond 5 Minute Epoxy
❑ Kwik Bond C/A Debonder
❑ Excel Modeling Knife
❑ Ernst Airplane Stand
❑ Waxed Paper
YOU'LL NEED THE FOLLOWING PARTS FROM THE KIT:
❑ (17) C/A Style Hinges
SECTION 10: CONTROL SURFACE HINGING
YOU'LL NEED THE FOLLOWING TOOLS AND SUPPLIES:
❑ 220 Grit Sandpaper w/Sanding Block
❑ Paper Towels
❑ Rubbing Alcohol
❑ NHP Epoxy Mixing Sticks
❑ NHP Epoxy Mixing Cups
Step 1: Hinging the Ailerons
For flutter-free control surfaces it is imperative that the hinges be glued in properly. This includes both having a tight
hinge gap and using plenty of thin C/A glue.
☞
Each aileron is hinged using four hinges.
❑ Center each hinge within its precut slot in both ailerons.
If you can't push the hinge in halfway, carefully cut the slot
deeper using a modeling knife.
❑ Carefully glue each hinge into place using 5-6 drops of
thin C/A on each side of the hinge. Do not use thick C/A or
epoxy. Use only thin C/A for proper adhesion.
☞
If any C/A gets onto the aileron, it can be removed
promptly using a paper towel soaked with a small quantity of
C/A Debonder.
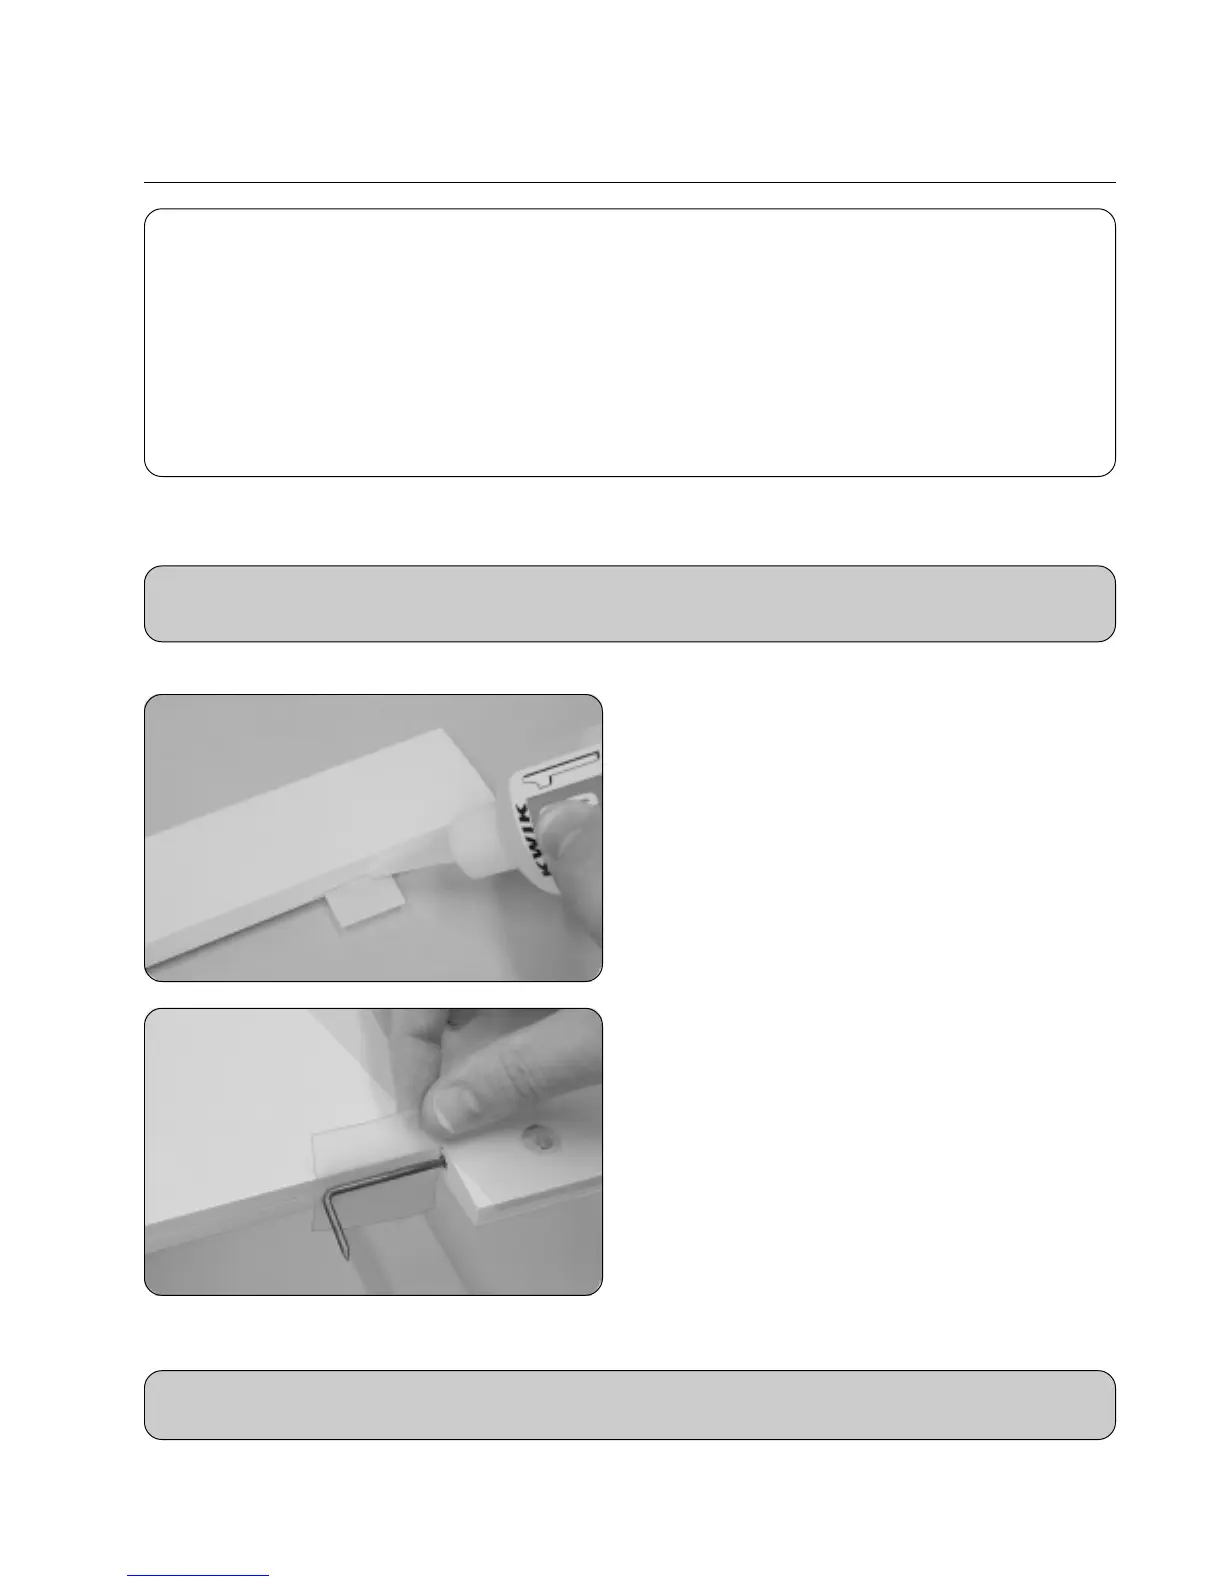
❑ Cut out a 1-1/2" square piece of waxed paper.
❑ Slide the waxed paper between the torque rod and the
trailing edge of the wing on one wing half.
☞
The waxed paper will prevent epoxy from gluing the torque
rod to the trailing edge.
❑ Mix a small quantity of 5 minute epoxy and apply a thin layer to the end of the aileron torque rod, and pack more into
the predrilled hole and the precut groove in the leading edge of the aileron.
IMPORTANT Before applying the epoxy, make sure to cut away and remove any covering material from over
the precut hole and groove in the aileron.