10
Visit our website at http://modeltech.globalhobby.com or for Customer Service at http://globalservices.globalhobby.com
❑ Kwik Bond Thin C/A
❑ # 2 Phillips Head Screwdriver
❑ Dubro 5mm Drill & Tap Set
❑ Electric Drill
❑ 5/32" & 13/64" Drill Bits
YOU'LL NEED THE FOLLOWING PARTS FROM THE KIT:
❑ (1) Fuselage
❑ (2) 5mm x 40mm Machine Screws
SECTION 8: WING MOUNTING
❑ (2) 5mm Flat Washers
❑ (2) 5mm Blind Nuts - Optional
YOU'LL NEED THE FOLLOWING TOOLS AND SUPPLIES:
❑ Ernst Airplane Stand
❑ Ruler
❑ Pencil
❑ Masking Tape
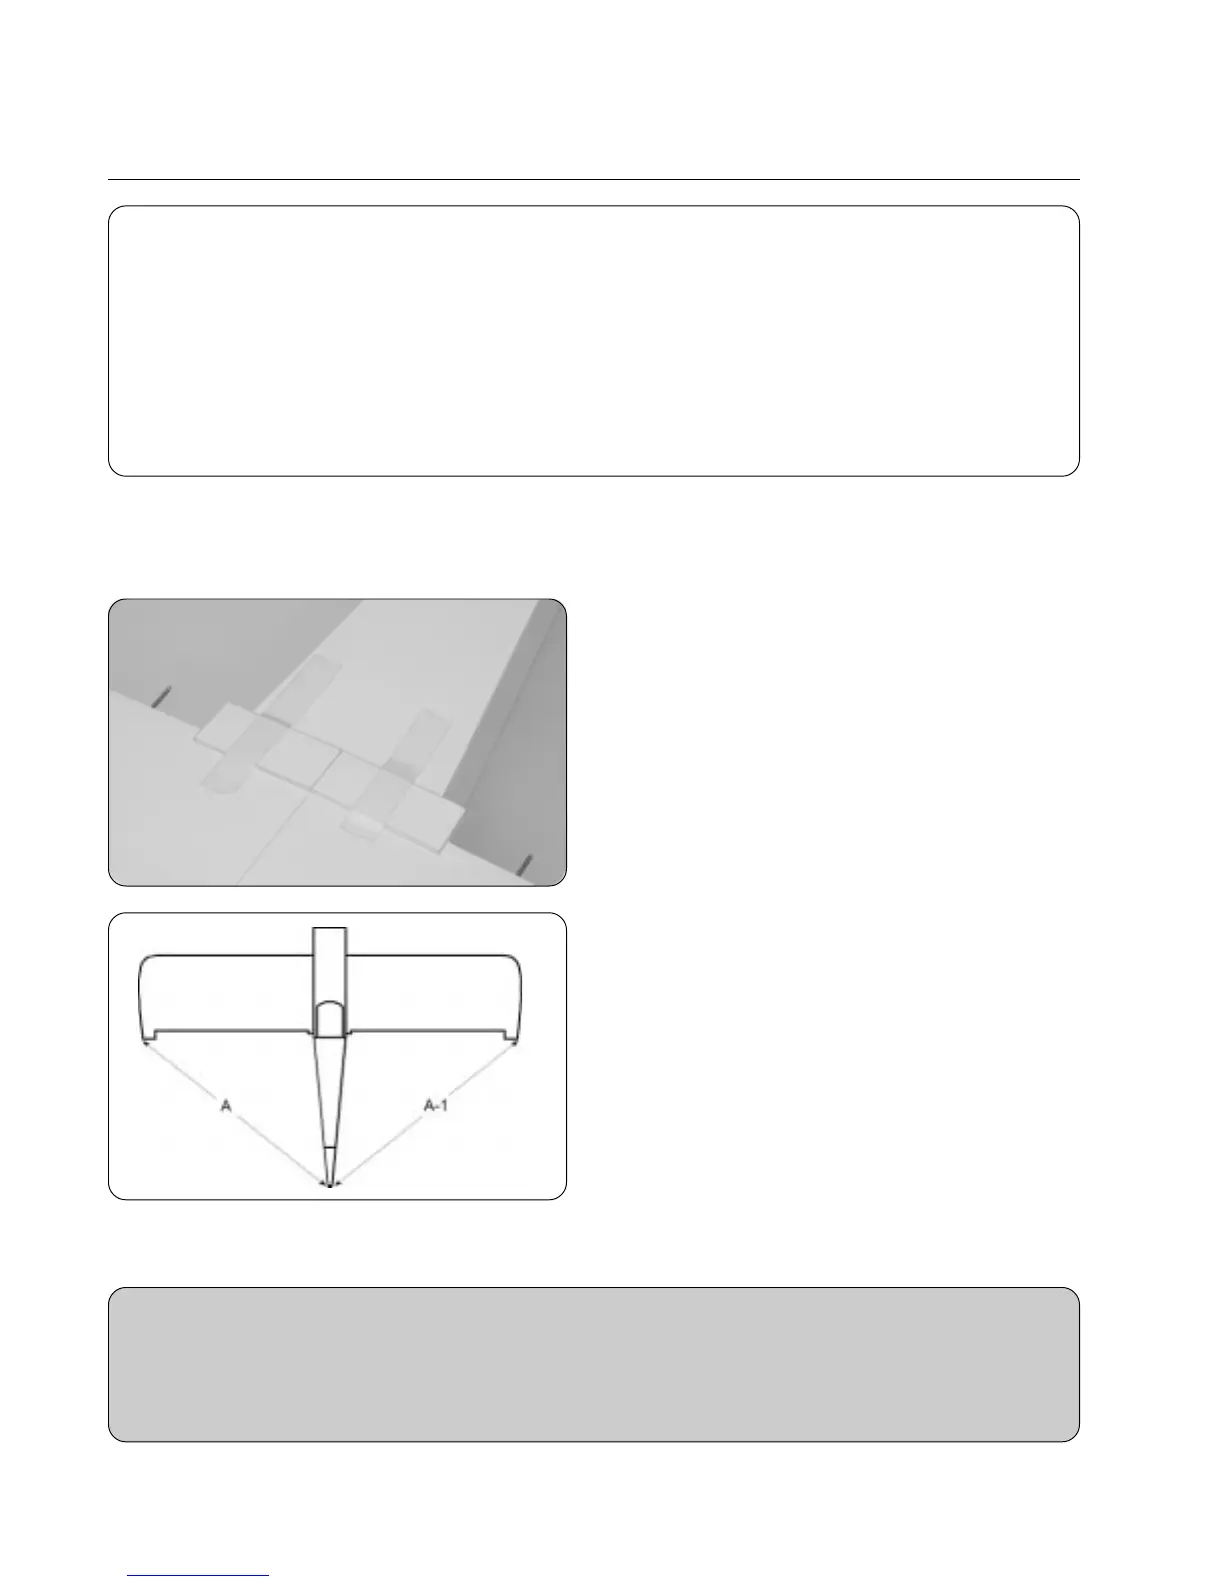
Step 1: Aligning the Wing
❑ Carefully align the centerline of the wing (the center joint)
with the centerline of the fuselage, at the back of the wing
saddle.
❑ Use a couple of pieces of masking tape to temporarily
hold the wing aligned.
❑ With the wing held in place and aligned, use a ruler to
measure from each wing tip to the back edge of each side of
the fuselage. Move the trailing edge of the wing in the wing
saddle until both measurements are equal.
❑ When satisfied with the alignment, again, hold the wing
firmly in place using pieces of masking tape.
Step 2: Tapping the Wing Hold-Down Block
IMPORTANT
Although the kit includes blind nuts to install in the wing hold-down block, we suggest tapping the block with a 5mm tap
as we show. This is much easier than installing the blind nuts and is more accurate. Of course, you can opt to install
the blind nuts if you want to. If you do opt to install the blind nuts, we strongly suggest carefully applying a bead of thick
C/A around the base of the blind nuts, after installing them, so they don't pop loose while installing the wing.
A = A-1
❑ With the fuselage upside down, place the wing into the wing saddle and push the trailing edge down firmly into place.