29
Need help or have any questions? Call us at 1-714-963-0329 or send us an Email at service@globalhobby.net
❑ To prevent the connector nut from loosening during flight, apply a drop of thin C/A to it. Allow the C/A to dry before
proceeding.
❑ Connect your radio system and plug the throttle servo (forward-most servo) into the receiver. Check to ensure that
the throttle servo output shaft is rotating in the correct direction. When the throttle control stick is moved forward, from
the idle to the full throttle position, the servo output shaft should rotate clockwise. If it doesn't, flip the servo reversing
switch on your transmitter.
❑ Position the throttle control stick and the throttle trim lever on your transmitter at their lowest positions. Slide the
adjustable servo connector/servo horn assembly over the plain end of the throttle pushrod wire.
❑ After making sure that the carburetor is in the fully closed
position, angle the servo horn back about 45º from center
and attach it to the servo output shaft. The servo connector
should be facing the side of the fuselage.
❑ While holding the carburetor barrel fully closed, install
and tighten the set screw in the top of the adjustable servo
connector.
❑ Use wire cutters to cut away and remove the excess pushrod wire.
☞
You may have to make a slight bend in the pushrod wire so that it lines up evenly with the servo connector.
❑ Install and tighten the servo horn retaining screw to hold the servo horn securely to the servo.
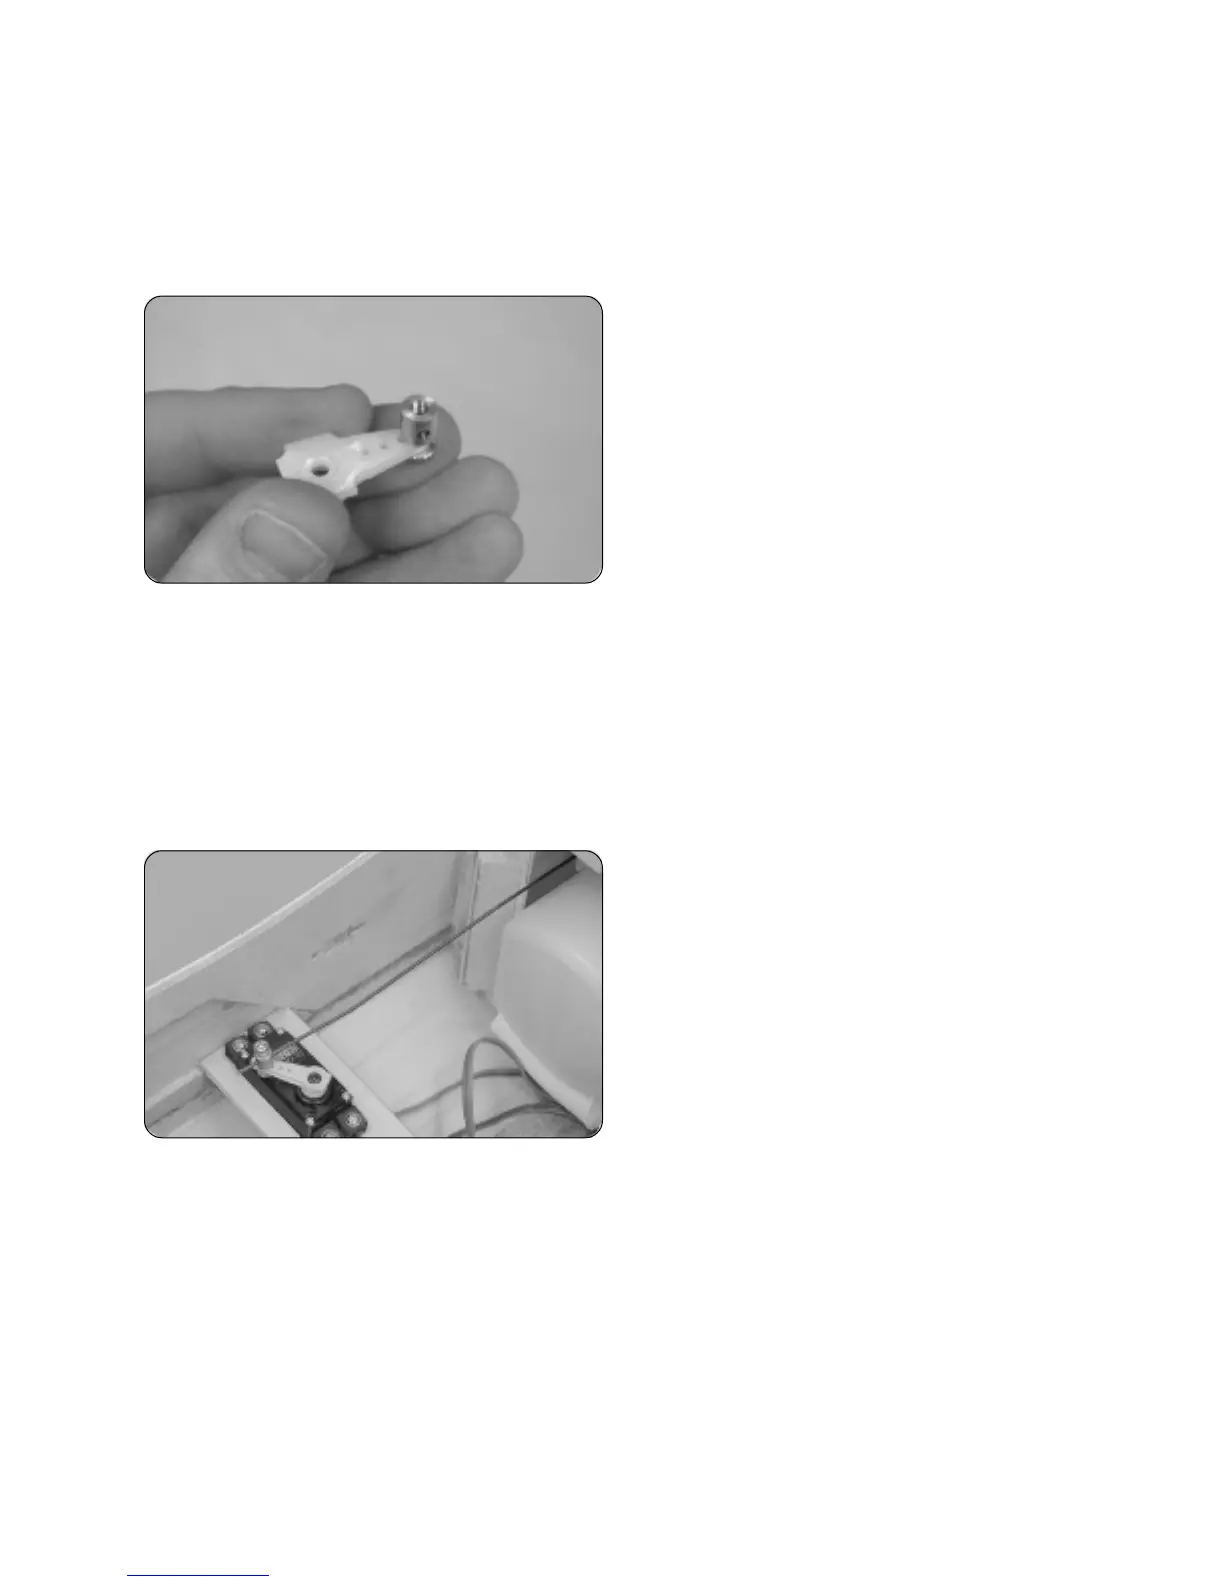
❑ Enlarge the fourth hole out from the center of the servo
arm using a 5/64" drill bit.
❑ Install the adjustable servo connector into the servo arm.
IMPORTANT When threading on the connector nut, don't
tighten the nut completely. You don't want the connector loose,
but you do want it to be able to rotate without binding.