34
Visit our website at http://modeltech.globalhobby.com or for Customer Service at http://globalservices.globalhobby.com
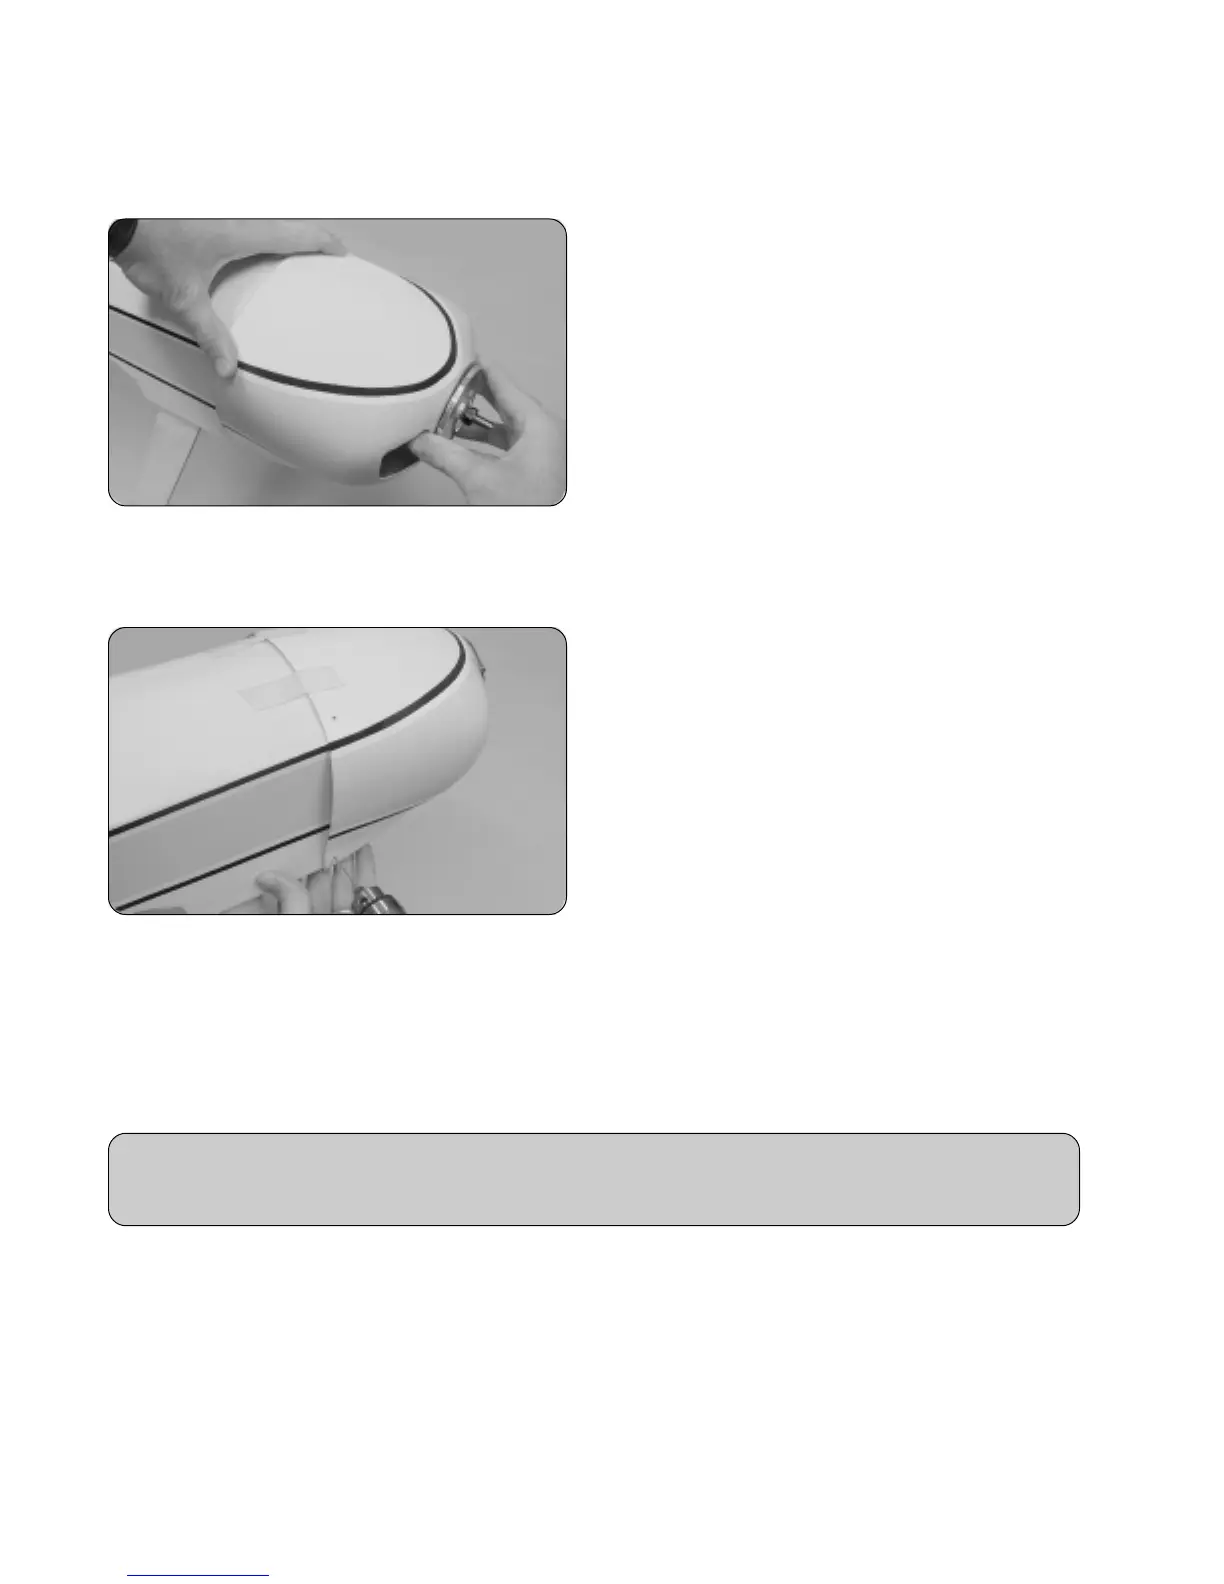
❑ Line up the front of the cowling using the backplate as
your guide. When aligned properly, the cowl ring should be
centered with the spinner backplate and there should be about
a 1/16" - 1/8" gap between the two. The stripes on the sides
of the cowling should also be lined up with the stripes on the
sides of the fuselage.
❑ When satisfied with the alignment, use pieces of masking tape to hold the cowling securely in place and aligned.
Step 2: Installing the Cowling
❑ With the cowling held firmly in place, drill 5/64" diameter
pilot holes into the cowling and through the fuselage for the
four wood screws. Locate one hole on each side of the cowling,
about 1/2" up from the bottom, and locate the remaining two
holes on top of the cowling, equally spaced apart.
☞
So the screws don't miss the fuselage, make sure not to
drill the pilot holes any farther forward from the back edge of
the cowling than 3/16".
❑ Remove the cowling and enlarge only the holes in the cowling using a 1/8" drill bit. Enlarging the holes will prevent the
fiberglass from being cracked when you install the wood screws.
❑ To strengthen the holes in the fuselage that the wood screws will thread into, carefully apply a couple of drops of thin
C/A into the holes and let it dry completely before installing the cowling.
❑ At this time you should make the rest of the cut-outs in the cowling for your engine. These include cut-outs for the high
and low speed needle valves, glow igniter, muffler assembly and fueling valve assembly.
IMPORTANT We strongly suggest cutting an air-exit hole in the bottom of the cowling along with the opening needed
to clear your muffler. For proper engine cooling, it's important to have about 30 percent more air-exit area than air-
intake area.
❑ After making the rest of the necessary cut-outs, install your fueling valve, then slide the cowling partially into place and
connect the fuel lines from the fuel tank to the fueling valve, carburetor and muffler pressure tap.
❑ Slide the cowling into position and realign it. Install and tighten the four 3mm x 10mm wood screws and four 3mm flat
washers to hold the cowling firmly in place.
❑ Install your propeller and spinner cone to finish off the installation.
❑ With the cowling temporarily in place, secure the spinner backplate to the engine's crankshaft.