30
2. Verify the Cutting Position and Height When the Tool Is Lowered
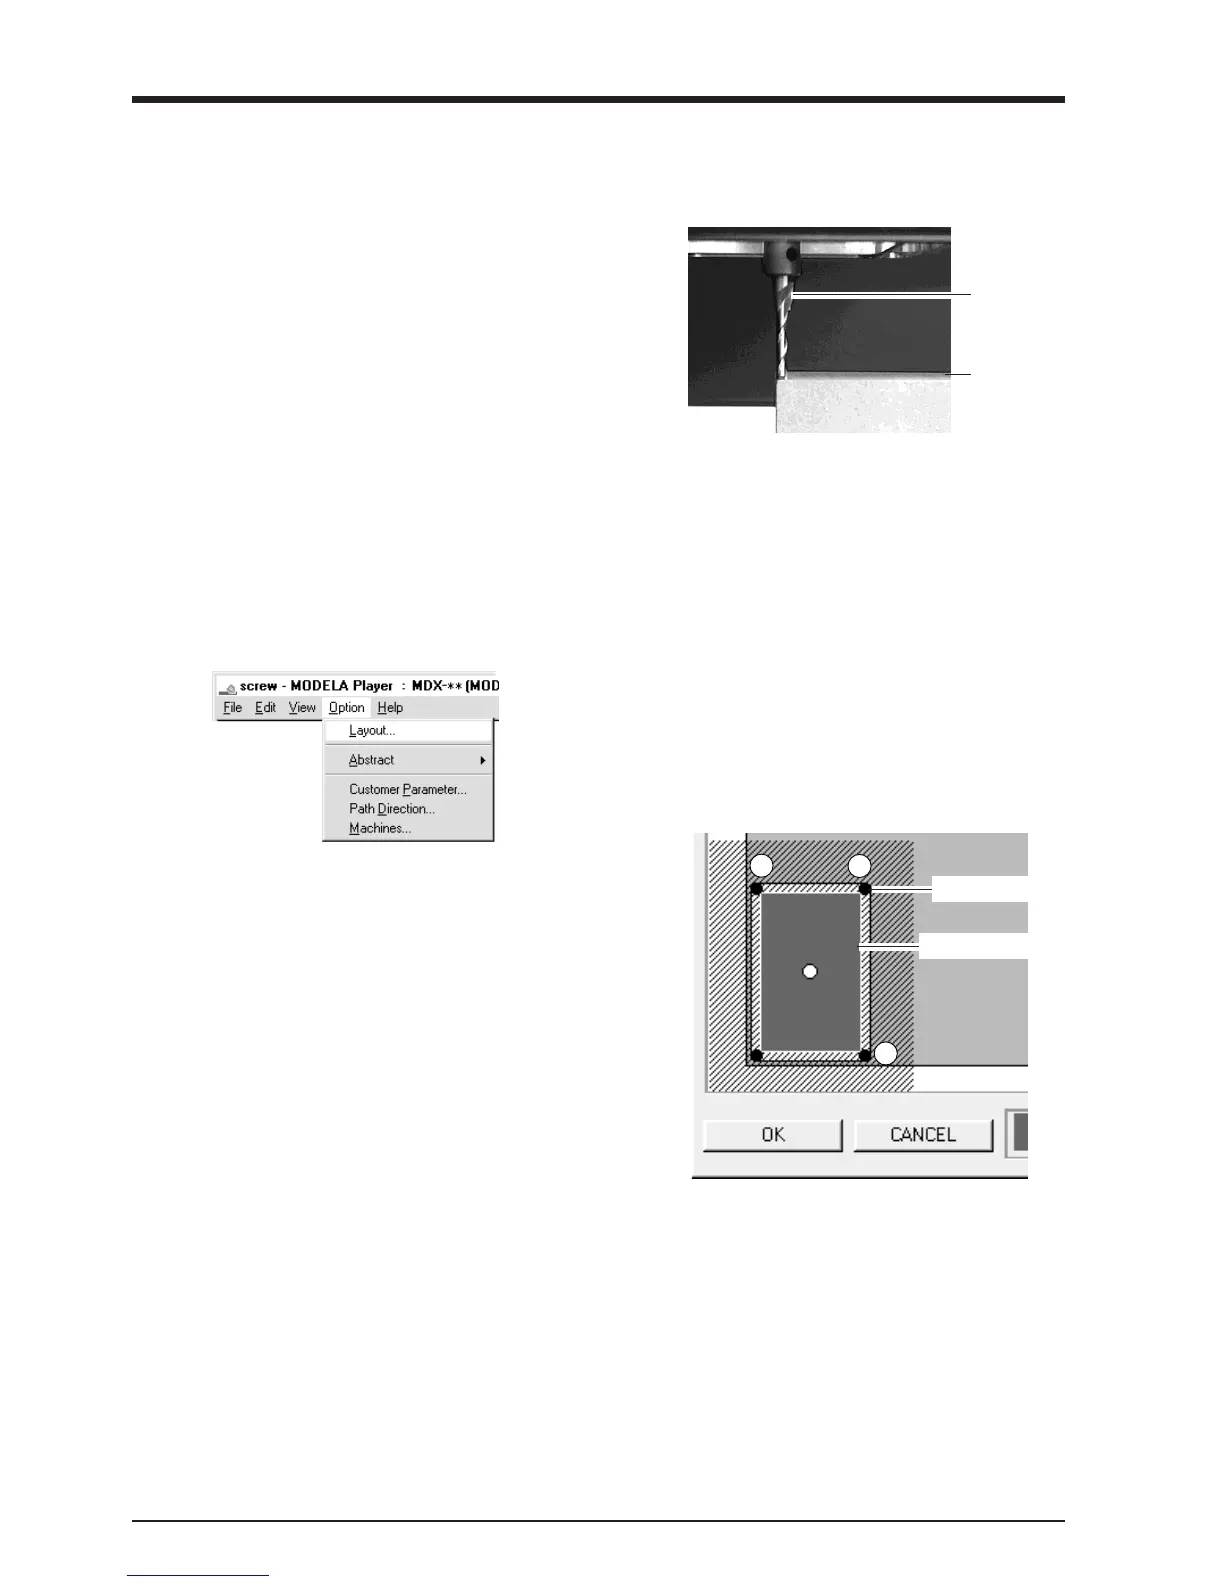
1
From the [Options] menu, click [Layout...].
The [Layout/Surfacing] dialog box appears.
2
The blue rectangle is the range of the object.
When you double-click one of the black circles dis-
played at the corners of the object, the cutting tool
descends to the depth-direction reference point at that
location.
Double-click black circles in the sequence shown
by the numbers in the figure and verify the cutting
position.
To move the object's cutting position, drag the blue
rectangle.
Blue rectangle
3
If the workpiece is cut when you lower the cutting
tool at positions 1 through 3 in step 2, then skip ahead
to the next section, "3. Reset the Depth-direction
Reference Point."
If it is not cut, then proceed to step 2 of "4. Perform
Surfacing" and perform surfacing.
To make the setting for the cutting position only
without performing surfacing, then click [OK].
Black circles
4
When the tip touches the workpiece, release the
TOOL-DOWN key.
After setting the reference point, do not press the
TOOL-UP or TOOL-DOWN keys.
Workpiece
Cutting tool
3
When the tool tip comes close to the workpiece sur-
face, carefully use the key to lower the cutting tool a
little at a time.
1
2
3