12
Setting Up the Program
Setting Up the Program
If you are installing under Windows NT 4.0/2000/XP, log on to Windows as "Administrators" account.
1
Switch on the computer and start Windows.
2
Place the CD from the Roland Software Package
in the CD-ROM drive.
The Setup menu appears automatically.
MODELA Applications
Dr.Engrave 3D Engrave Virtual MODELA Dr.PICZA
Operating system Windows 95/98/Me/NT4.0/2000/XP
Computer Computer running Windows (Pentium processor or better recommended)
Memory (RAM) 32 MB or more recommended
Free hard-disk space
7 MB 10 MB 10 MB 5 MB 3 MB
required for installation
System requirements
4
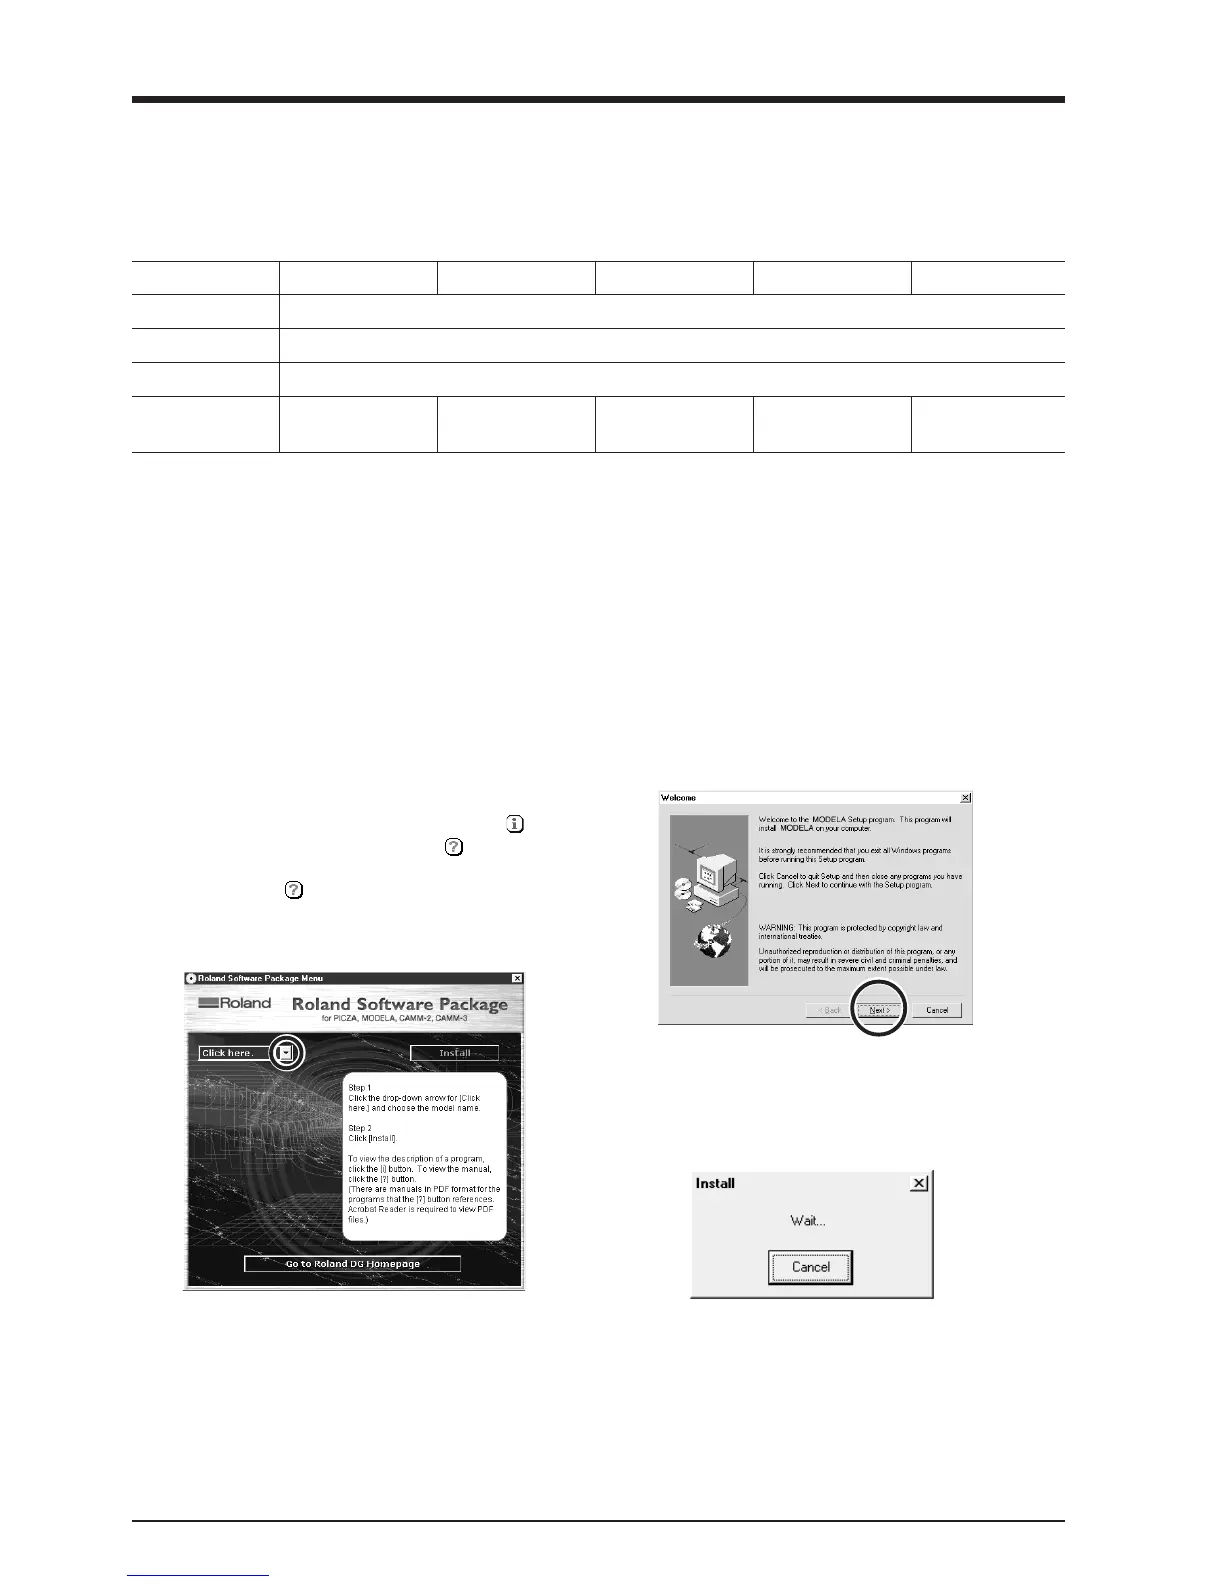
The Setup program starts. Follow the messages to
carry out setup and finish setting up the program.
* When the setup for one program finishes, the
setup for the next program starts.
In the interval until the next setup starts, a dialog
box showing the progress of processing is
displayed.
3
Click the drop-down arrow next to [Click here],
choose the model you're using, then click [Install].
If you're using the MDX-20, choose [MDX-20]. If
you're using the MDX-15, choose [MDX-15].
To view the description of a program, click the
button. To view the manual, click the button.
(There are manuals in PDF format for the pro-
grams that the
button references. Acrobat
Reader is required to view PDF files.)
If there are programs you don't want to install, then
clear their check boxes before you click [Install].