32
4. Perform Surfacing
1
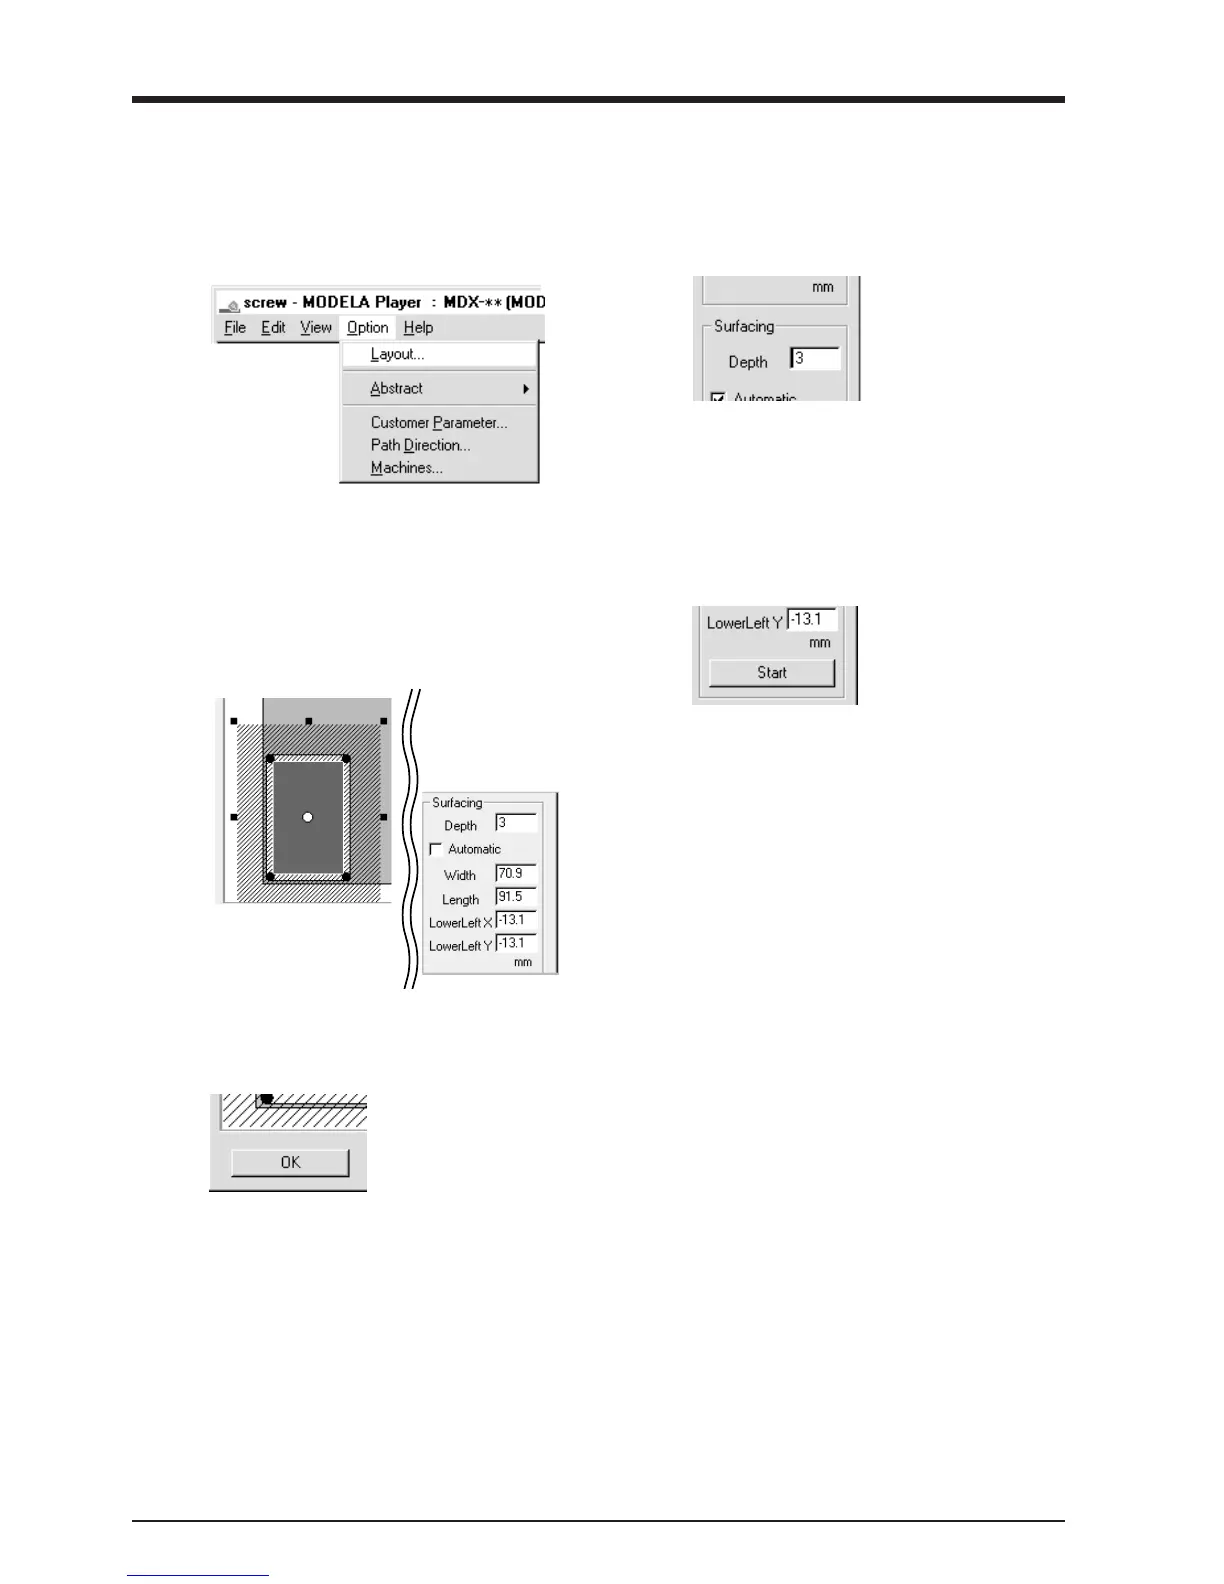
From MODELA Player's [Option] menu, click
[Layout]. The [Layout/Surfacing Settings] dialog
box appears.
2
Enter the surfacing depth.
Here you set the cutting depth from the depth-
direction reference point.
3
To change the range and location for surfacing, clear
the selection for [Automatic].
To change the range, drag the solid squares surround-
ing the shaded area, or type in numerical values for
[Width] and [Length].
To change the location, drag the shaded portion or
type in numerical values for [Lowerleft X],
[Lowerleft Y].
Click [Start] to start surfacing.
When surfacing ends, the depth-direction refer-
ence point is set at the surface after surfacing.
5
When surfacing ends, click [OK].
4