40
Setting scanning conditions and starting scanning
Start Dr. PICZA and make the settings for scanning resolution, the lower limit for the height of the surface to scan, and the scanning
quality.
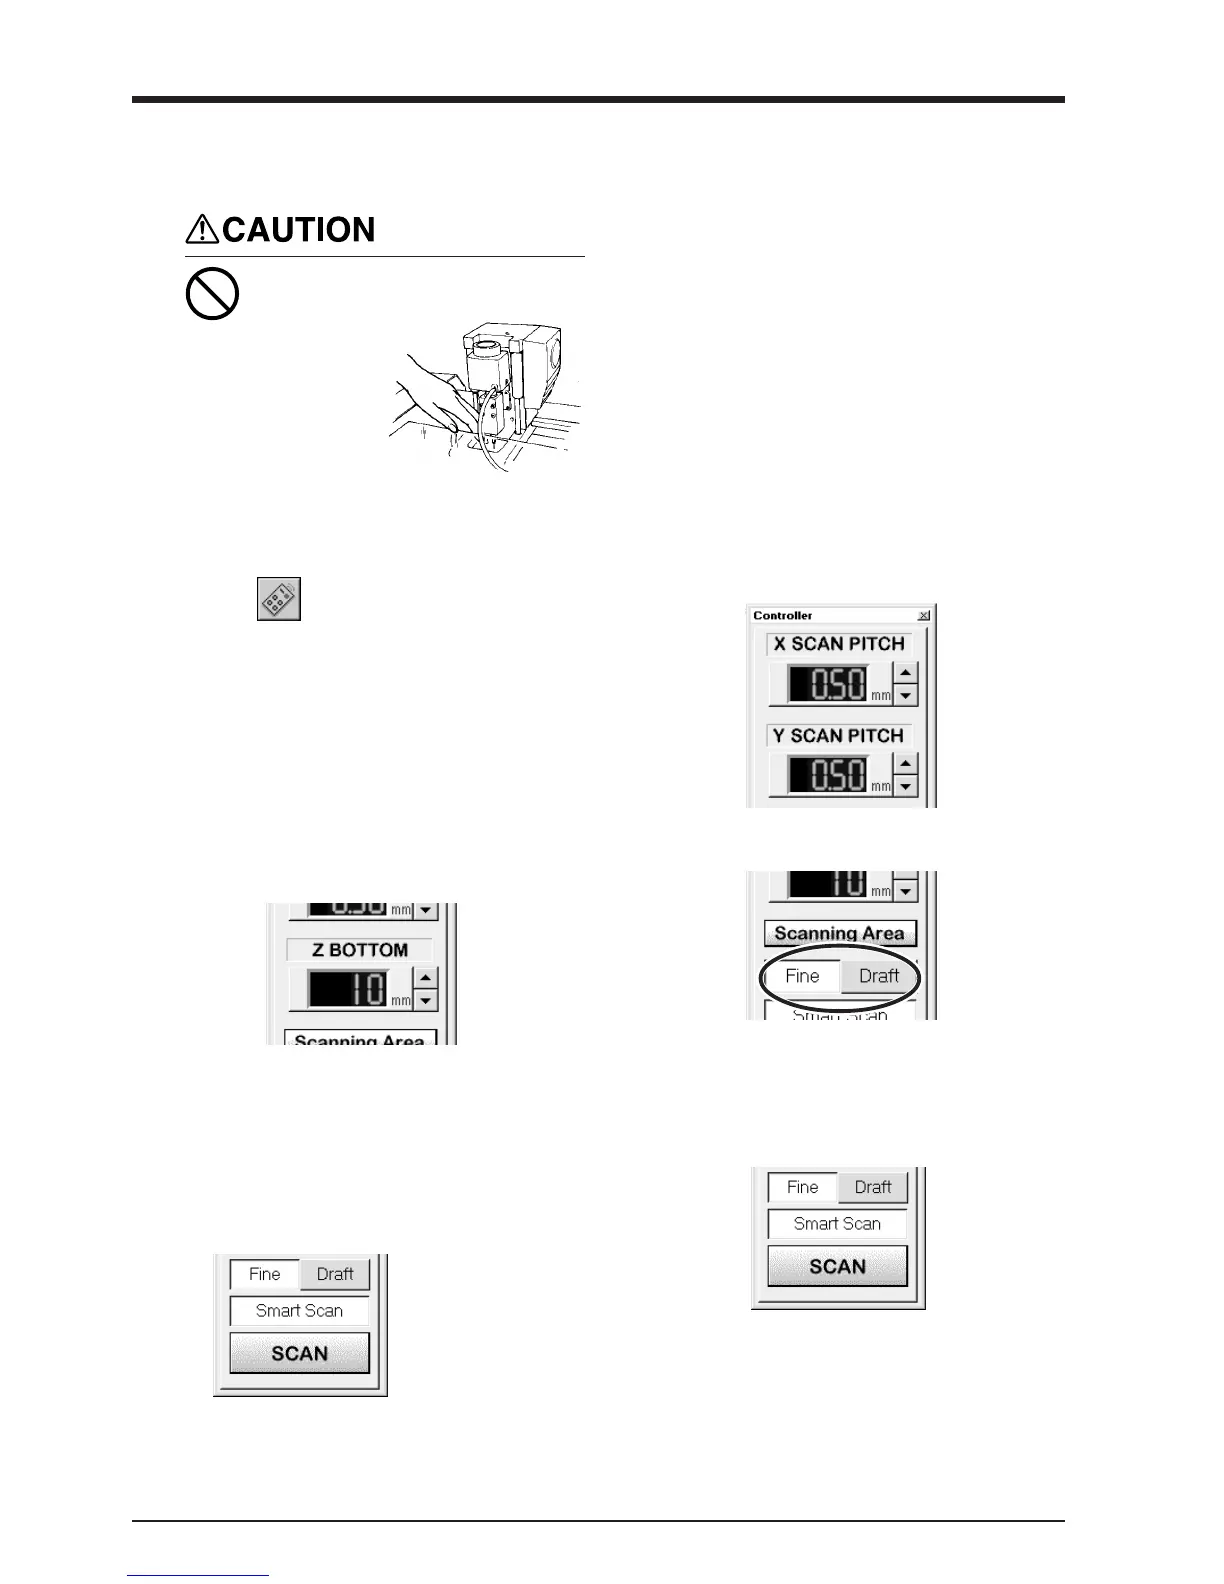
During cutting or scanning, keep
hands away from the cutting tool
and the probe.
Doing so may
result in injury.
1
Click on the Dr. PICZA.
The Controller window opens.
When Dr. PICZA is started, the Controller window
is already open.
2
Make the settings for X scan pitch and Y scan
pitch.
3
Make the setting for Z bottom.
If you have made a clay base, the height of the
clay is taken to be the Z-axis reference surface.
4
Make the selection for scanning quality.
5
Select [Smart Scan]. When this is selected,
MODELA identifies and limits the scanning area
before performing scanning (X and Y directions
only).
To specify the scanning area manually, deselect
[Smart Scan], then click [Set Scanning Area]. For
more information on how to specify this, see
“Setting the Scanning Area” in the next section.
6
Click [SCAN] .
Scanning starts.
(During scanning, the sensor may emit a transmis-
sion sound, but this is normal.)
For detailed descrip-
tion of the available
Controller buttons,
please refer to the help
screens for Dr.
PICZA.