-8-
Revision 2/F3509
1
3
2
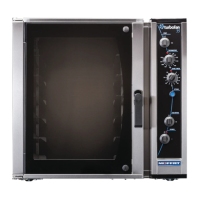
Figure 2.2
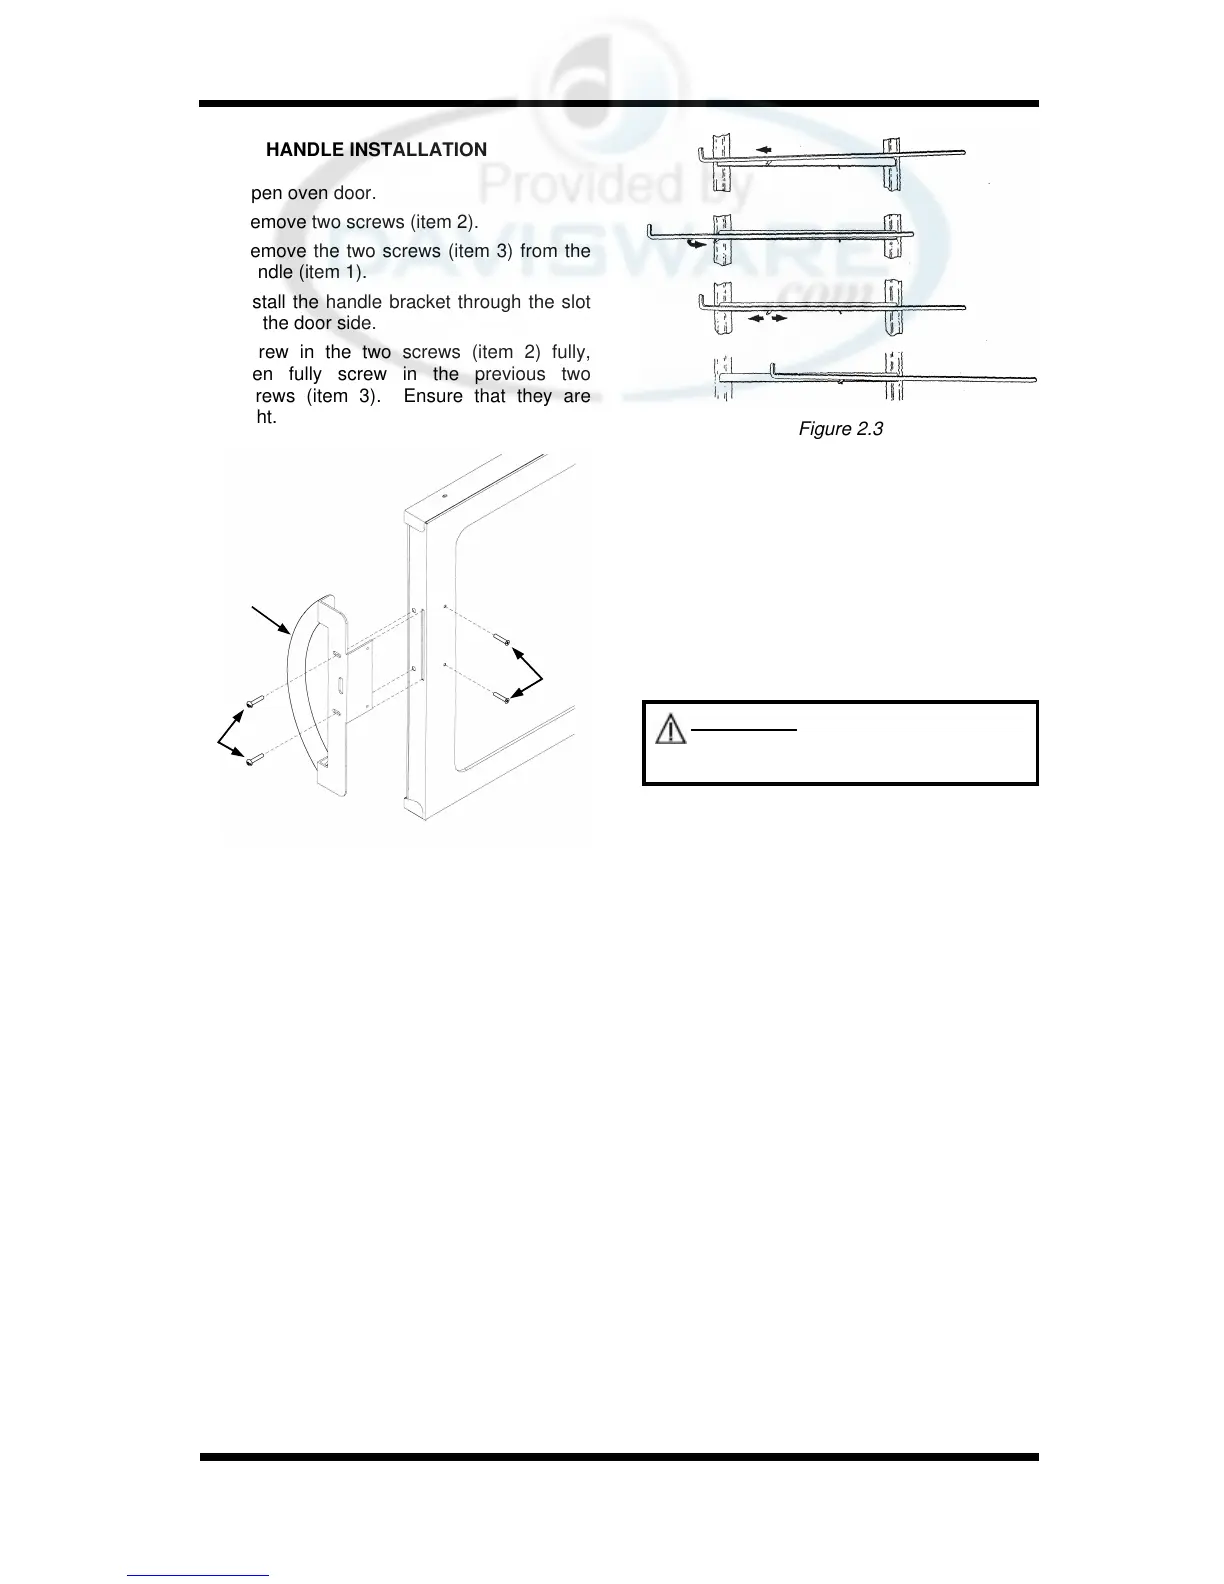
DOOR HANDLE INSTALLATION
1. Open oven door.
2. Remove two screws (item 2).
3. Remove the two screws (item 3) from the
handle (item 1).
4. Install the handle bracket through the slot
on the door side.
5. Screw in the two screws (item 2) fully,
then fully screw in the previous two
screws (item 3). Ensure that they are
tight.
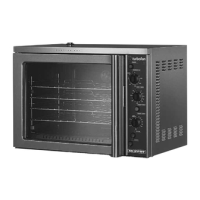
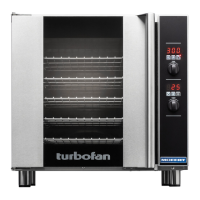
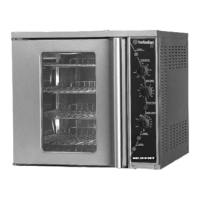
OVEN RACKS
The oven is supplied with four general
purpose oven racks. These racks incorporate
two important safety features:
1. Self Supporting: When fitted, the oven
racks are self supporting and will not drop
or angle down when the racks are
withdrawn during operation, when loading
and unloading products on racks or when
attending to the product being cooked
during it’s cook cycle.
2. Auto Supporting: The oven rack
supports incorporate a special retaining
tab which provides a positive stop to each
oven rack and stops it’s inadvertent
removal during normal operation.
To fit the oven racks ensure that the rack back
stop is positioned at the rear of the oven and
install by following the steps shown in the
diagram below.
To remove oven racks reverse the procedure.
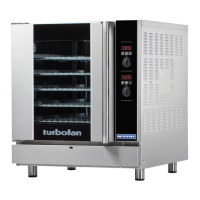
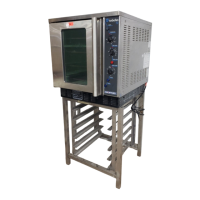
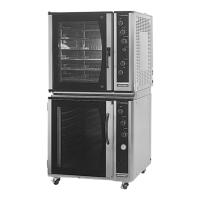
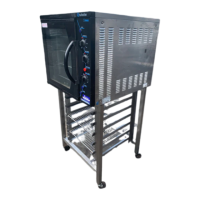
DOUBLE STACKING UNITS
When it is desired to mount an E32 Turbofan
oven on an E87 prover, a double stacking kit
must be used. Available from your dealer or
Turbofan distributor. (see Spare Parts).
When mounting one oven on top of another, a
double stacking kit is also required.
Figure 2.3
Assembly Steps:
Bottom Unit
1. Lay unit on back and remove 1" or 4" feet
already fitted to unit. Fit adjustable leg
and secure with (16x) M6 x 16 taptite
screws. Stand unit up.
2. Unscrew vent hood plate from bottom
oven. Remove and discard hood plate
and spacer tubes. Replace two vent hood
screws on the left hand side from the front
and screw in completely to secure outer
wrapper to vent tube. Use RTV to seal
the other two holes.
3. Position shroud back on top of bottom unit
so that it is positioned correctly over oven
back. Position flue duct on bottom unit so
that it is positioned centrally in shroud
back flue cut-out and is flush with the
oven back. Check that the oven vent is
covered and mark the six hole positions (3
down each side of the flue duct) on the
oven wrapper.
4. Drill six ø 3.5mm holes in the oven
wrapper where marked.
5. Screw the flue duct to the wrapper with six
1/2" x 8A pozi screws into these holes.
WARNING: THE ELECTRICAL
SUPPLY MUST BE DISCONNECTED
BEFORE UNITS ARE STACKED.