Ethernet Setup
We now have
two different types
of charging docks/modems. The most common is below:
Ethernet Setup no Dial-up – Network Switch Dock
1.
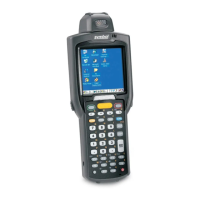
Your setup will be as below with the Ethernet cable if you have the dock with the Network
switch on the side and no dial-up capabilities.
The Charging Dock allows you to charge the internal battery along with a spare battery at the same time.
The spare battery will be placed in the rear slot. A red light on the front will indicate when the battery is
being charged.
2.
Once you have everything setup as pictured, you connect the end of the Ethernet cable to
your home router by plugging it into an empty slot.
3.
You should disable your radio so it shows a big red X on the task bar.
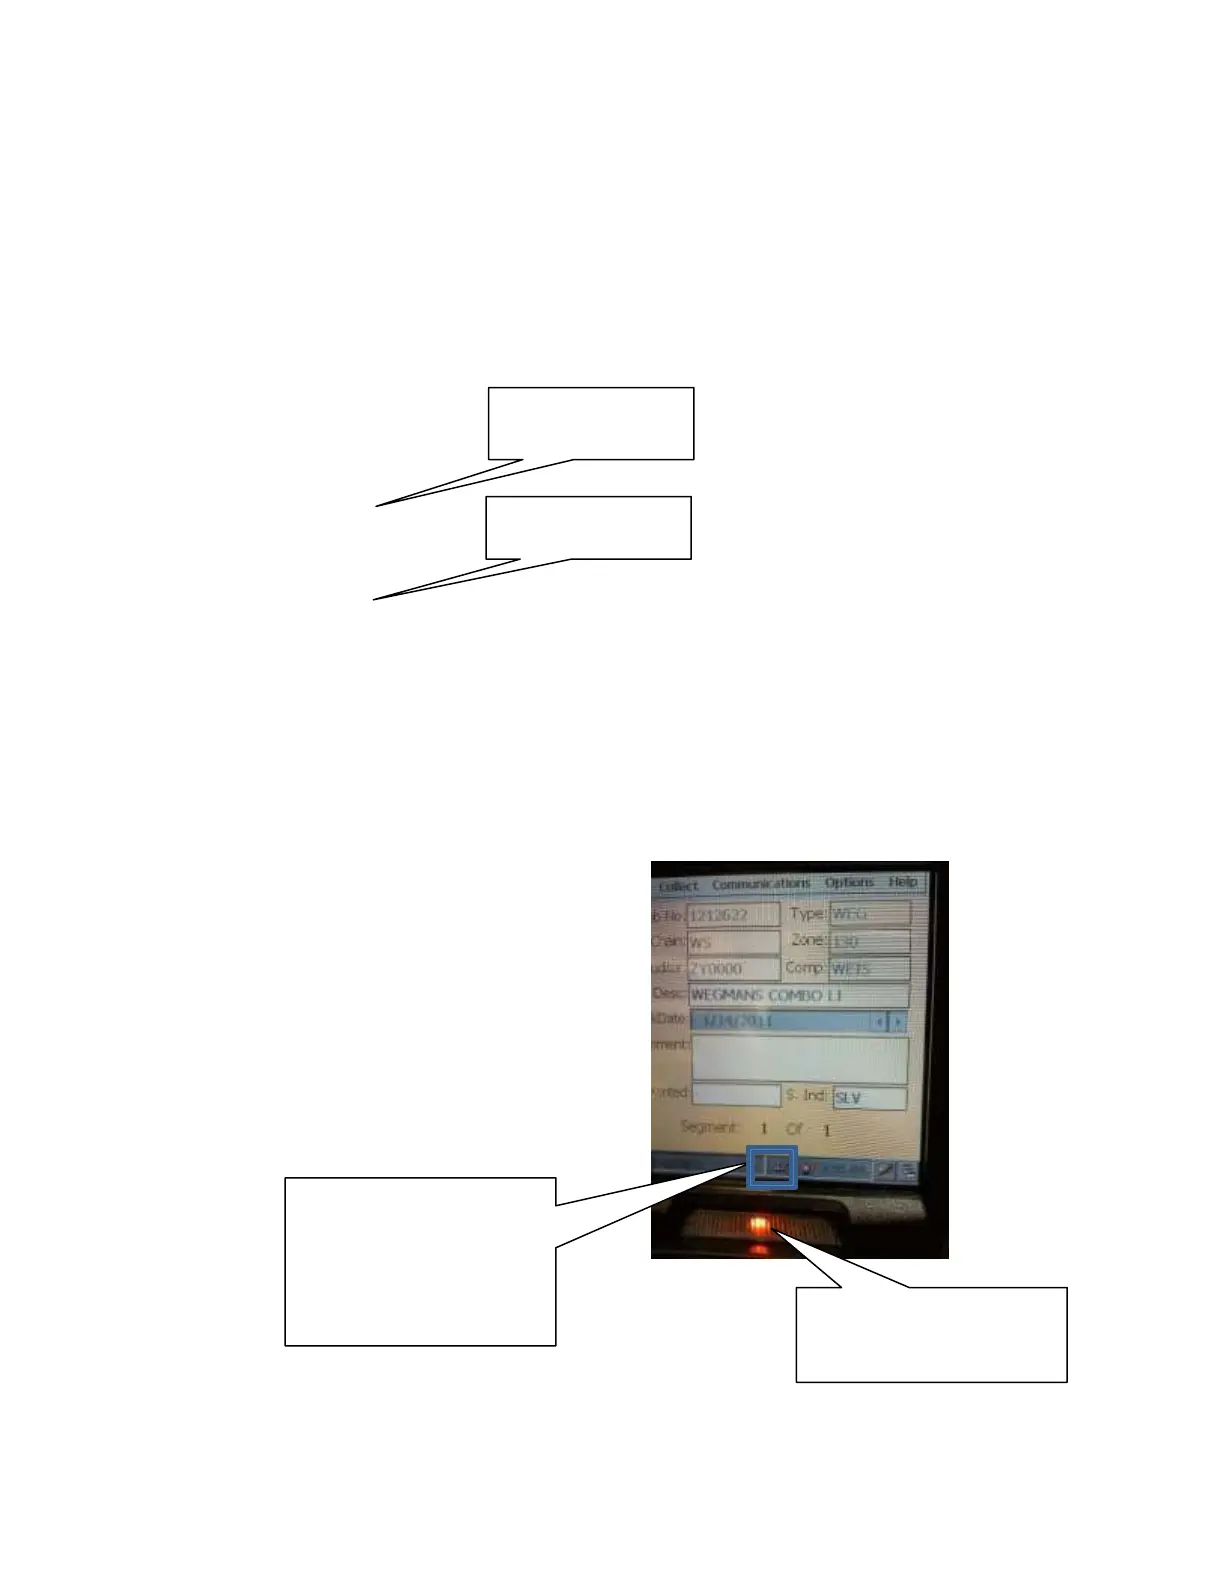
4.
When you place your handheld on your dock, you should see a small icon at the bottom as
pictured here next to the disabled radio.
4.
When you place your
handheld on your dock:
Ethernet icon connected –
looks like an upside T.
You must see this, or it
will not work.
Light flashes when battery
is being charged. It is solid
when fully charged.
 Loading...