34
SPECIAL FEATURES
D
INTERCHANGEABLE STRAPS
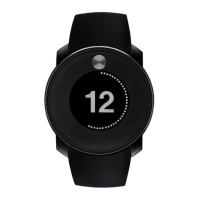
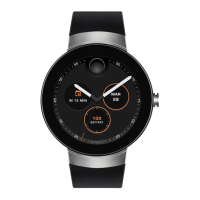
Includes Movado Heritage Series models
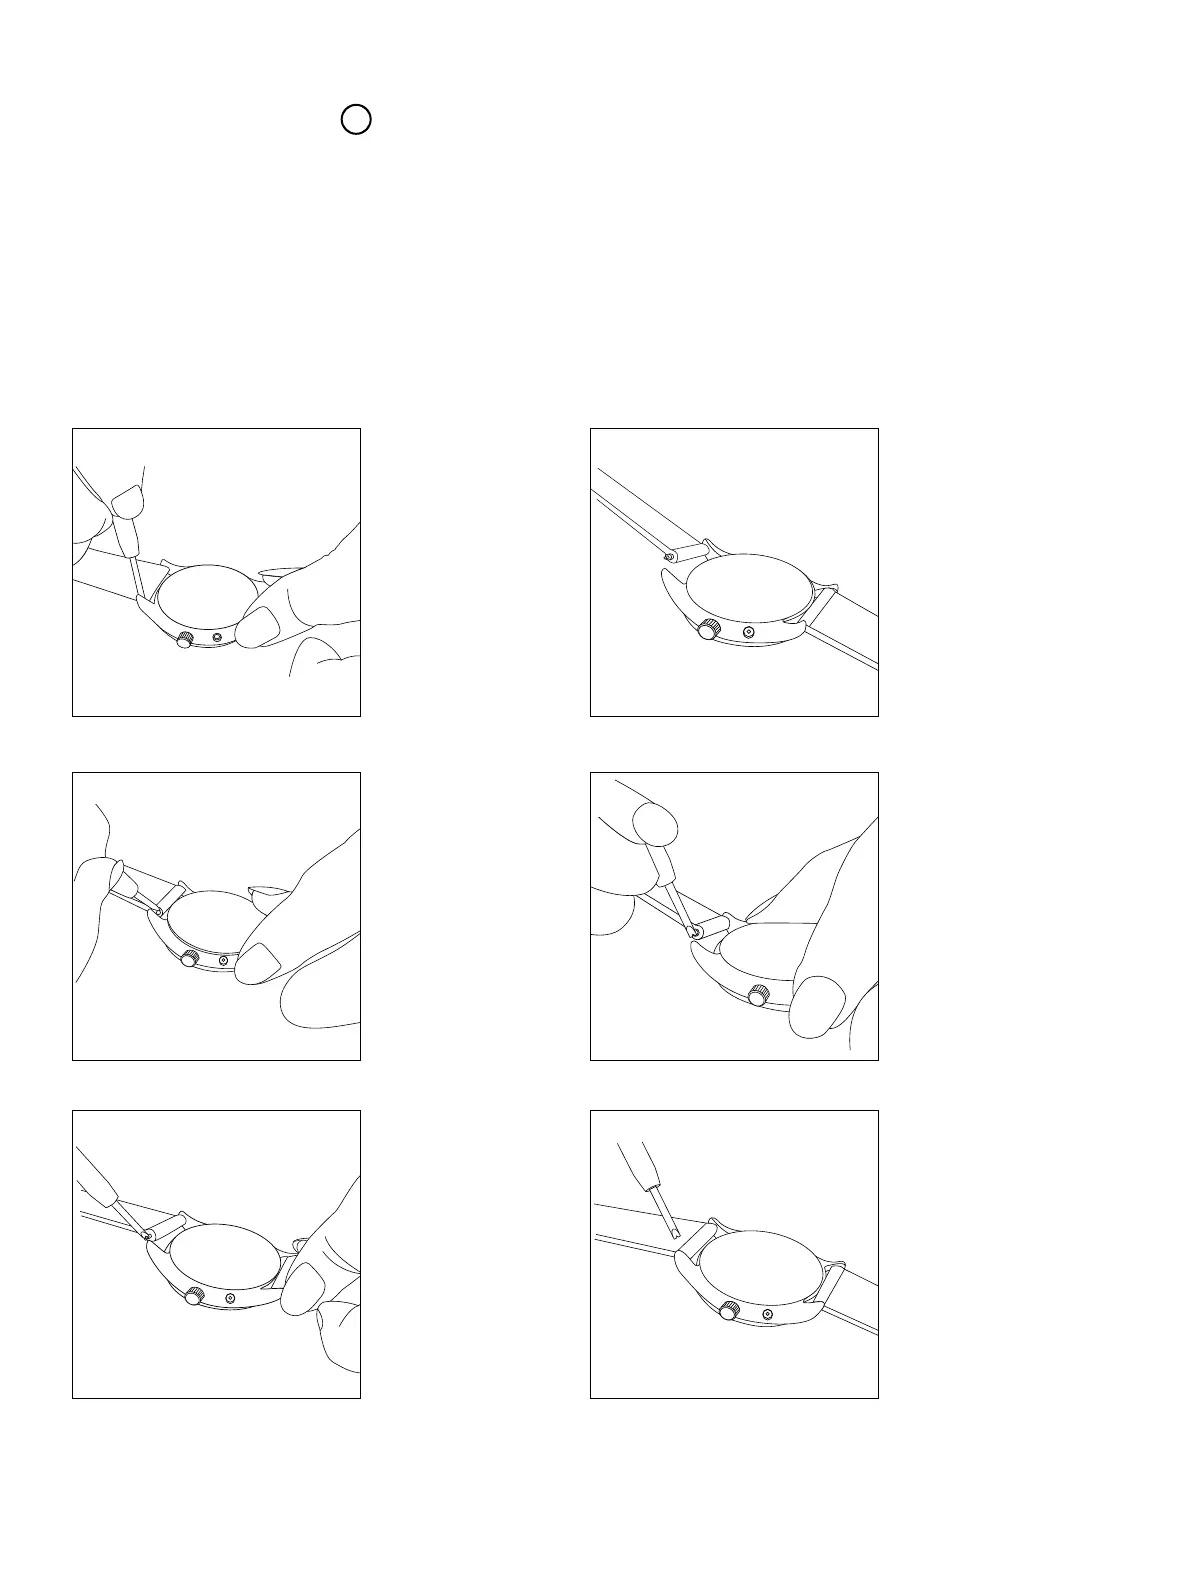
The straps on select Movado watches are easy to interchange using the Strap Tool that comes with an
accessory strap purchase on Movado.com. Spring-bar or tension-style pins with narrow tips and a wider,
compressible middle section attach these straps to the watch case via tiny holes in the lugs.
The forked end of the Strap Tool is used to apply pressure to the wider portion of the pin to compress it for
strap removal or attachment. The pointed end is used to push the pin out of one strap so it can be used
with a new one.
To remove a strap:
1. With the watch facing
down on a cloth or
soft surface to prevent
scratching, firmly but
carefully insert the fork
end of the Strap Tool
between the watch lug
and the strap.
Figure A
.
2. Apply sideways
pressure to compress
the pin toward the
center of the strap.
Figure B
.
3. When the tip of the
pin is free from the
hole in the lug on that
side, gently maneuver
the strap down until
it clears the case. The
other end of the pin
should then pop out
easily from hole in the
opposite lug, freeing
the strap from the
watch case.
Figure C
.
Repeat steps above to
remove the other half
of the strap.
To attach a strap:
NOTES: The buckle
end of the strap should
be attached to the top
or 12 o’clock side of
the case.
If necessary, use the
pointed end of the Strap
Tool to remove a pin from
one strap, and center it
properly in a new one.
1. Place the watch head
face down on a cloth or
soft surface to prevent
scratching.
2. With the strap half facing
down, insert one tip of
the pin into the lug hole.
Figure D
.
3. Using the fork end of
the Strap Tool to apply
gentle pressure to the
free edge of the strap,
compress the spring-bar
pin toward the center of
the strap.
Figure E
.
4. Maneuver the strap into
position between the two
lugs and slowly release
pressure, guiding the
remaining pin tip into
the lug hole on that side.
Figure F
.
5. Tug gently on the strap
to make sure both ends
of the spring-bar pin are
properly seated in the lug
holes.
Repeat steps above to
attach the other half of
the strap.
Figure A
Figure B
Figure C
Figure D
Figure E
Figure F