2 BACnet/LonWorks Setup through ProtoNode
2.1 Features
• 10/100BaseT Ethernet LAN interface (auto-sensing)
• Multiple Protocol Support
• Supports multiple configuration files and the ability to automatically load any of the stored files for different OEM
controllers or protocols supported.
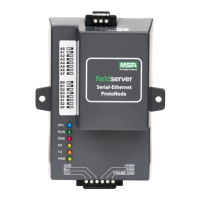
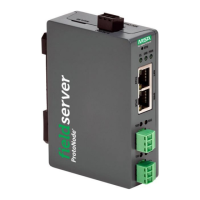
• ProtoNode- FPC-N34/N38
◦ FPC-N34: 2 RS-485 ports and 1 Ethernet port
◦ FPC-N38: 1 RS-485 port, 1 Ethernet port and 1 RS-232
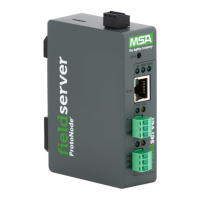
• ProtoNode- FPC-N35/N39
◦ FPC-N35: 1 Ethernet Port, 1 LonWorks port and 1 RS-485 port
◦ FPC-N39: 1 Ethernet Port, 1 LonWorks port and 1 RS-232 port
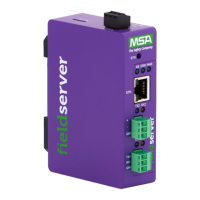
• ProtoNode- FPC-N40
◦ FPC-N40: 1 RS-485 port, 1 Ethernet port and KNX port
• ProtoNode- FPC-N42
◦ FPC-N42: 1 RS-485 port, 1 Ethernet port and M-Bus port
2.2 Installation Steps for the Customer
1. Record the information about the unit. (Section 2.3 Record Identification Data)
2. Set the A, B, and S DIP Switch banks for field protocol baud rate, Node-ID/Device Instance, and proper
configuration. (Section 2.4 Configure the DIP Switches)
3. Connect the ProtoNode to the field protocol port and customer’s port to the ProtoNode’s RS-485 interface. (Section
3.4 Wiring Field Port to RS-485 BMS Network)
4. Connect power to the ProtoNode.
5. Where the field protocol is BACnet/IP or Modbus TCP/IP, refer to Section 3 Interfacing ProtoNode to Host OEM
Device to run the Web GUI and change the IP Address. No changes to the configuration file are necessary.
6. Use a web browser to access the FieldServer Web Configurator page to enter any necessary device information.
the FieldServer automatically builds and loads the appropriate configuration.
2.3 Record Identification Data
Each ProtoNode has a unique part number located on the side or the back of the unitside of the label. The number format is
FPC-N34-XXXX. This number should be recorded, as it may be required for technical support.
Part Number: __________________________________________________
6 ProtoNode Start-up Guide