Installation, Quick Start, and General Use 30
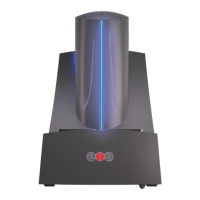
Figure 4:4 Setup window
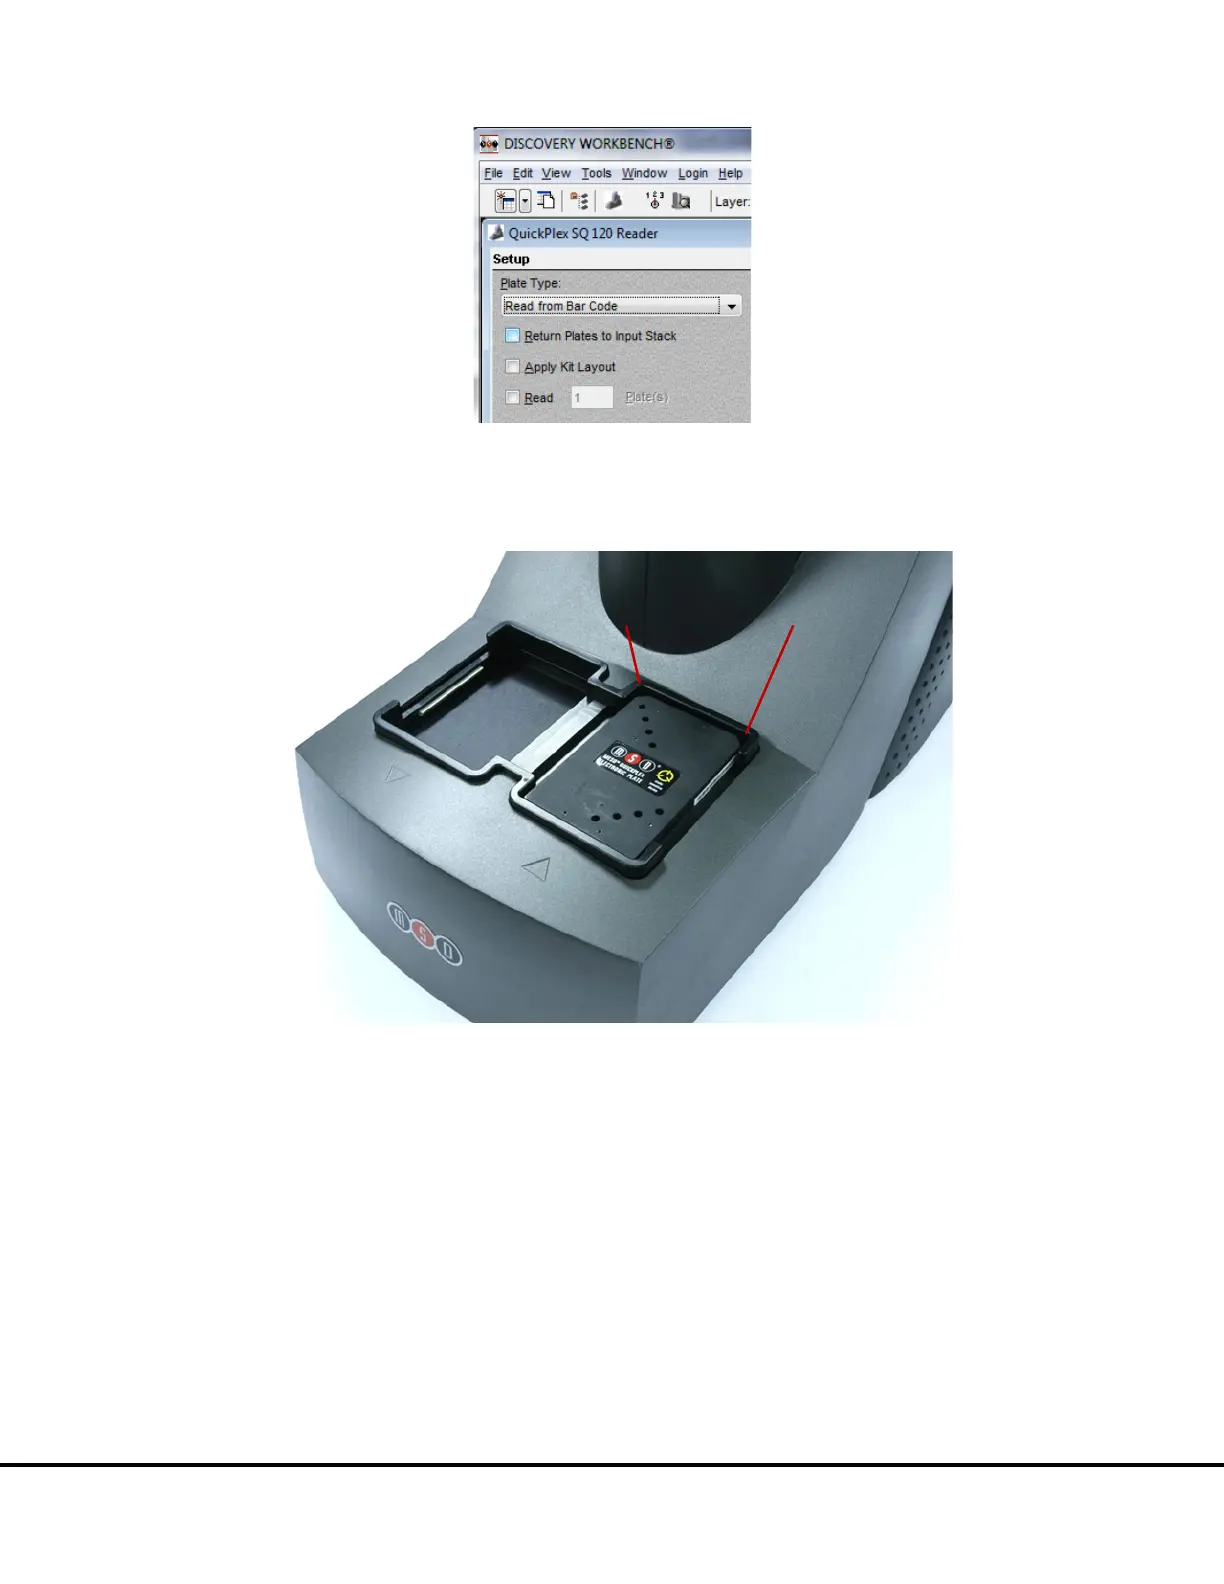
4. Load the electronic test plate into the input stack with the chamfered corners of the plate facing into the instrument (
Figure
4:5). Note that if an assay plate is installed backwards, sensors in the instrument will automatically identify the plate orientation
and adjust the data acquisition and analysis accordingly.
Figure 4:5 Loading an electronic plate
NOTE: If the instrument is unable to read the barcode on the electronic plate (or if no barcode label is present), the plate will be skipped
and ejected from the instrument. Please contact MSD
Scientific Support for assistance.
4.2.3 Run
When the CCD camera reaches proper operating temperature, the Instrument Log (click Show Log in the Status window) will indicate
that the temperature is locked. At that point, the instrument is ready.
Click the Run button in the Instrument window. The Run Options dialog window will open (
Figure 4:6).
1. Verify Setup Selections. If changes are necessary, click Cancel, make changes to Setup (
4.2.2 Setup) and re-verify Setup
Selections.
2. Run Name is optional, but can be entered in the second section. The Run Name is useful when a number of plates will all be
read together that are part of a single experiment, enabling quick lookup of data from groups of related assay plates.
3. Verify the Export information and make changes if necessary (Refer to the DISCOVERY WORKBENCH User’s Guide for
additional details.) The export selections control the format and the location of the exported text data file that will be created
when the electronic plate is read.