Starter and Charging System
59
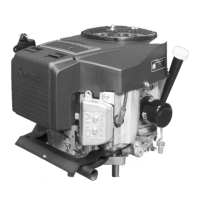
12. Remove the nut and washers from the cable stud
using a 10 mm wrench.
See Figure 6.10.
13. Remove the cable stud and the positive brushes.
14. Remove the insulator seal.
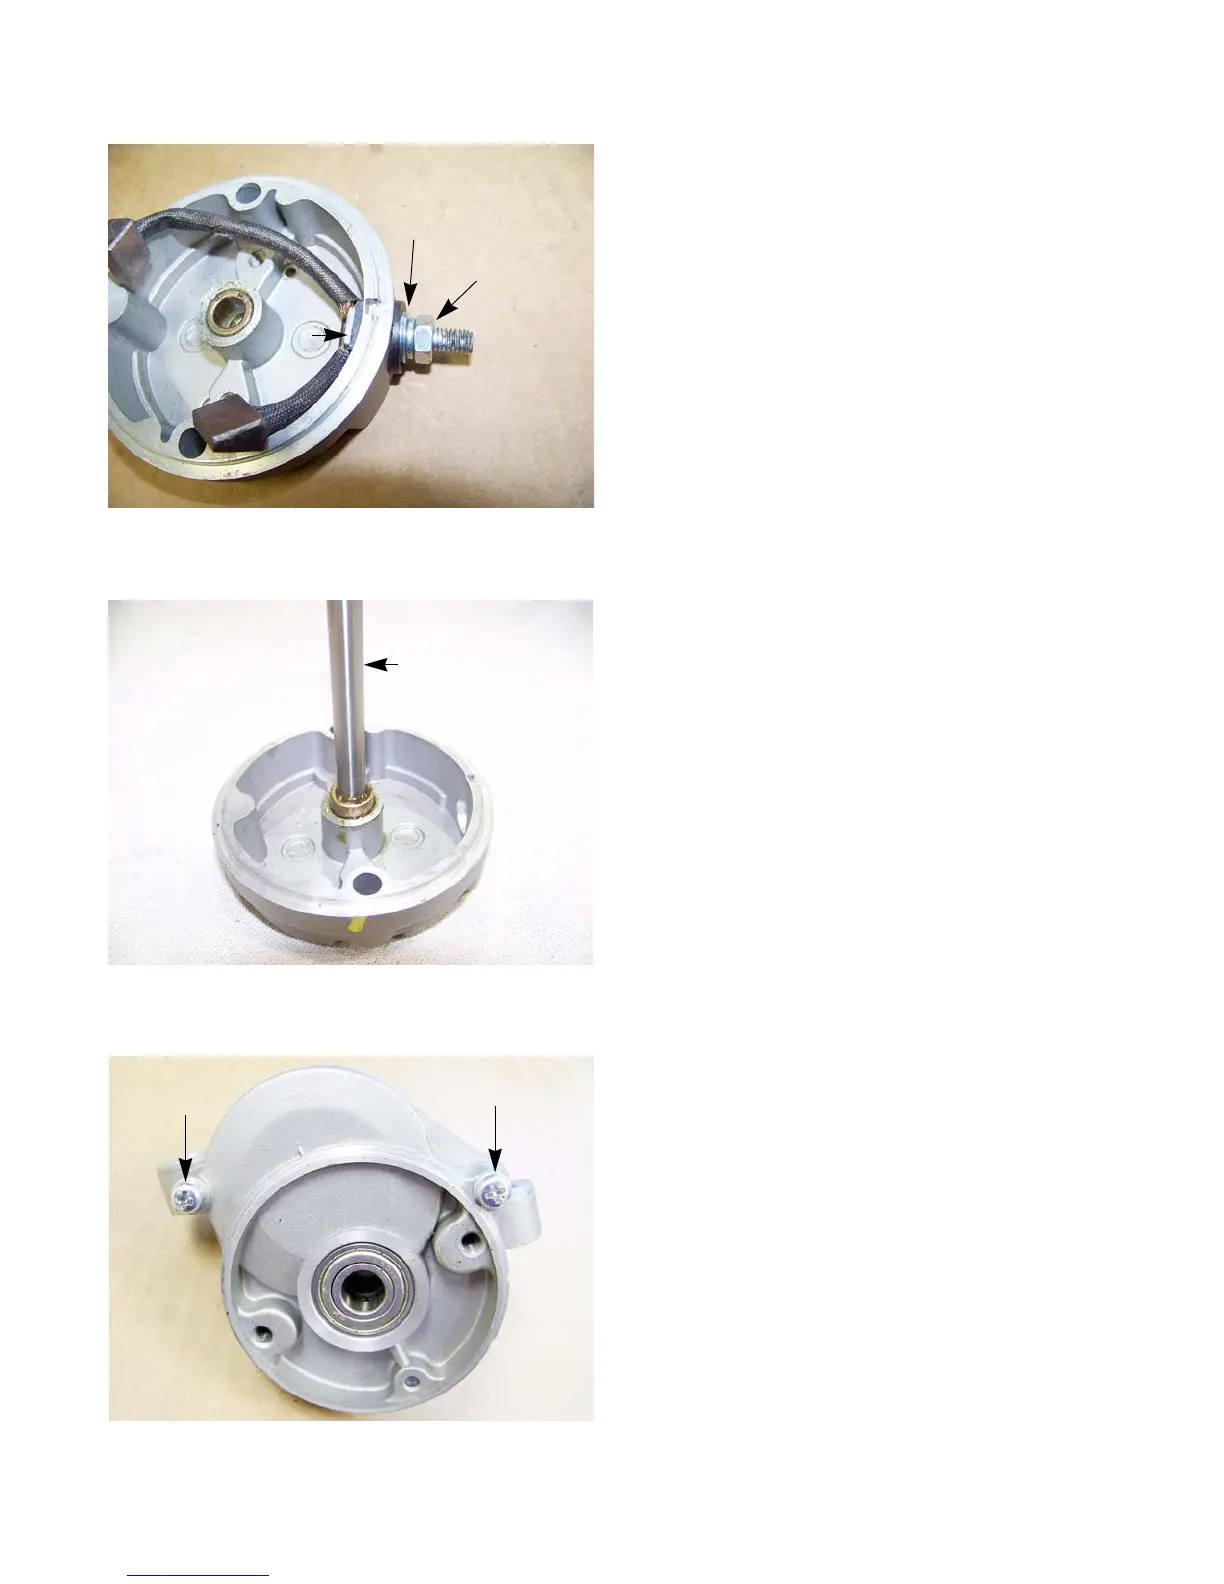
15.Remove the bearing:
15a. Fill the bearing hole with grease.
15b. Insert a 5/16” pin punch.
15c. Tap the punch with a hammer to hydraulically
press the bearing out of the end cap.
NOTE: It may be necessary to add addition grease as the
bearing is being pressed out.
16. Remove the two screws, indicated by the arrows in
Figure 6.12., from the underside of the starter gear
housing using a #2 phillips screw driver.
NOTE: The screws were installed with a high strength
thread locking compound. It may be necessary to
use a hand impact driver and/or heat to get the
screws to release.
Figure 6.10
Nut
Seal
Washers
Figure 6.11
5/16” punch
Figure 6.12
www.mymowerparts.com
For Discount Cub Cadet Parts Call 606-678-9623 or 606-561-4983
www.mymowerparts.com
For Discount Cub Cadet Parts Call 606-678-9623 or 606-561-4983

 Loading...