Remote automation
Home automation
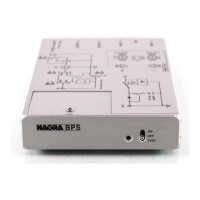
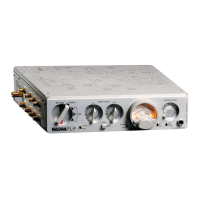
The power supply chassis has 1x 3.5mm (1/8”)
stereo jack socket REMOTE IN (to connect a
master device) and 4x 3.5mm (1/8”) stereo jack
socket REMOTE OUT (to connect slave devices).
It allows you to switch a complete configuration of
Nagra devices ON/OFF by only driving the master
device manually or with an IR Remote Control Unit.
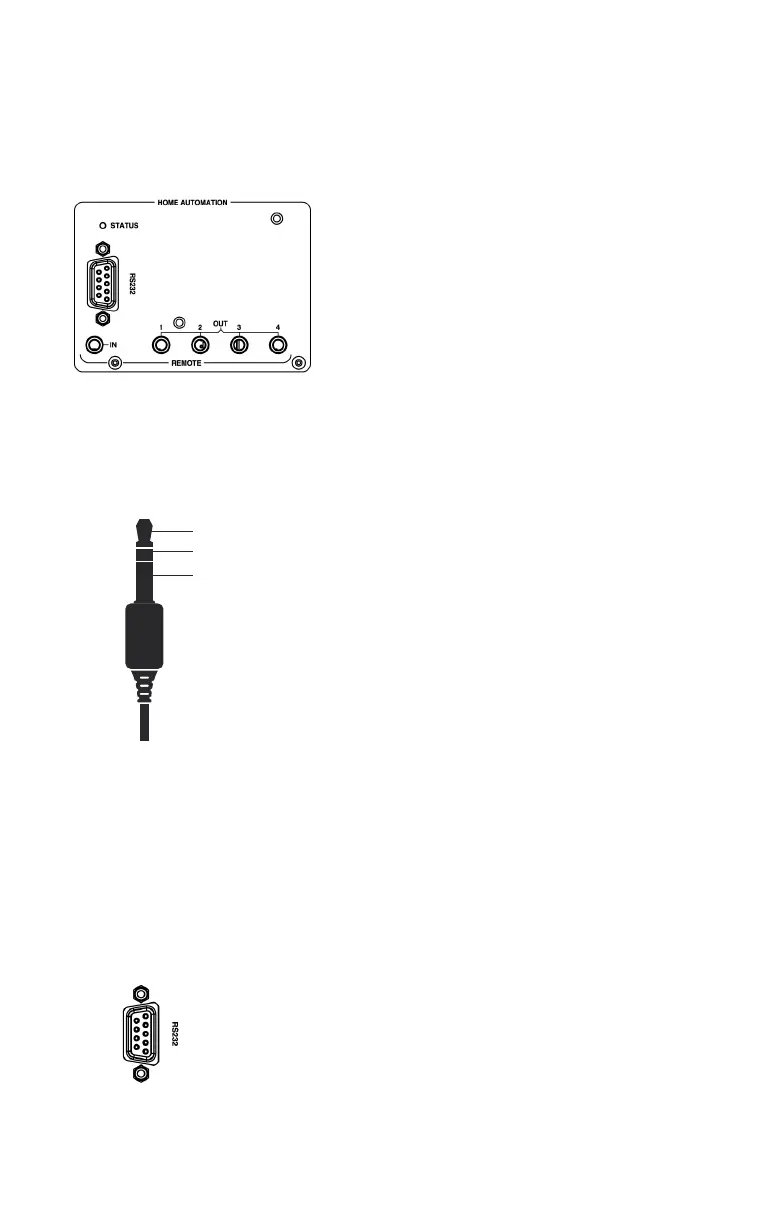
If a 3.5mm (⅛”) stereo jack connector is inserted
into the “Remote IN” input at the back of the power
supply chassis, this control gains priority over the
IR Remote Control Unit and RS232 commands
(ON-OFF key switch on IR Remote Control Unit no
longer works).
Short between TIP and RING: HD PREAMP is
switched ON. As soon as the HD PREAMP is
switched ON, the front rotary switch turns itself to
the selected input before it was last switched off.
If you manually turn the front rotary switch to the
OFF position when TIP and RING are shorted, it
will turn itself back to the last selected input. Use
standard straight cable to connect the different
devices (except for the REM (REMOTE IN) input of
a slave Nagra MPS). For more information, please
ask your Nagra dealer who will provide you with
a specific Nagra document on the topic: Nagra
Remote automation - User + service instruction -
How does it work?
All commands are sent/received on the SUB-D9
connector located on the rear panel of the power
supply chassis. The serial settings are: 115200
bits per second, 8 data bits, no parity, 1 stop bit.
All commands are executed after sending the
command itself and terminating with a <CR>
(carriage return).
TIP
RING
SLEEVE
 Loading...