64
10 - 2 Installation of the Rubber Pad
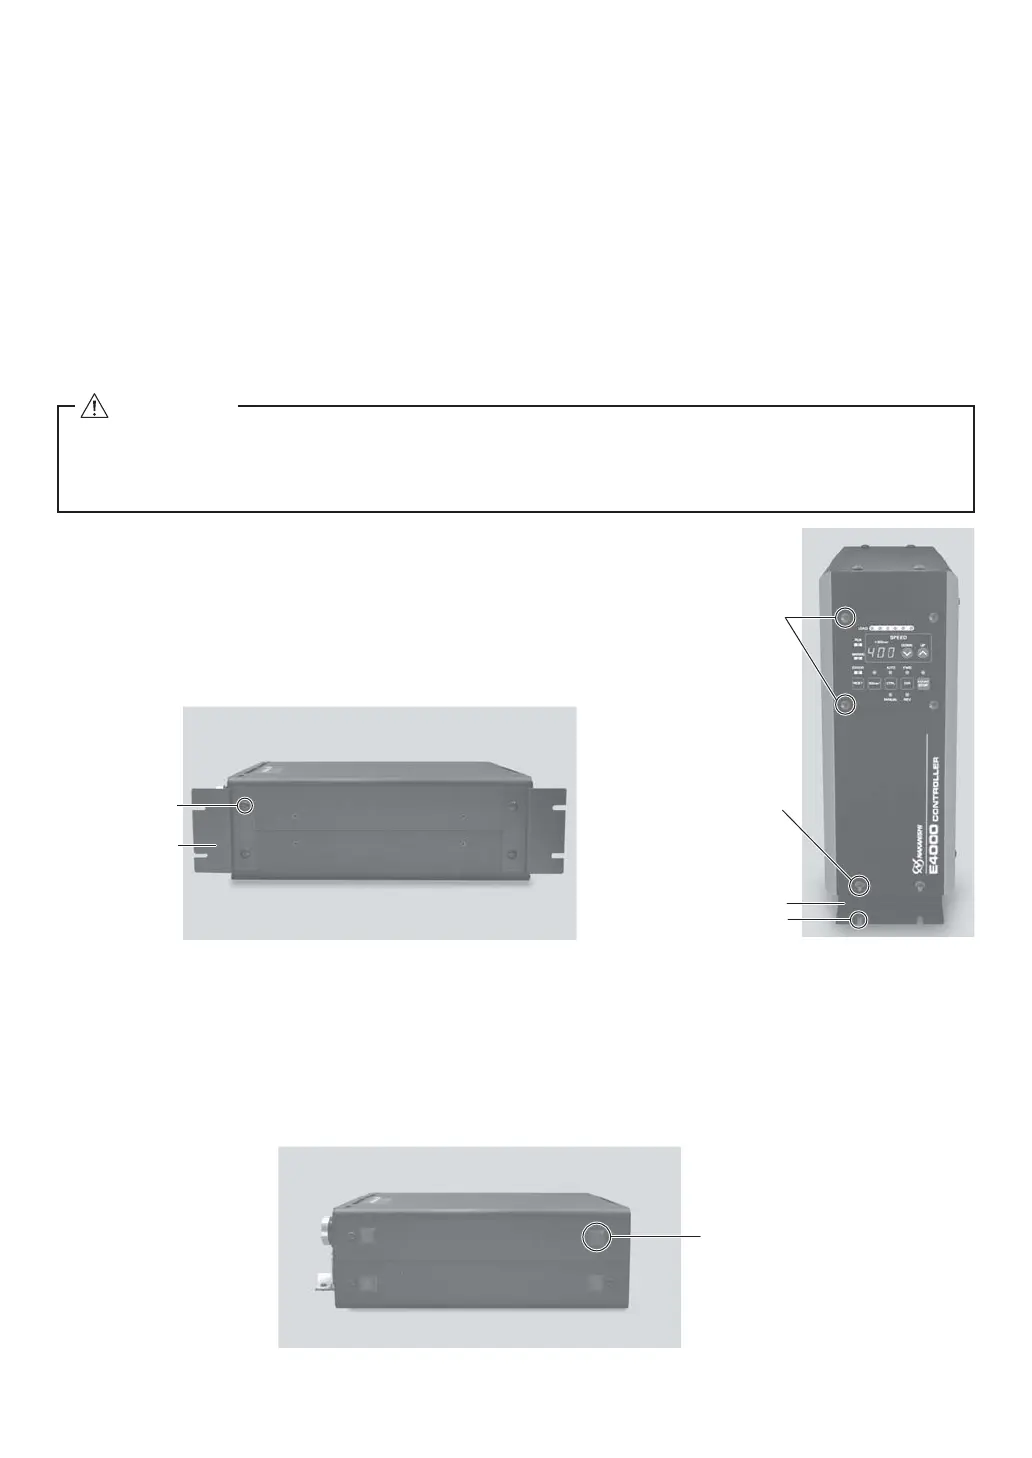
(2) Side Surface Mounting
① Remove the Mounting Screws (4pcs.) from side of the CONTROLLER (Fig. 9).
② Install the Brackets (2pcs.) to the side of CONTROLLER by using removed Mounting Screws (4pcs.)
(Fig. 12).
③
Attach the CONTROLLER (Bracket's Slotted Area) to the machine using the mounting screws
(8 pcs. not included / provided by the end-user). (Fig. 13).
* Mounting screws used to attach the CONTROLLER on the machine, not included / provided by the end-
user.
④ If " Side Surface Mounting " of the CONTROLLER is required.
If the CONTROLLER is installed usind its side surface, the Control Panel can be rotated 90-degees from the
original position. To rotate, remove the 4 Control Panel Mounting Screw attached to Control Panel. Change
position of the Control panel
and re-install the 4 Control Panel Mounting Screws.
Mounting Screw
Bracket
Mounting Screw
(4pcs.)
Slotted Area
Bracket
Mounting Screw (4pcs.)
(Not included / provided
by the end-user).
Fig. 12 Fig. 13 Control Panel vertical position.
If the CONTROLLER is installed in a vertical position, install the Rubber Pads to the CONTROLLER as shown in
Fig. 14.
Rubber Pad
Fig. 14
CAUTION
Make sure the input power supply is OFF before rotating the mounting direction of the Control
Panel. If the incoming power supply is ON, electric shock or damage to the CONTROLLER may
result.
 Loading...