68
Fig. 22
14. CHANGING THE CONTROL PANEL
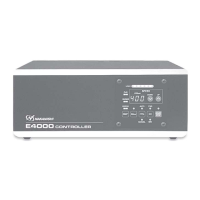
The position of the Control Panel can be changed from the front to rear of the CONTROLLER.
(1)
Remove the 4 screws that af¿ x the Control Panel and
pull the Control Panel gently from the CONTROLLER
(Fig. 20).
Remove the connector from rear of the Control Panel
(Fig. 20).
(2) Remove the screw from the Plate and pull the Plate
from the CONTROLLER (Fig. 21).
Control Panel
Mounting Screw
Remove
Remove
Conector
Pull
Fig. 20
Mounting Screw
Plate
RemoveRemove
Pull
Fig. 21
Control Panel
Mounting Screw
Connector
Mounting
Connecting
(3)
Connect the connector inside the CONTROLLER to
the connector of the rear of the Control Panel.
(Fig. 22).
(4)
Re-attach the Control Panel using the 4 mounting
screws (Fig. 22).
(5) Mounting the Plate using the 4 mounting screws.
(Fig. 23).
Mounting Screw
Plate
Mounting
Fig. 23
WARNING
Make sure the input power supply is OFF before rotating the direction of setting Control Panel. If
the incoming power supply is ON, it may cause electric shock or damage to the CONTROLLER.

 Loading...