Chapter 2 Installing and Configuring the DAQCard-700
DAQCard-700 User Manual 2-2 ni.com
3. Visually verify the installation by making sure that the DAQCard-700
isfullyinsertedintotheslot.
4. Attach the DAQCard-700 I/O cable.
Note
Be careful not to put strain on the I/O cable when inserting it into and removing it
from the DAQCard-700. Always grasp the cable by the connector you are plugging or
unplugging. Never pull directly on the I/O cable to unplug it from the DAQCard-700.
5. Plug in and power on the computer.
The DAQCard-700 is now installed. You are now ready to configure the
hardware and software and to make the appropriate connections to the
I/O connector cable as described in Chapter 3, Connecting Signals.
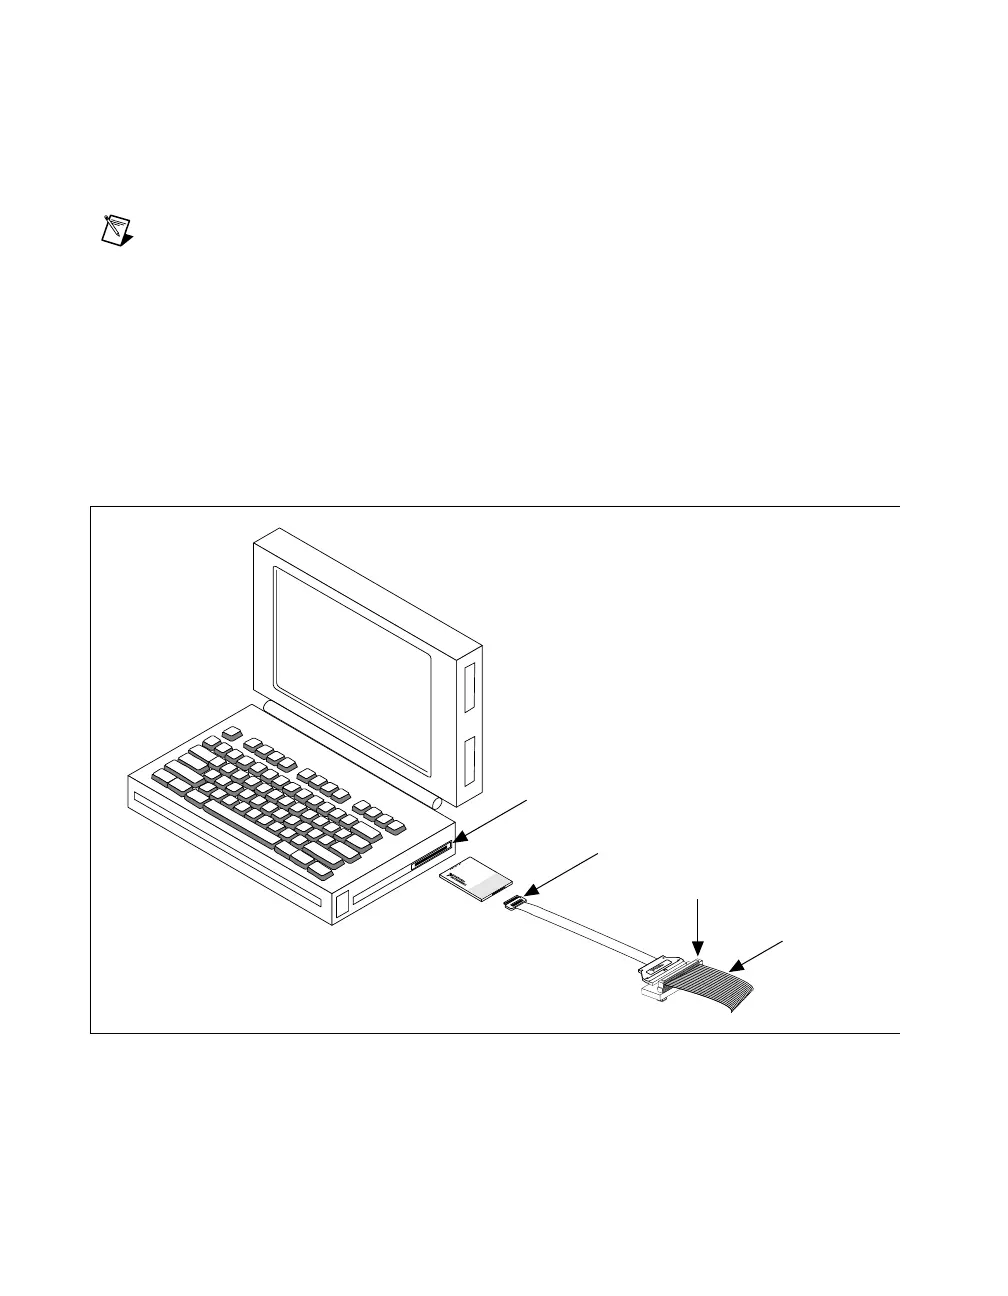
Figure 2-1 shows an example of a typical configuration.
Figure 2-1. A Typical Configuration for the DAQCard-700
PCMCIA Socket
Portable
Computer
I/O Cable
®
CB-50
I/O Signals
DAQCard-700
 Loading...