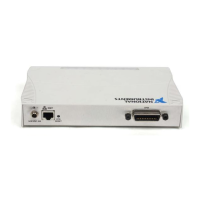
© National Instruments Corporation 5-1 GPIB-ENET/100 for Windows Me/98/95
5
Verify the Installation
This chapter describes how to verify the hardware and software installation.
Power-On Self Tests
When you power on your GPIB-ENET/100, the PWR/RDY LED
alternates rapidly between red and yellow while the GPIB-ENET/100
completes its power-on self-tests and acquires its network parameters,
as described in the Step 3. Switch on Your GPIB-ENET/100 section in
Chapter 2, Installation.
The power-on self tests take about 15 seconds to complete when using
DHCP. The time required for the IP address assignment is dependent on
your network and the configuration of your GPIB-ENET/100. When the
tests are successful and the IP address is assigned, the PWR/RDY LED
remains steady yellow, indicating that the GPIB-ENET/100 is ready to
operate.
If the PWR/RDY LED continues to flash for more than one minute, refer
to the Troubleshooting Hardware Problems section in Appendix B,
Troubleshooting and Common Questions.
Run the NI-488.2 Getting Started Wizard
To test the hardware and software installation, run the NI-488.2 Getting
Started Wizard. Select Start»Programs»National Instruments»
NI-488.2»Getting Started and follow the instructions on the screen.
The NI-488.2 Getting Started Wizard, shown in Figure 5-1, verifies the
hardware and software installation and helps you begin to communicate
with your GPIB instrument.

 Loading...