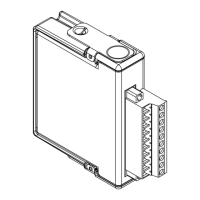
4 | ni.com | NI PXIe-4302/4303 and TB-4302/4302C
Unpack and Install the Module
Remove the packaging and inspect the module. Contact NI if the module is damaged. Do not
install a damaged module.
Caution The module is static sensitive. Always properly ground yourself and the
equipment when handling or connecting to the module.
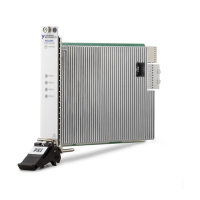
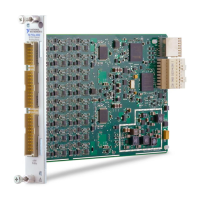
Complete the following steps to install the NI PXIe-4302/4303 module while referring to
Figures 1 and 2:
Note To maintain forced air cooling in the PXIe system, refer to the Maintain
Forced-Air Cooling Note to Users.
1. Plug in your chassis before installing the NI PXIe-4302/4303. The power cord grounds the
chassis and protects it from electrical damage while you install the module.
2. Make sure the chassis is powered off.
Caution To protect yourself, the chassis, and the NI PXIe-4302/4303 from
electrical hazards, leave the chassis powered off until you finish installing the
NI PXIe-4302/4303 module.
3. Touch a metal part on the chassis to discharge any accumulated static electricity.
4. Identify a supported PXI Express slot in the chassis. NI PXIe-4302/4303 modules can be
placed only in PXI Express Peripheral slots, PXI Express Hybrid Peripheral slots, and PXI
Express System Timing slots. Refer to the chassis documentation for details.
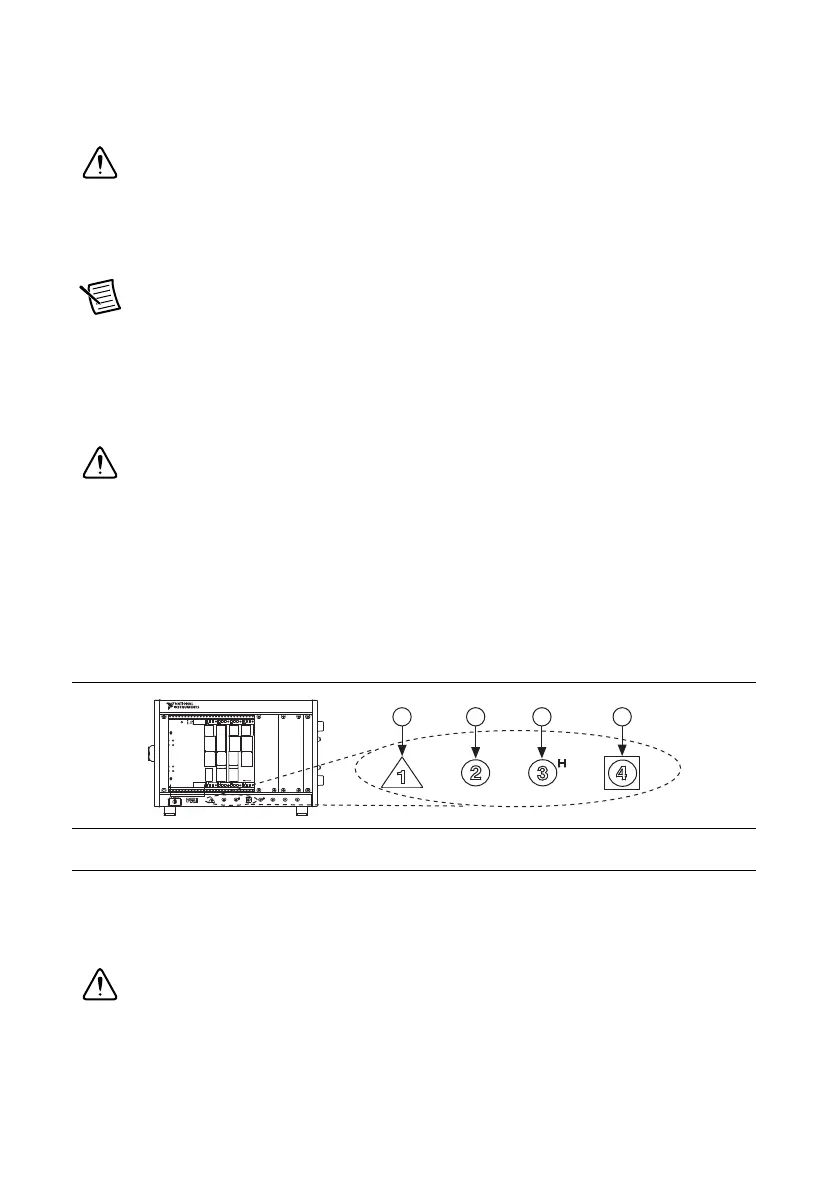
Figure 1. Symbols for PXI Express/ PXI Express Hybrid/ PXI Slots
5. Remove the filler panel, and touch any metal part of the chassis to discharge static
electricity.
6. Place the module edges into the module guides at the top and bottom of the slot.
Caution When installing the module, make sure both edges are positioned inside
the guides and that the module components do not come into contact with adjacent
modules.
1 PXI Express System Controller Slot
2 PXI Peripheral Slot
3 PXI Express Hybrid Peripheral Slot
4 PXI Express System Timing Slot
NI PXIe-1062Q
1 2 3 4
 Loading...