• When pressing and holding a blue lit Pad, the playback continues from the position of the stor-
ed Cue point as long as the Pad is kept depressed.
• When releasing the Pad, the playback position jumps back to the Cue Point and playback
stops immediately.
• When pressing and holding a blue lit Pad + later pressing the Play/Pause button, the playback
continues as normal.
Removing Cue Points
To remove a Cue Point from the track and so the Hotcue:
• Press SHIFT + press a blue lit Pad.
The Hotcue is removed and the Cue Point is deleted from the track. The pad is now unlit.
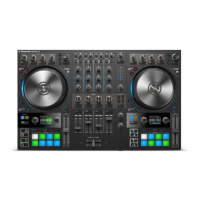
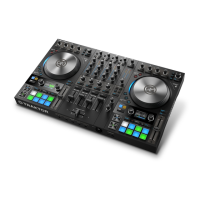
7.9. Playing with Loops
A Loop is a snippet of audio that repeats (loops). Loops are used as tools for remixing parts of
tracks and can be used to extend track transitions. In this section you learn to play with Loops on
the S2. Besides enabling Loops, you can can store Loops as Hotcues using the Pads on the Deck
like with Cue Points. This allows instant access to your most important Loops.
Enabling a Loop
In order to enable a Loop:
1. Press the LOOP encoder.
The playback is looping by the pre-defined Loop size. The Loop appears as the green area
in the Waveform.
2. To disable the Loop, press the LOOP encoder again.
The playback continues.
Changing the Loop Size
You can instantly change the size for the an enabled or disabled Loop:
• Turn the LOOP encoder clockwise or counter-clockwise.
The Loop size for the enabled Loop instantly changes by the value displayed in the Loop
Control bar.
If there is no Loop enabled, turning the LOOP encoder only pre-defines the Loop size.
Storing Loop on Hotcue Buttons
1. Enable a Loop.
2. Press an unlit Pad.
The Loop is stored as Hotcue. The Pad lights up green.
Triggering stored Loops
To trigger a stored Loop:
Tutorials
31
 Loading...