168
6. Installation and Connections
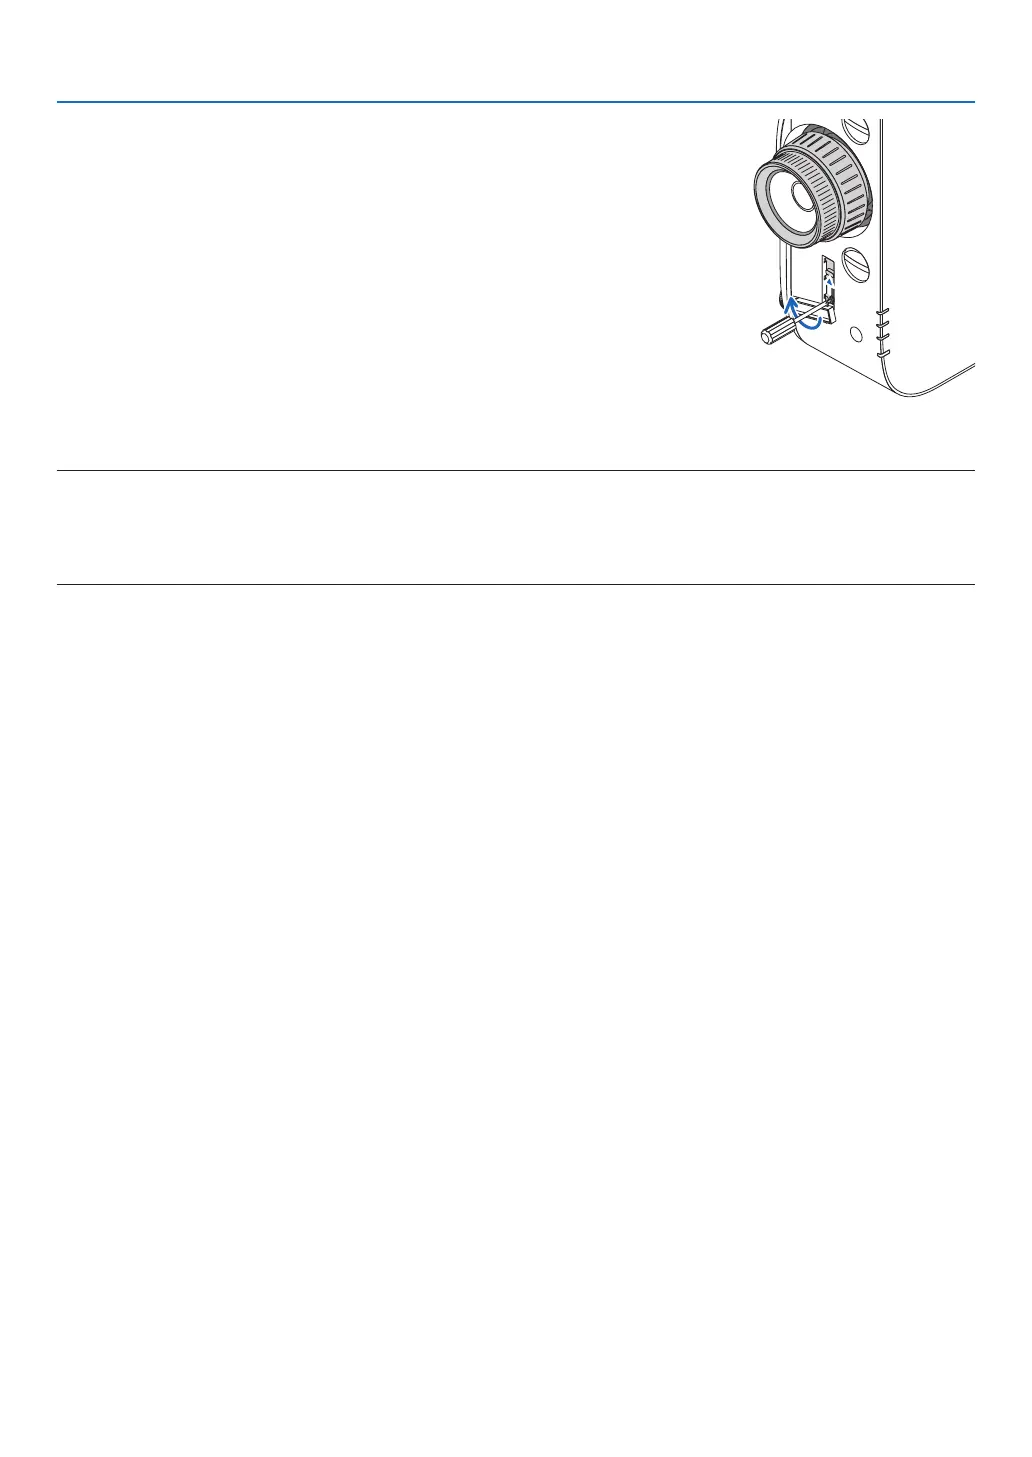
3. Slide the securing lever towards the top until it comes to a stop
and then turn the screws to the right to tighten them.
• Tightenthescrewswhilepressingthesecuringlevertowardsthe
top.
* Loosenthescrewsrstbeforere-adjustingthelensshift.
4. Fix the four securing lever covers.
NOTE:
• Determinethescreenpositionrstbeforeusingthesecuringlevers.
• Donotturnthezoomringwhenusingthesecuringlever.Pleasedonotremovethelenseither.
• Thesecuringleverisusedtosupportthelensandnottosecurethelens.Asaresult,thescreenmayshiftwhenthelensis
touched.
 Loading...