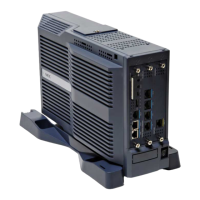
4-10 Configuring the SVP Server
SVP Server Installation, Setup, & Maintenance Manual - Revision 1
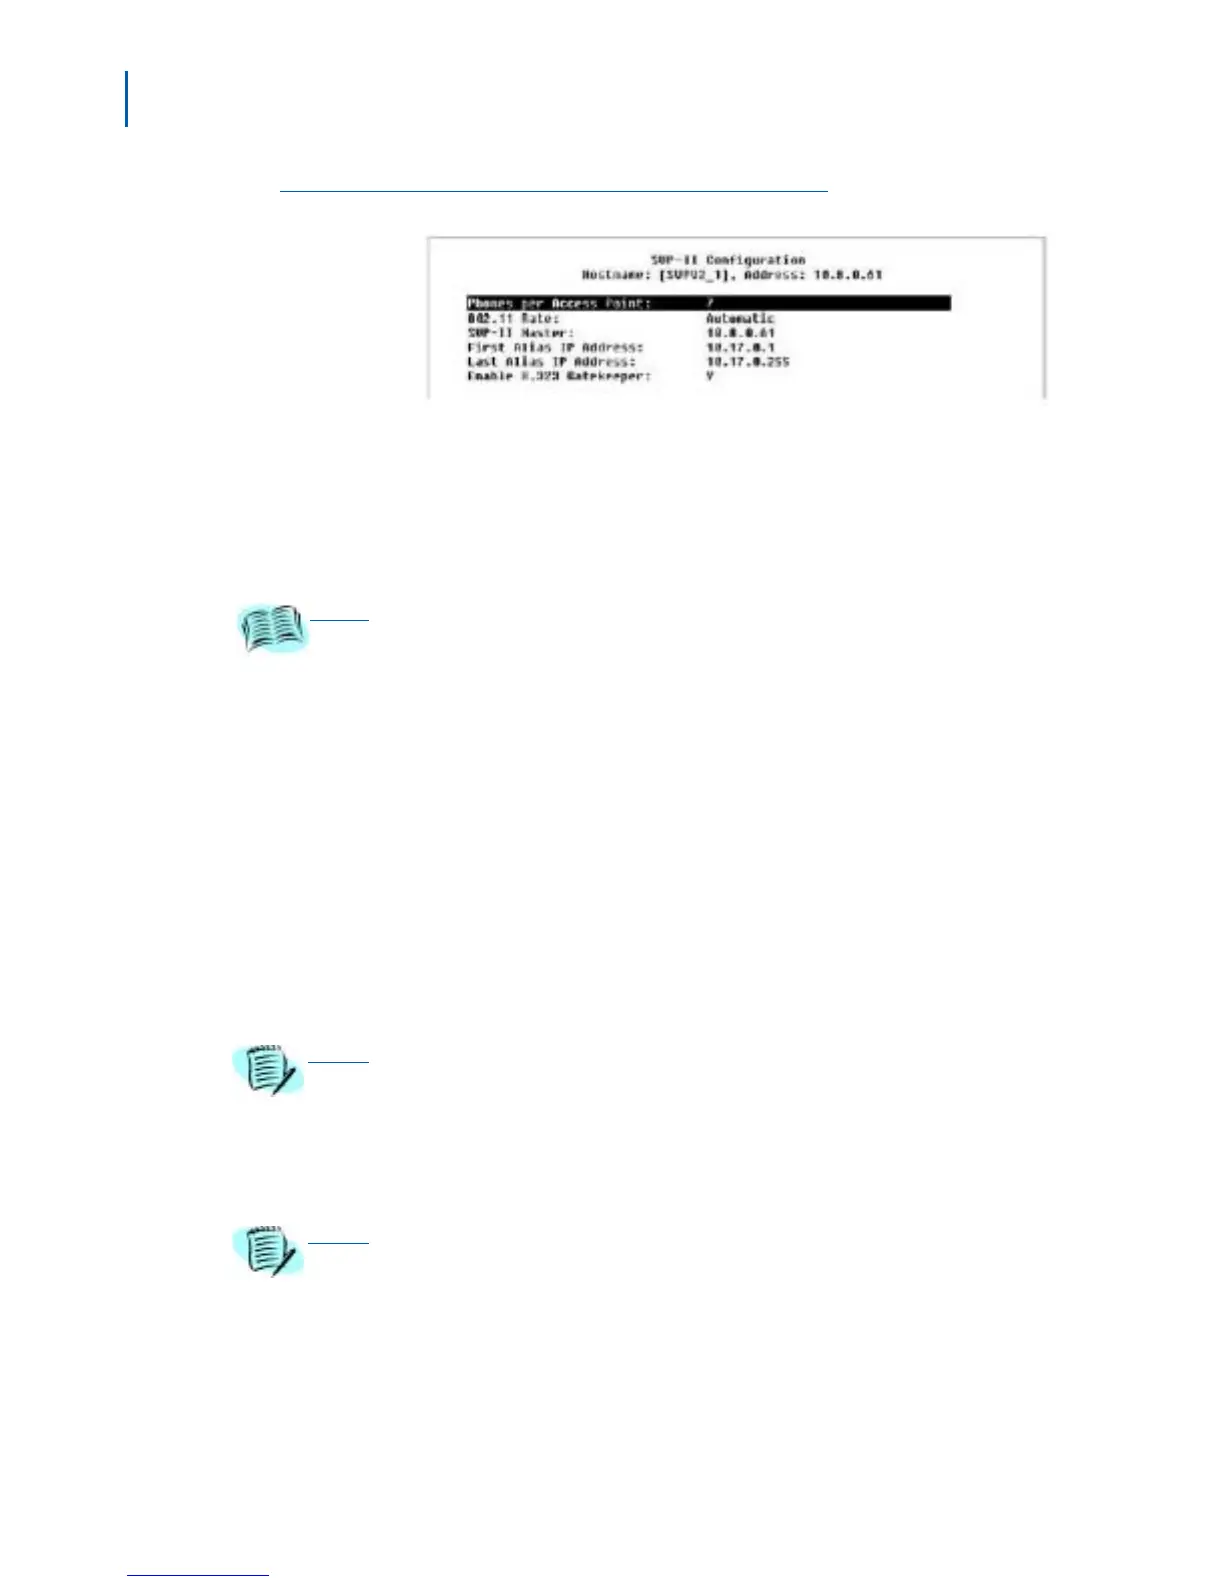
Figure 4-5
170 Series SVP-II Configuration window
The Netlink IP option is only used with 170 series software. Use the
following steps to complete the configuration of the SVP-II Configuration
window.
Step 1 Enter the number of simultaneous calls supported for your type in the
Phones per Access Point field.
Step 2 Select one of the following for the 802.11 Rate field:
—Select Automatic to allow the Wireless Telephone to determine its
rate (up to 11 Mb/s).
—Select 1MB/2MB to limit the transmission rate between the Wireless
Telephones and access points.
Step 3 The SVP-II Master must be identified in an IP system. Select one of the
following identification options:
—Statically configure the IP address of the master SVP Server in each
of the SVP Servers. Enter the IP address.
—Statically configure the IP address of the master SVP Server in a
DHCP server and configure each of the SVP Servers to get the
information from the DHCP server. Enter DHCP.
—Statically configure the IP address of the master SVP Server in a
DNS server and configure each of the SVP Servers to retrieve this
information from the DNS server. Enter DNS.
REFERENCE
Refer to the “Configuration Notes” when entering the number of simultaneous calls
supported for your type. Access point specifications are detailed there.
NOTE
If DHCP is used, the IP address of the master SVP Server must be configured
in the DHCP server.
NOTE
If DNS is used, the IP address of the master SVP Server must be configured
in the DNS server.