4-4 Configuring the SVP Server
SVP Server Installation, Setup, & Maintenance Manual - Revision 1
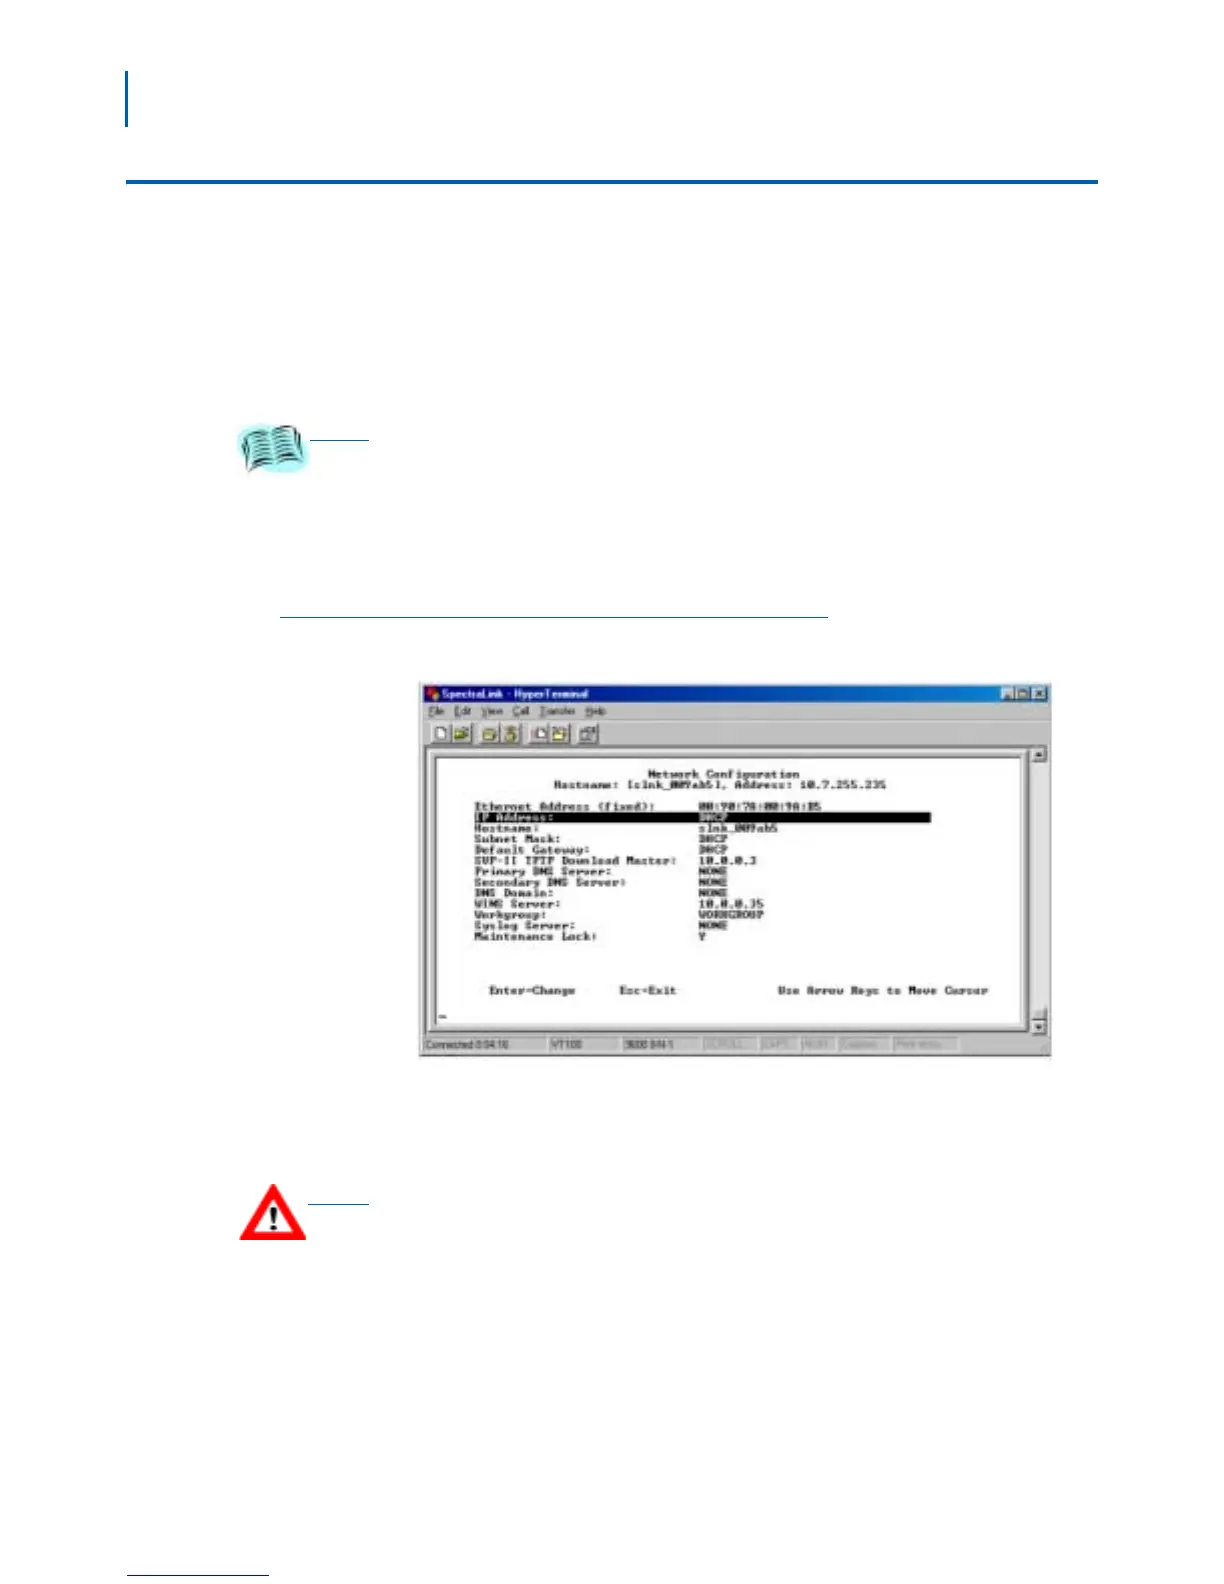
Network Configuration
The IP address and other network settings are established via the
Network Configuration window. This is also where you may optionally
establish a hostname and enter the IP address of the location of any
software updates you may obtain from NEC Business Solutions.
Use the following steps to complete the configuration options on the
Network Configuration Menu.
Step 1 Select Network Configuration on the Netlink SVP-II System Menu
window
(Figure 4-1 on page 4-2) and press ENTER. The Network
Configuration window displays (Figure 4-2).
Figure 4-2
Network Configuration window
Step 2 Enter the IP address of the SVP Server, defined by your network
administrator in the IP Address field. Enter the complete address
including digits and periods. DHCP may be entered.
REFERENCE
Refer to Chapter 6, “Configuring the SVP Server” for more information about installing
software updates via TFTP.
CAUTION
A “master” SVP Server must have a static IP address.