3.1. Routing between LANs and to the Internet
each of the two LANs. VLAN-A-12 and VLAN-B-22 are names assigned to the network but those names
appear to have no influence on the handling of the VLANs by the switch.
3.1.1 Implementation
This design is implemented by routing VLANs and a default gateway through the Internet router. The
address of the switch was 192.168.10.60 which was not on the VLANs which were to be created.
Routing VLANs are setup using a different mechanism on the GS724Tv4 switch than that used to setup
standard VLANs. The switch menu sequwnce:
Routing → VLAN → VLAN Routing Wizard
brought up the VLAN Routing Wizard display. The value 12 was typed into the Vlan ID field. This
was an arbitrary selected value. Then value 192.168.14.1 was typed into the IP Address field.
This 192.168.14.1 was the address for the switch to use as the gateway for the VLAN having the ID
of 12. Next the value 255.255.255.0 was typed into the Network Mask field. Finally, the Unit 1
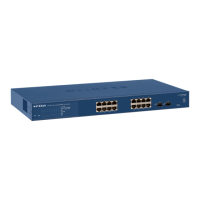
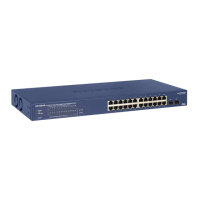
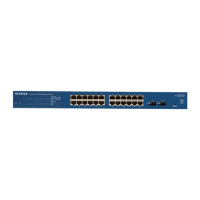
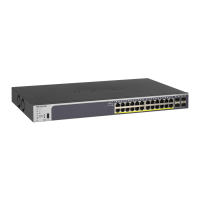
text was clicked to bring up the Ports list with 26 items. From Figure 3.1, ports 1, 2, and 7 were used on
VLAN 12. So the entries under Ports 1, 2, and then 7 were clicked until a U appeared. Each port was to
be an untagged member of the VLAN. Once this was done, the APPLY button in the bottom right-hand
corner of the screen was clicked.
The APPLY button both saves the previously entered VLAN information in the switch for subsequent
routing use and also brought up another VLAN Routing Wizard display. Into this disply the Vlan
ID was given the value 22, the IP Address was assigned the value 192.168.8.1, and the Network
Mask was assigned as 255.255.255.0. Ports 19 and 23 were assigned as Untagged members of this
VLAN. The APPLY button was again clicked.
Routing between VLANs 12 and 22 had now been setup. The routing configured was displayed using
the menu sequence:
Routing → Routing table
which brought up the Route Configuration display. The Route Status part of that display
showed to routing which had been setup.
The Internet access was setup as the default gateway for the routing VLANs. This was done using the
Configure Routes part of the Route Configuration display, the Route Status part of which
showed the VLAN routes which had been setup. From the Static and DefaultRoute options avail-
able under the Route Type label, the DefaultRoute was selected. Then the value 192.168.8.244
was typed into the Next Hope IP Address field. This is the network address of the Internet router.
When the APPLY button was clicked, an entry in the Route Status part of the display appeared de-
noting this route.
An option was to apply the VLAN labels of Figure 3.1 to the routing VLANs implemented on the switch.
This was done by considering the routing VLANs as normal VLANs. The switch menu sequence:
Switching → VLAN → Basic → VLAN Configuration
produced the VLAN Configration screen listing all VLANs on the switch. First VLAN 12 was la-
belled. The box next to 12 under the VLAN ID heading was clicked. This put a tick into that box, colour
highlighted the line in the listing, and entered 12 in the VLAN ID field at the top of the table. The label
VLAN-A-12 was then typed into the VLAN Name field and the APPLY button at the right-hand bottom
of the screen clicked. That name, together with the ID of 12 appeared in the configuration listing. This
process was repeated for VLAN 22 using the label VLAN-B-22. Such labels are only of use to describe
the VLANs on the switch, but are not used by the switch in its operation.
21
 Loading...