5.
In the table, select the radio button for the route.
6. Click the Delete button.
The route is removed from the table.
Change the admin WiFi network settings
You can set up four WiFi networks for your Orbi Pro WiFi 6 network: one for
administrative access, one for employee access, one for Internet of things (IoT) devices,
and one for guest access.
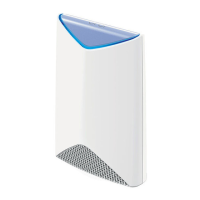
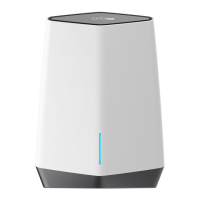
Your Orbi Pro WiFi 6 router and satellite come preset with the same admin WiFi network
name (SSID) and WiFi network key (password). You can find the admin SSID and
password on the router label and on the satellite label. The preset WiFi settings on the
labels are for your admin WiFi network. When you log in to the router and change the
WiFi settings, the router automatically sends the new settings to the satellite.
Note: The router web interface calls the admin WiFi network the Wireless 1 network.
Change the admin WiFi network name and channel
If you change your WiFi settings, make a note of the new settings and store it in a safe
place where you can easily find it.
If your computer or mobile device is using a WiFi connection when you change the
network name (SSID) or other WiFi security settings, you are disconnected when you
click the Apply button. To avoid this problem, use a computer with a wired connection
to access the router.
Note: The router web interface calls the admin WiFi network the Wireless 1 network.
To change the admin WiFi settings:
1.
Launch a web browser from a computer or mobile device that is connected to your
Orbi network.
2. Enter orbilogin.com.
A login window opens.
3. Enter the admin user name and password.
The user name is admin. The password is the one that you specified the first time
that you logged in. The user name and password are case-sensitive.
The BASIC Home page displays.
User Manual90Specify Network Settings
Orbi Pro WiFi 6 Router SXR80 and Orbi Pro WiFi 6 Satellite SXR80
 Loading...
