22
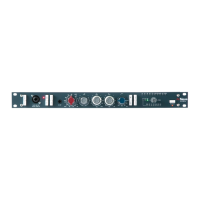
Setup Menu 1
Once the units IP address has been assigned, the remote software will scan
for connected devices and automatically connect. If a unit is not found, or if
several 1073OPX units are connected, click the SETUP button in the plugin
software window and follow the steps on the following pages.
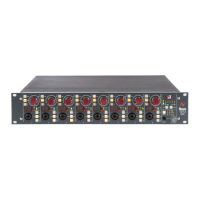
Information 1
Shows key information such as software version, operating system, software
design key and 64-bit operation information.
Network control 1
The dropdown menu will show any available connected 1073OPX devices.
By default, each device is named 1073OPX.
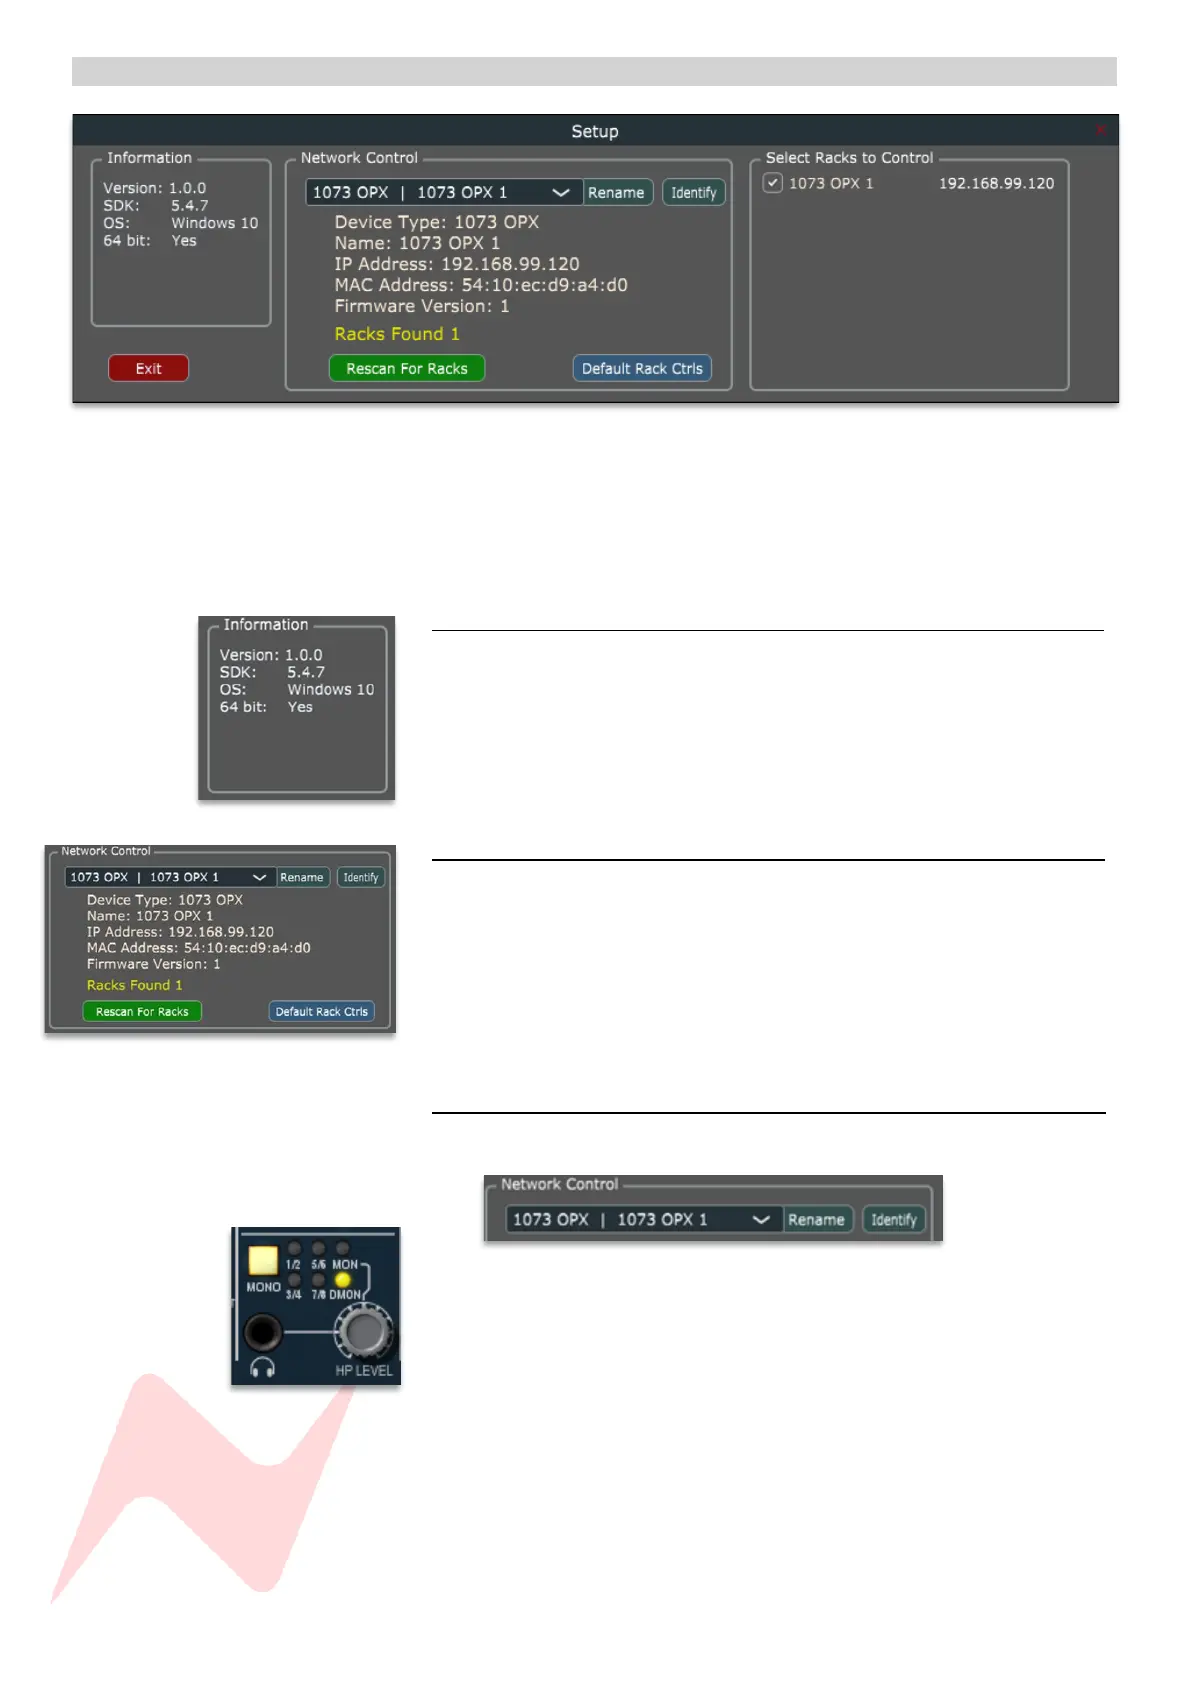
Renaming a device 1
Choose a device in the dropdown menu
Click Identify
The MONO button will flash on the selected 1073OPX device.
Click Rename
Rename the device (Max 21 characters)
 Loading...