Installation
Newall Measurement Systems
4
INSTALLATION
The DSU is normally mounted on a vertical face on the rear of the machine. The DSU facilitates the fixing in
2, 3 or 4 point location. For metric applications drill and tap an M6 hole and locate the DSU by inserting one
of the M6 bolts provided. Ensure the DSU is level, mark the next location and drill and tap the second hole.
Repeat this process for the required number of fixing locations. For those customers requiring imperial
(Inch) fittings, repeat the above process substituting 1/4 inch UNC tapped hole and bolts.
Note: The fitting kit includes both the metric and imperial fittings. The metric fittings are zinc
coated whereas the imperial fittings are black
The DSU is connected to the keypad/display via a 3.5 metre 9 pin “D” type cable. The cable can only be
connected in one direction. Once connected, secure the cable at both ends using the slotted locking
screws.
Please note, as shown in Figure 2.1, the transducer and mains leads should be positioned underneath the
DSU to avoid any ingress of coolant.
2.1.2 Display and data sending unit (DSU) mounted together (Figure 2.1b)
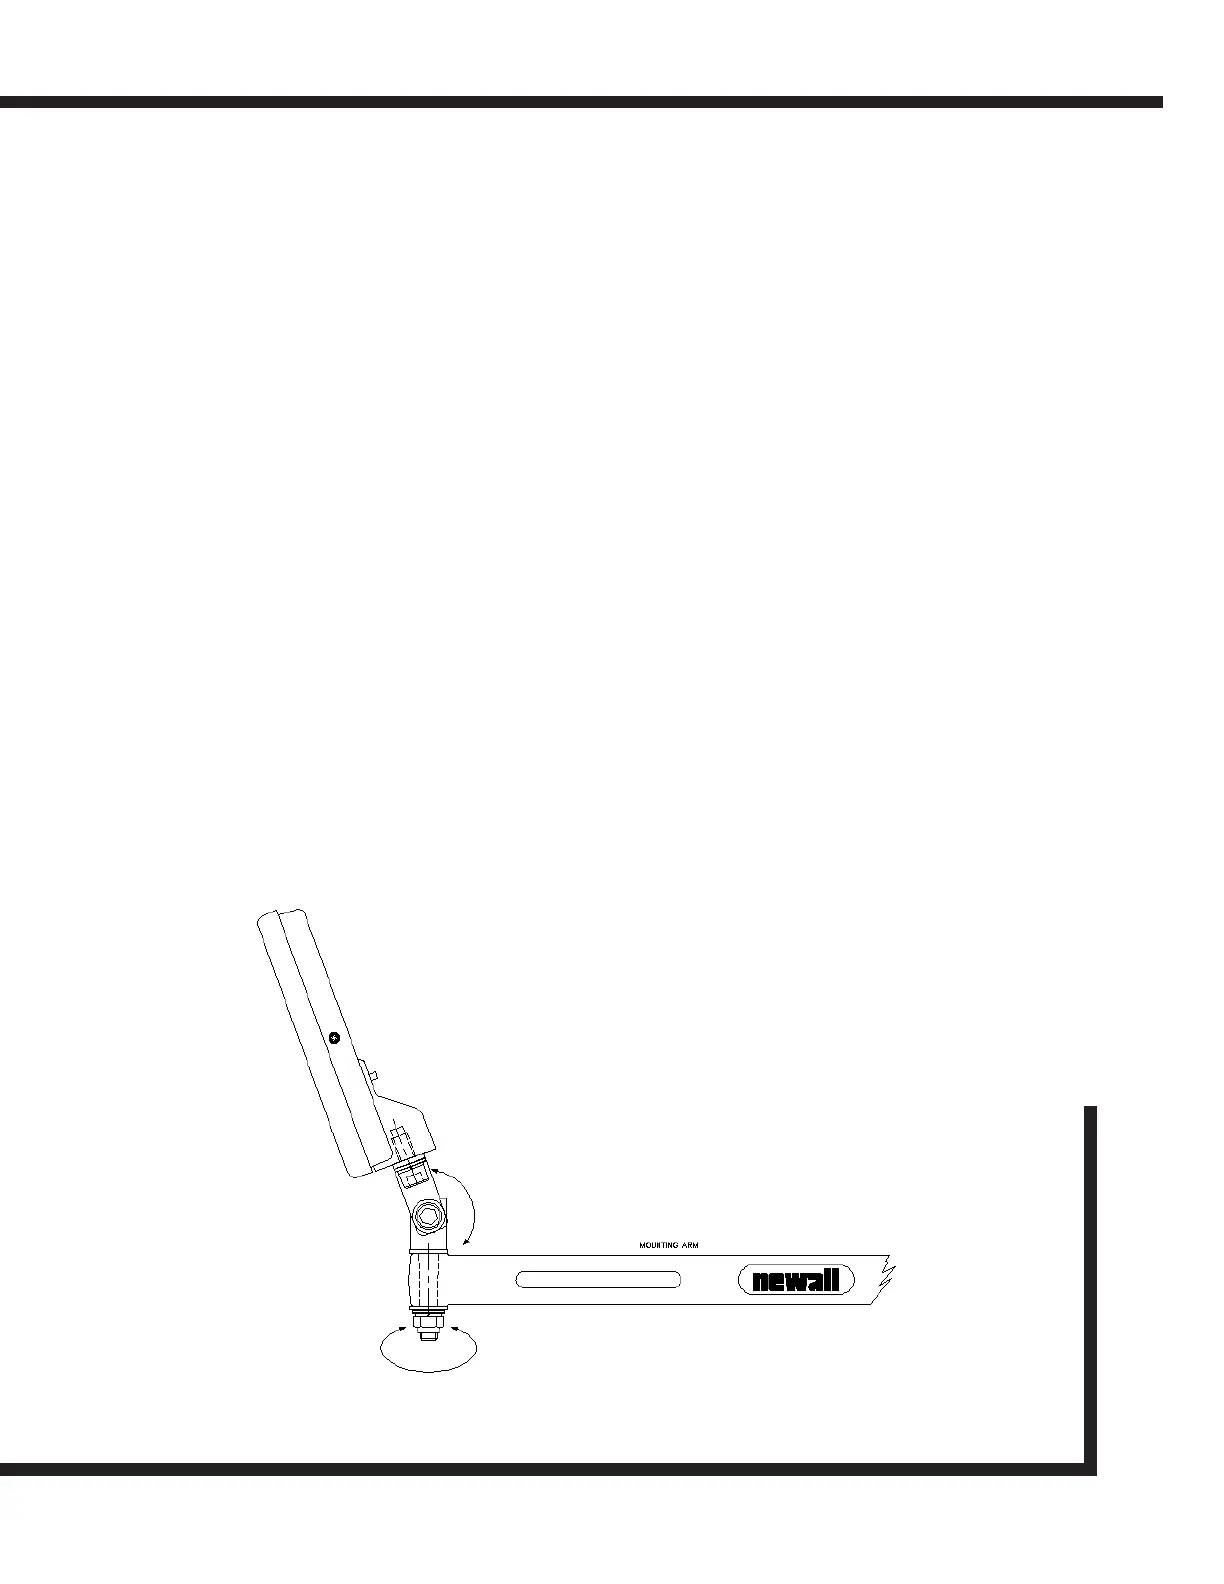
An optional bracket (Part No 600-65590) is available to facilitate the mounting of the DSU directly to the
keypad/display. This assembly can be mounted using the standard M10 stud, the swivel mount assembly
(Part No 294-37740), the DP8 mounting arm (Part No 294-40050) . The last three items are optional and are
detailed on the price list.
The DSU is mounted to the optional bracket by four M6 bolts. These bolts are provided with the bracket
assembly.
The bracket kit includes a 300mm 9 pin “D” type cable. This cable is to be used to connect the DSU to the
keypad/display. The 3.5 metre cable is not needed in this configuration. The cable can only be connected in
one direction. Once the sockets are located in the DSU and the keypad/display secure the slotted locking
screws.
Figure 2.2 - M10, Swivel Mount and Arm .