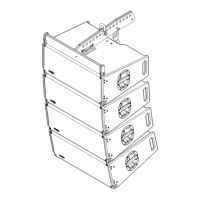
33
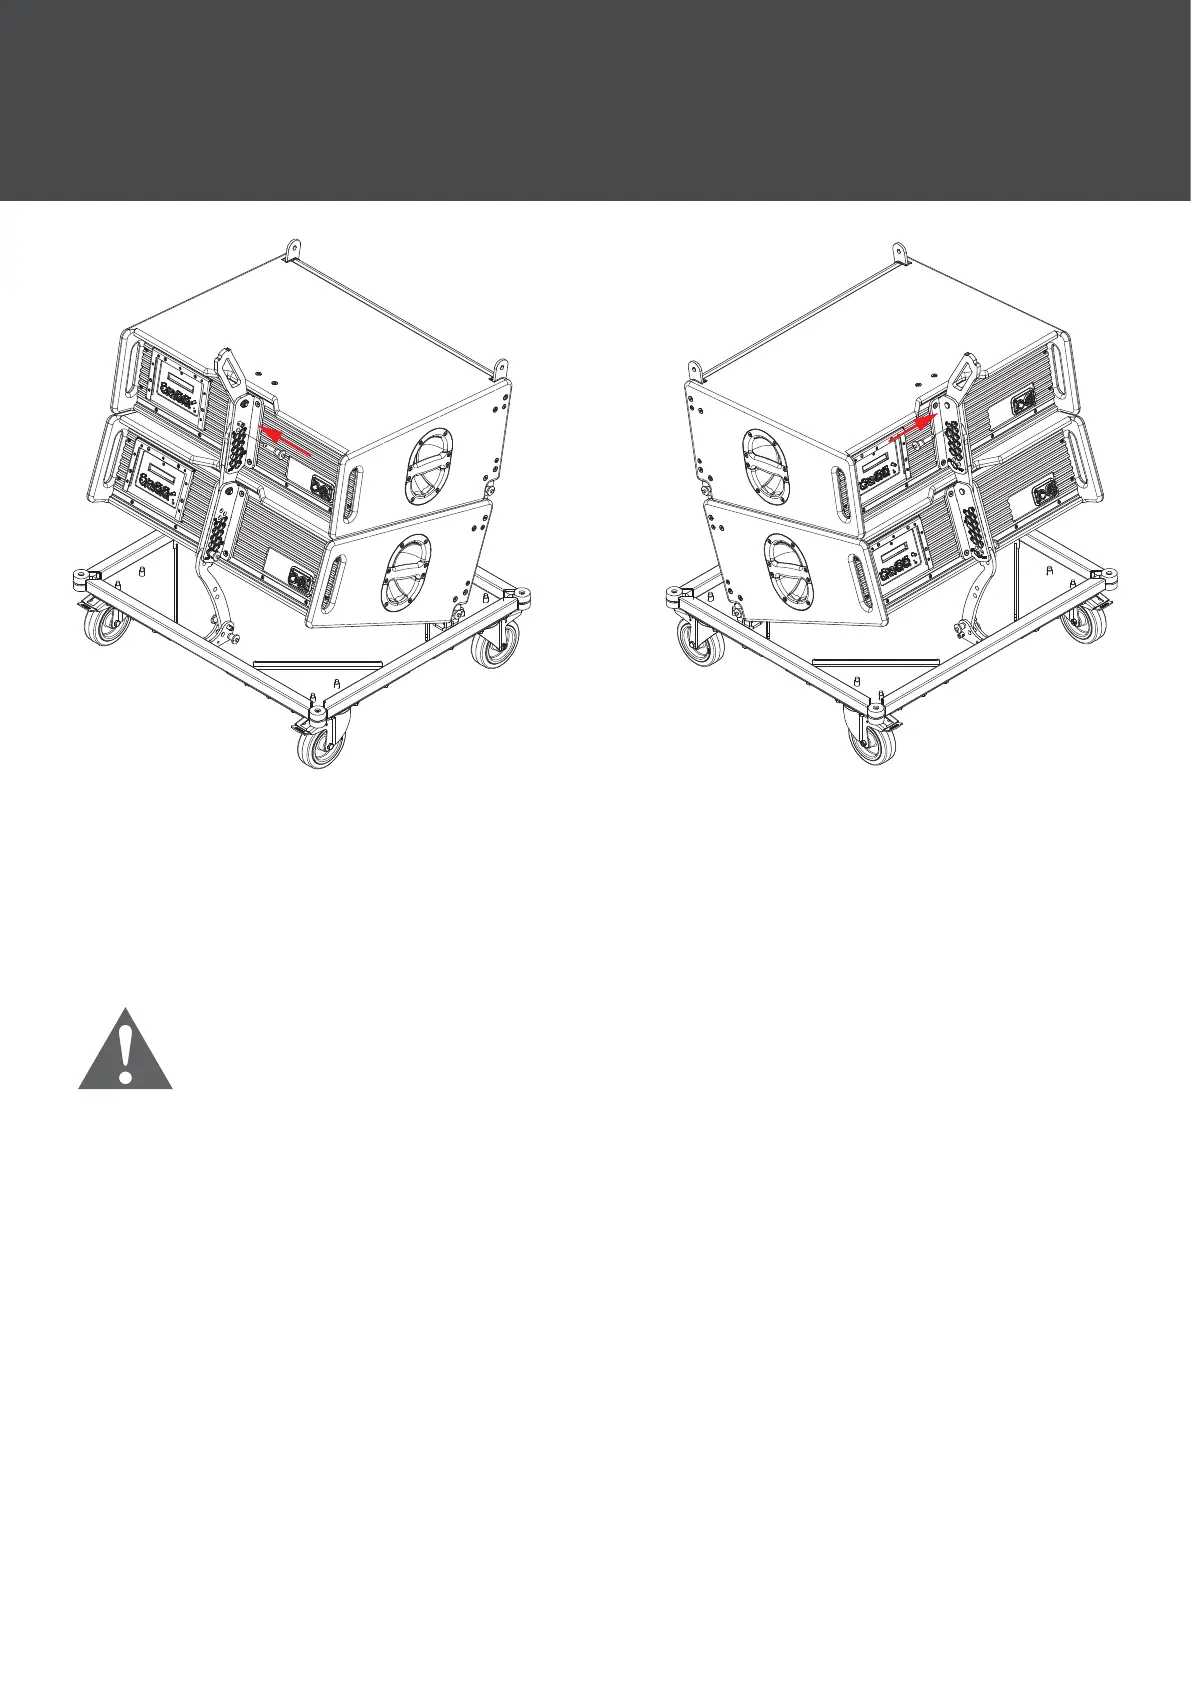
Step 11:
Insert the pin on the right hand
side of the rear rigging assembly
into hole number 10 and allow the
cabinet to rest on the rear link.
Note: All cabinets must
be set to 10 degrees for
transport.
Step 12:
Insert the pin on the left hand side
of the rear rigging assembly into
hole 10 to lock the cabinet in place.
4 Mechanical Congurations