7368 ISAM ONT G-240W-J Product Guide Replace a G-240W-J indoor ONT
Issue: 01 3FE-48009-AAAA-TCZZA 73
Danger — Fiber optic cables transmit invisible laser light. To avoid eye
damage or blindness, never look directly into fibers, connectors, or
adapters.
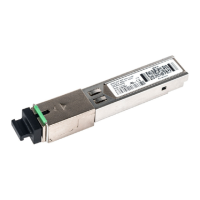
10 Connect the fiber optic cable with SC/APC adapter into the SC/APC connector. Figure 17
shows the location of the SC/APC connector.
11 Install the power supply according to manufacturer specifications.
Note — Observe the following:
• Units must be powered by a Listed or CE approved and marked
limited power source power supply with a minimum output rate of 12 VDC, 3 A.
12 Connect the power cable to the power connector.
13 Power up the unit by using the power switch.
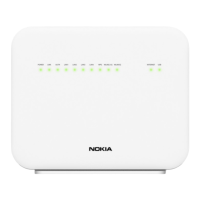
14 If used, enable the Wi-Fi service by pressing the WLAN button; see Figure 17 for the
location of the WLAN button.
15 If used, enable the WPS by pressing the WPS button; see Figure 17 for the location of the
WPS button.
16 If used, configure the SLID; see the 7368 ISAM ONT Configuration, Management, and
Troubleshooting Guide for more information.
 Loading...