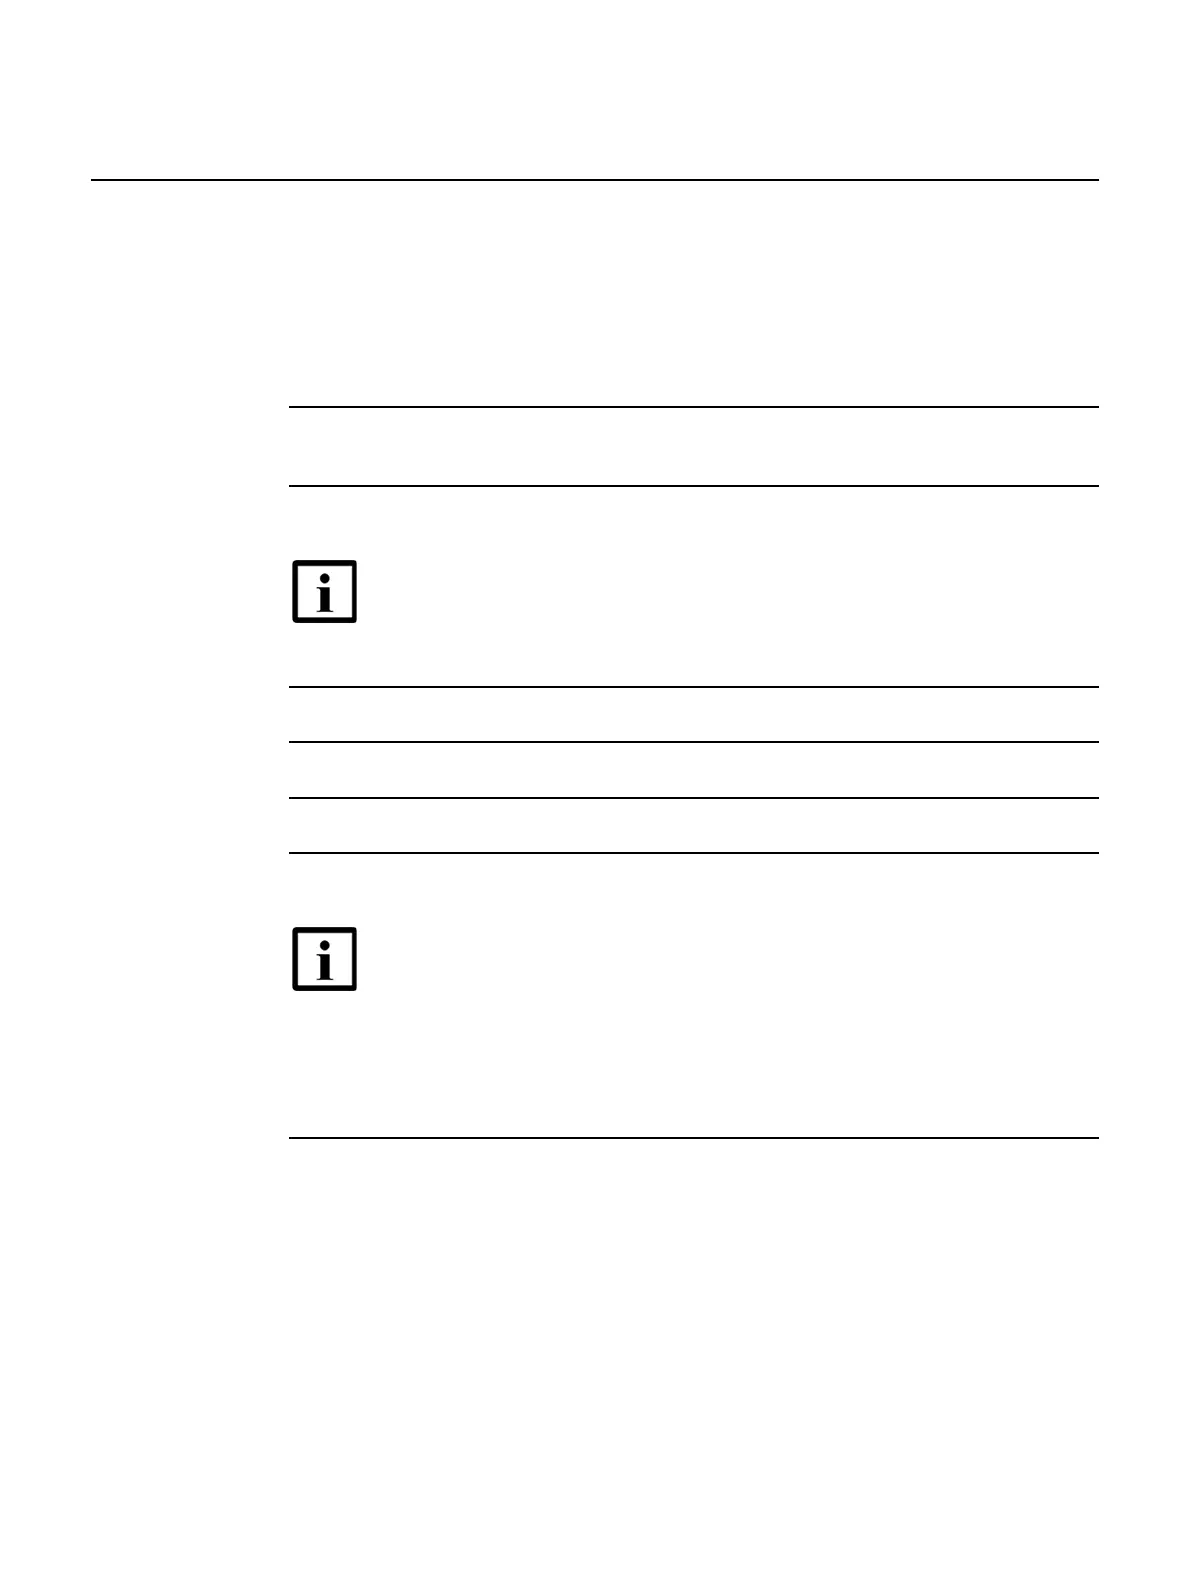
Nokia WiFi Gateway 3 Product Guide Replace a Gateway 3 (G-240W-E)
Issue: 01 3FE-47464-AAAA-TCZZA 57
iv Wind the fiber optic cable through the fiber track at the base of the cylinder until the
desired length of the cable is reached.
v Press the fiber optic cable into the slot.
vi Replace the bottom cover.
vii Replace the fiber optic connection cover (white cylinder).
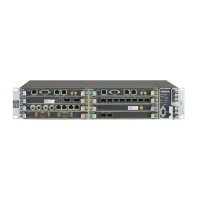
6 Connect the Ethernet cables directly to the RJ-45 ports; see Figure 11 for the location of the
RJ-45 ports.
7 Connect the power cable to the power connector.
8 Power up the unit by using the On/Off power button.
9 Verify the LEDs and voltage status.
10 Activate and test the services.
11 If necessary, reset the Gateway 3 (G-240W-E).
i Locate the Reset button on a Gateway 3 (G-240W-E) as shown in Figure 11.
ii Insert the end of a straightened paper clip or other narrow object into the hole in the
Reset button to reset the device.
12 STOP. This procedure is complete.
Note — Observe the following:
• Units must be powered by a Listed or CE approved and marked
limited power source with a minimum output rate of 12 V dc, 3 A. The
polarity of the power adapter plug must match the Gateway 3.
Note — Resetting the device will return all settings to factory default
values; any configuration customization will be lost.