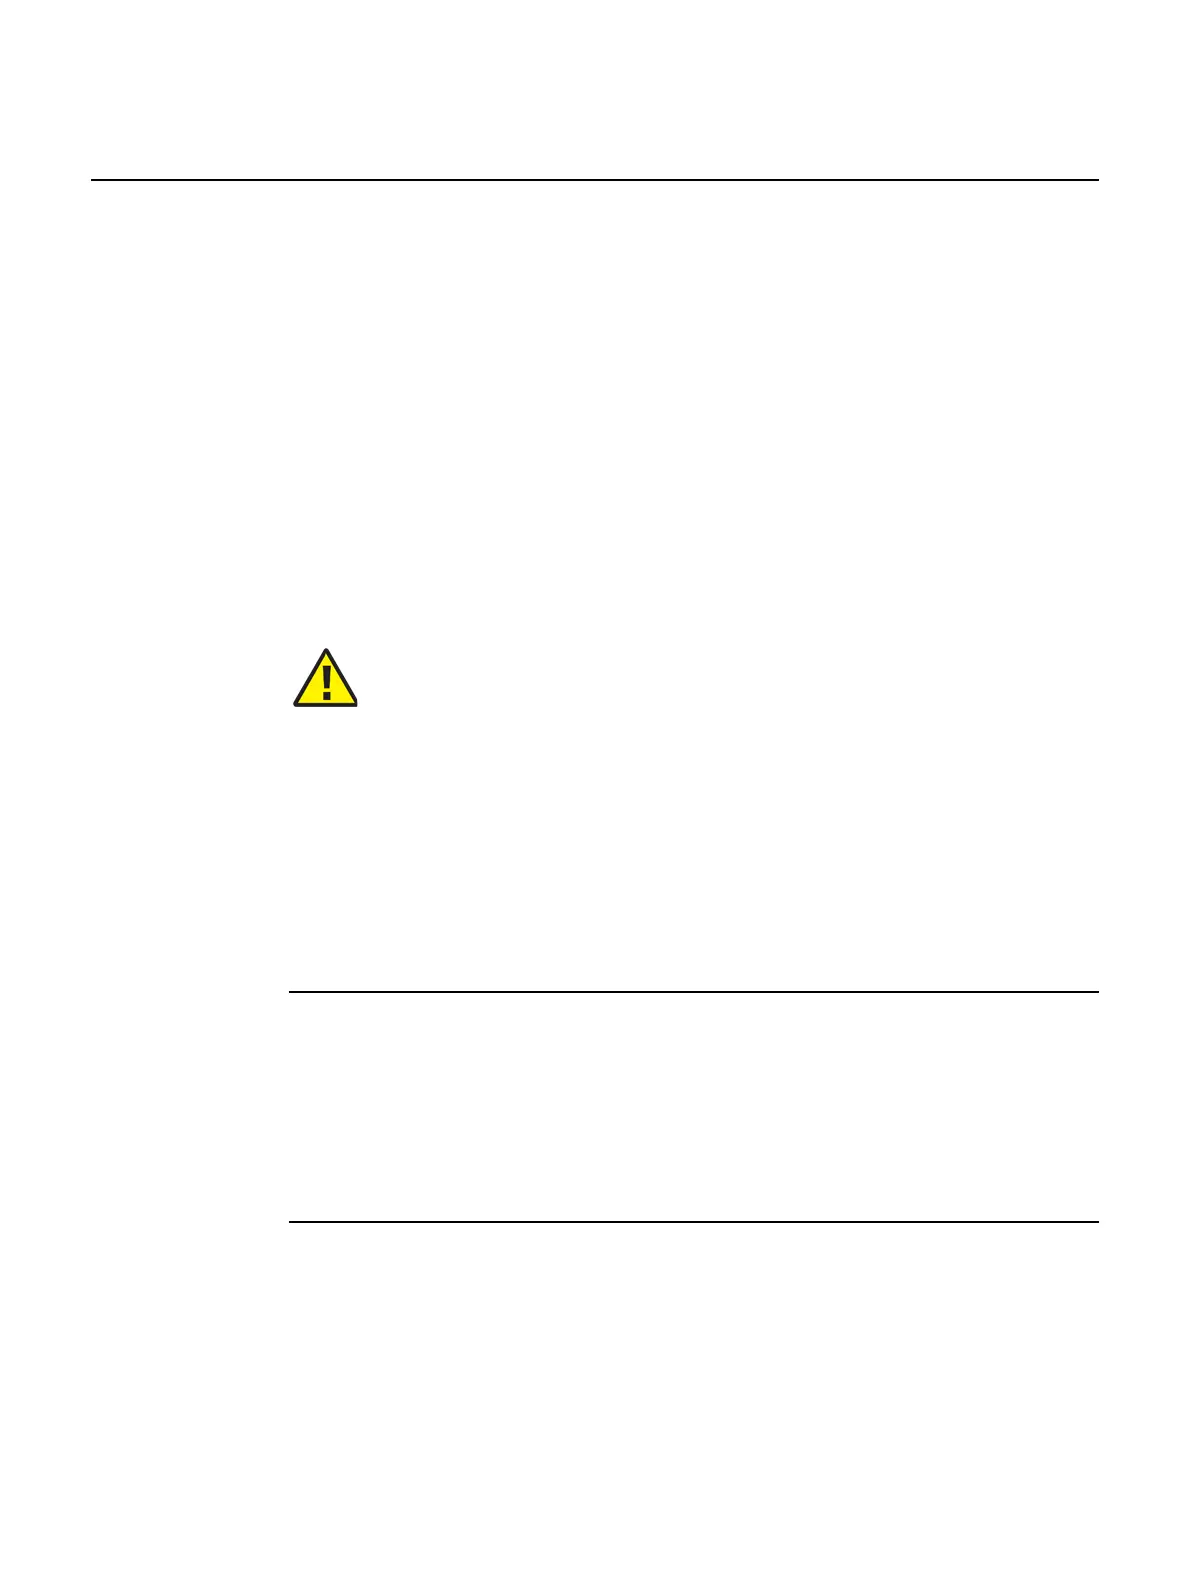
Nokia WiFi Gateway 3 Product Guide Configure a Gateway 3 (G-240W-E)
Issue: 01 3FE-47464-AAAA-TCZZA 59
8 Configure a Gateway 3 (G-240W-E)
8.1 GUI configuration
8.1 GUI configuration
Use the procedures below to use the web-based GUI for the Gateway 3 (G-240W-E).
The Gateway 3 (G-240W-E) is used as an Ethernet gateway to connect devices in
the home to the Internet. The GUI provides a variety of features for the home network
including routing and firewall capability. By using the GUI, users can configure the
right network connectivity for all equipment in their home, including personal
computers, set-top boxes, mobile phones, and other consumer electronics devices,
to the Internet.
8.1.1 Login
Use the procedure below to login to the web-based GUI for the Gateway 3
(G-240W-E).
Procedure 6 Login to web-based GUI
1 Open a web browser and enter the IP address of the Gateway 3 (G-240W-E) in the address
bar.
The login window appears.
The default gateway IP address is http://192.168.18.1. You can connect to this IP address
using your web browser after connecting your PC to one of Ethernet ports of the Gateway 3
(G-240W-E). The static IP address of your PC must be in the same 192.168.18.x subnet as
the Gateway 3 (G-240W-E).
2 Enter your username and password in the Log in window, as shown in Figure 13.
The default user name is admin. The default password is a random number, which is included
in the product kit.
Caution — Keep 20 cm away from the Gateway 3 (G-240W-E)
when configuring functions on the local web or app.