20
CHAPTER
3
Installation Installing the 1001
SR1001 Installation Guide
Version 8.3.5
Wall-Mount Installation
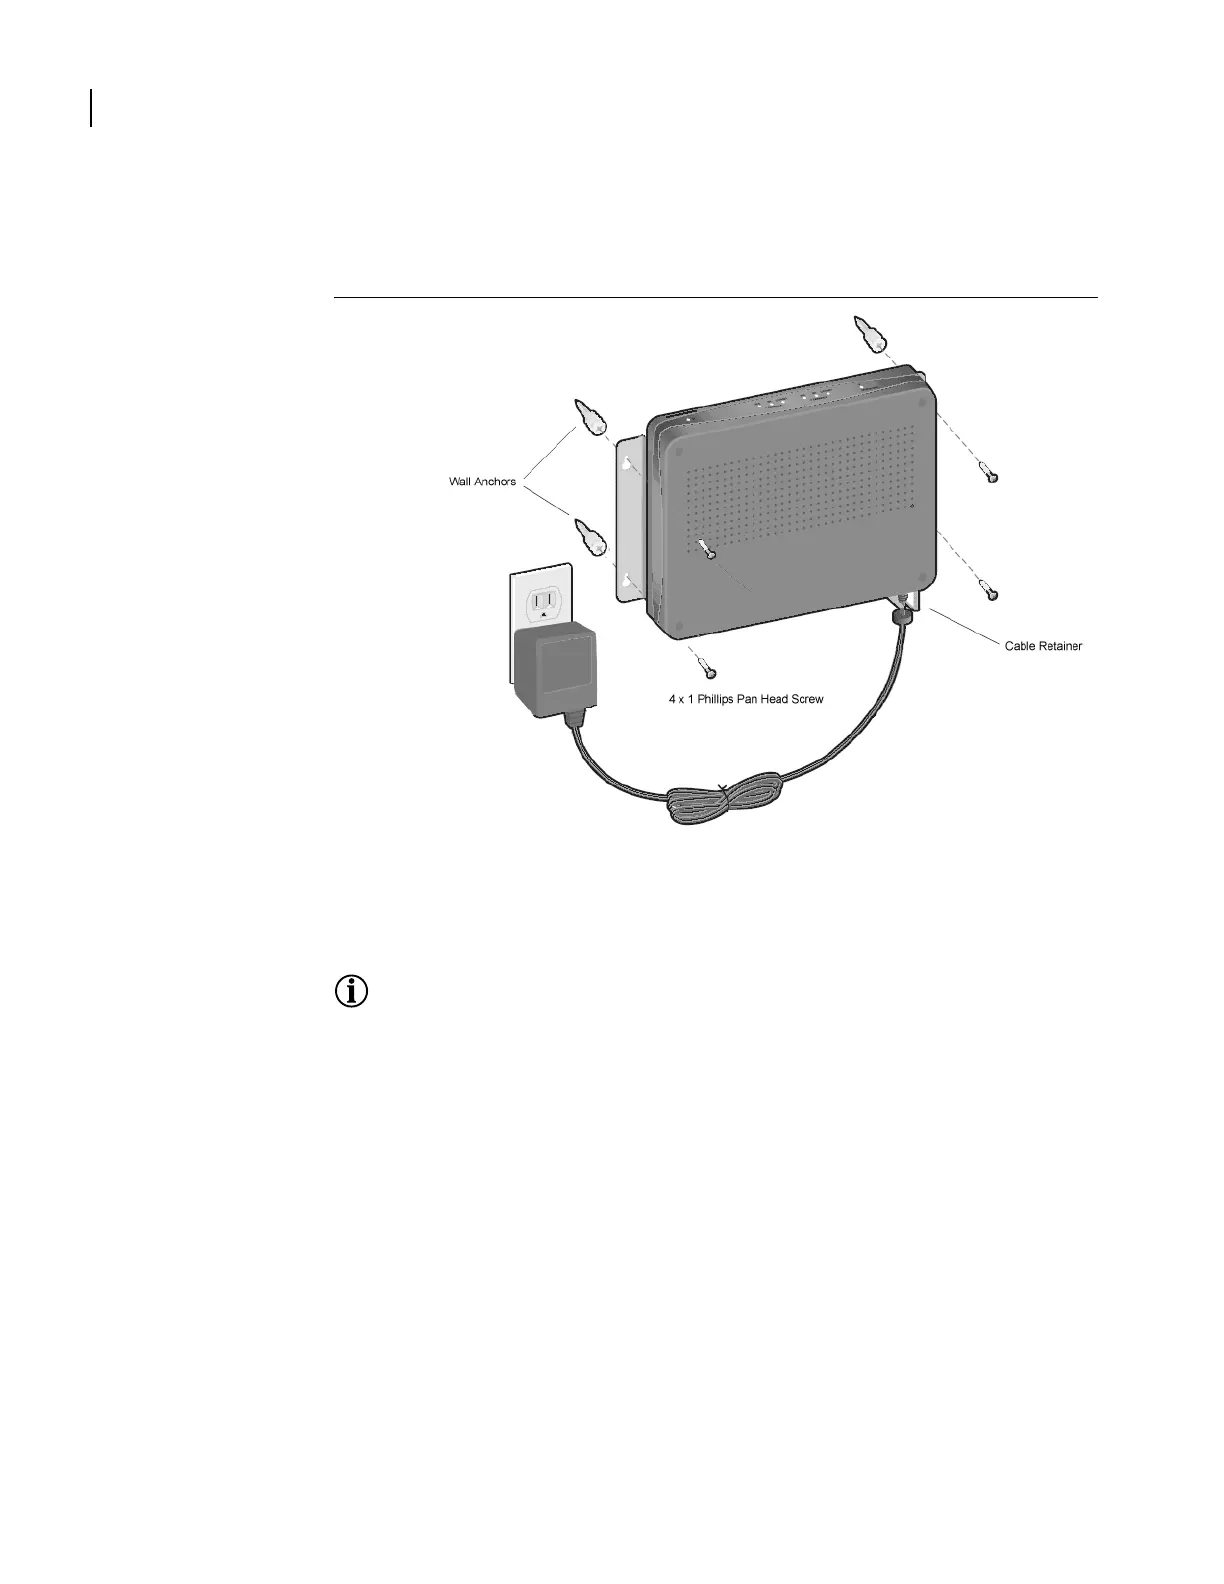
Follow this procedure to attach the SR1001 to a vertical surface.
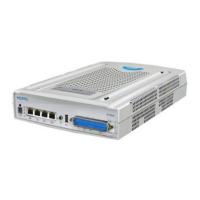
Figure 13 Wall Mounting the SR1001 and SR1001S
1 Attach the router to the wall mount assembly using four (provided) Phillips pan head 4-40
x .250 inch screws.
Ensure that the router is oriented in a manner that allows the LEDs to be visible.
2 Attach the assembly with the mounted router to the wall surface with 4 x 1 Phillips pan
head screws and hollow wall plastic anchors.
NOTE: The provided hollow wall anchors are not designed for installation in hard walls. These anchors
should only be installed in a sheet rock (gypsum wall board) wall.
3 Fit the AC strap over the power supply and then place the power supply on the wall mount
bracket within the four locating tabs.
4 Engage and tighten the AC strap captive screw to secure the power supply to the wall
mount assembly.
5 Attach the cable retainer to the appropriately-rated DC power cord behind the molded
strain relief on the cable.
6 Insert the DC power cable jack into the 12 VDC port on the back of the router.
7 Engage and tighten the captive screw on the cable retainer in the threaded hole adjacent
to the DC input jack on the router.
8 Connect the appropriate ends of the AC cord to the secured power supply and a 110/120
VAC o u tl e t.


 To Next Page