General Functionality
With a MIDI device (Drum Rack or other) on a record-armed
track pressing the Note button enters Note Mode. How LED
feedback appears on this page depends on whether the
track contains a Drum Rack, or any other MIDI instrument.
These ‘other MIDI instruments’ can be Ableton’s (e.g.,
Operator), VST or Audio Unit plug-ins. If an audio track is
selected, entering Note Mode displays nothing and has no
functionality.
Live’s Clip View (left) and Device View (right).
Press and release the Note button to latch Note Mode.
Further hits of the Note button toggle the Clip View and
Device View on your screen. This allows you to see your
MIDI notes in one view (Clip View), and your instruments
and effects in another (Device View). You might use Clip
View to see existing MIDI notes as you overdub others—
or you might want to see the notes move when you hit
Quantise. Likewise, Device View can be handy to watch as
you make device adjustments, especially when recording
those adjustments as automation.
Note Mode can also be accessed momentarily from other
pages by pressing and holding the Note button. Upon
release you will return to the previous page or mode.
Notice how the Delete, Quantise, Duplicate and Double
functions are easily used in Note Mode: simply press and
release these buttons to affect the currently playing clip on
the last armed track. Remember, you can always hit Undo if
you make a mistake.
Another attractive feature of Note Mode is that the scene
launch buttons have no default functionality. This means that
they are freely assignable via MIDI mapping. Furthermore,
whatever MIDI mappings you create are unique to Note
Mode and independent of all other modes.
Custom MIDI Mapping: Create your own MIDI mappings
for the scene launch buttons by fi rst clicking the MIDI Map
Mode Switch in Live. Next, hit a parameter, such as a device
on/off switch. Then hit a scene launch button. Finally, click
the MIDI Map Mode Switch again to exit.
Finally, here are a couple general rules to be aware of:
• Pressing the Note button enters Note Mode for the
record-armed track, potentially overriding the current track
selection. In other words, whatever track is armed becomes
auto-selected for Note Mode.
• If multiple tracks are armed, the last track to be armed is
used on the Note page.
• If no track is record armed, selecting a track and
pressing Note will show its Note page. MIDI data, however,
will not be sent until the track is armed.
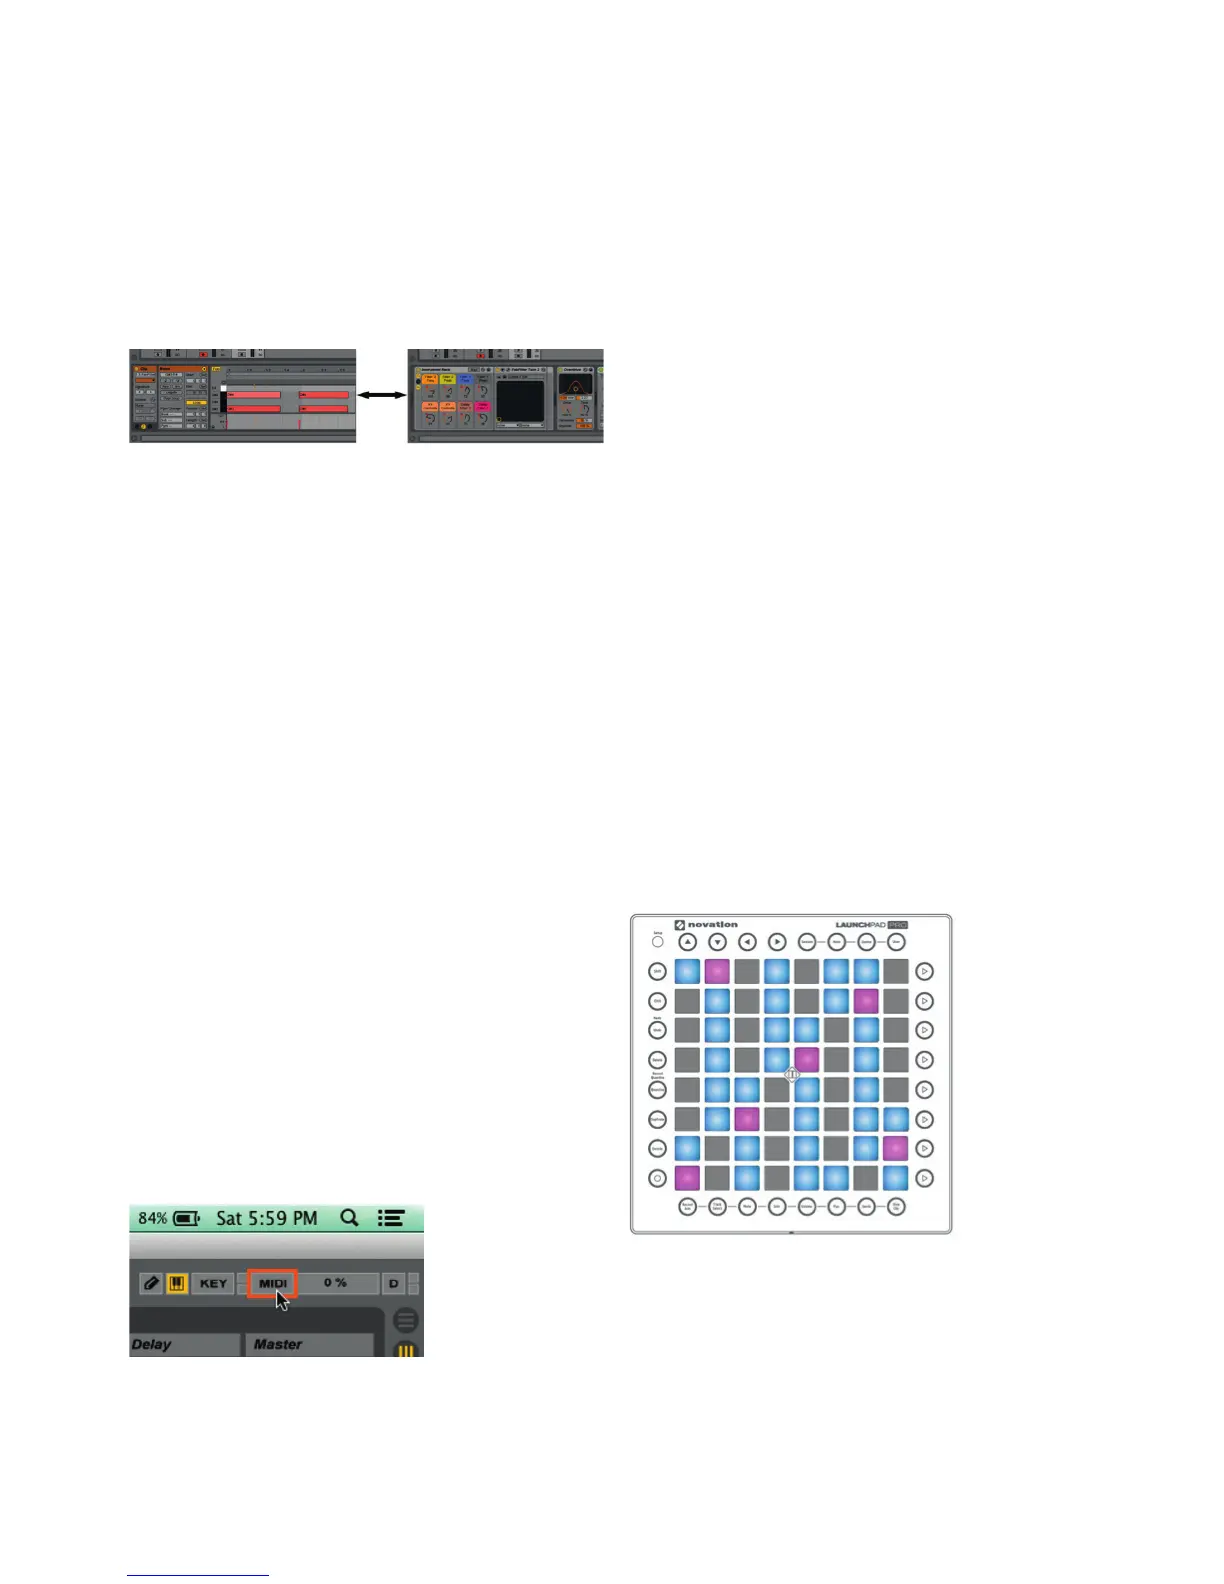
MIDI Instruments
With any MIDI instrument on a track other than a Drum
Rack (e.g. Ableton Operator or Novation V Station plugin)
pressing the Note Mode button will display the Note page,
aka ‘note grid’. Here, the pad grid serves as a chromatic
MIDI controller perfect for melody, chord or bassline
creation. The pads rise from left to right in semitone (aka
half step) intervals (e.g., C, C#, D, etc), and from bottom to
top in perfect fourth intervals (e.g., C, F, Bb, etc).
The note grid displays both lit and unlit pads: the lit pads
outline the white notes on a piano keyboard (i.e. a C major
scale), while the unlit pads fi ll in the non-diatonic, chromatic
notes. The tonic notes of the scale you choose (see below)
are pink, and the other diatonic notes are blue. Pads turn
green, however, when played manually or during playback.
By default,
the pad in the
lower-left corner
of the 8x8 note
grid plays the
note C1—the
blue and pink
pads therefore
outline a C
major scale. You
can transpose
this layout up
or down in
semitones by
hitting the Left or Right arrow buttons across one octave
in each direction. Press the Up or Down arrows to shift the
scale by octaves. You can go as low as C-2 and as high as
G8, beyond which the pads will be lit red and will not send
MIDI data.
As you push the Left or Right arrow buttons purple pads
scroll in semitone steps, refl ecting how far you are from C.
For example, if the purple pad is three-pads away from the
9


![Preview: Novation Launchpad Mini [MK3]](https://data.easymanua.ls/products/284351/200x200/novation-launchpad-mini-mk3.webp)