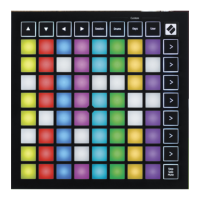
lower-left pad then the blue and pink pads are outlining the
Eb major scale.
Tip: Press the Up and Down arrow buttons simultaneously
to return the lower-left corner pad to C1. Press the Left and
Right arrow buttons simultaneously to return the scale’s root
note to C, staying in the current octave.
Whatever tonic you choose becomes global. If you set the
note grid to begin on F#, for example, the outlined scale for
your other MIDI instruments will also be F# major (until you
change it). This global functionality makes it easy to stay
harmonically consistent across multiple MIDI instruments,
but you can always change the global settings as you
record or perform.
Drum Racks
For a track containing a Drum Rack, pressing the Note
button automatically confi gures the Launchpad Pro to work
with Live’s Drum Racks, an instrument designed for playing
drums, percussion and one-shot samples.
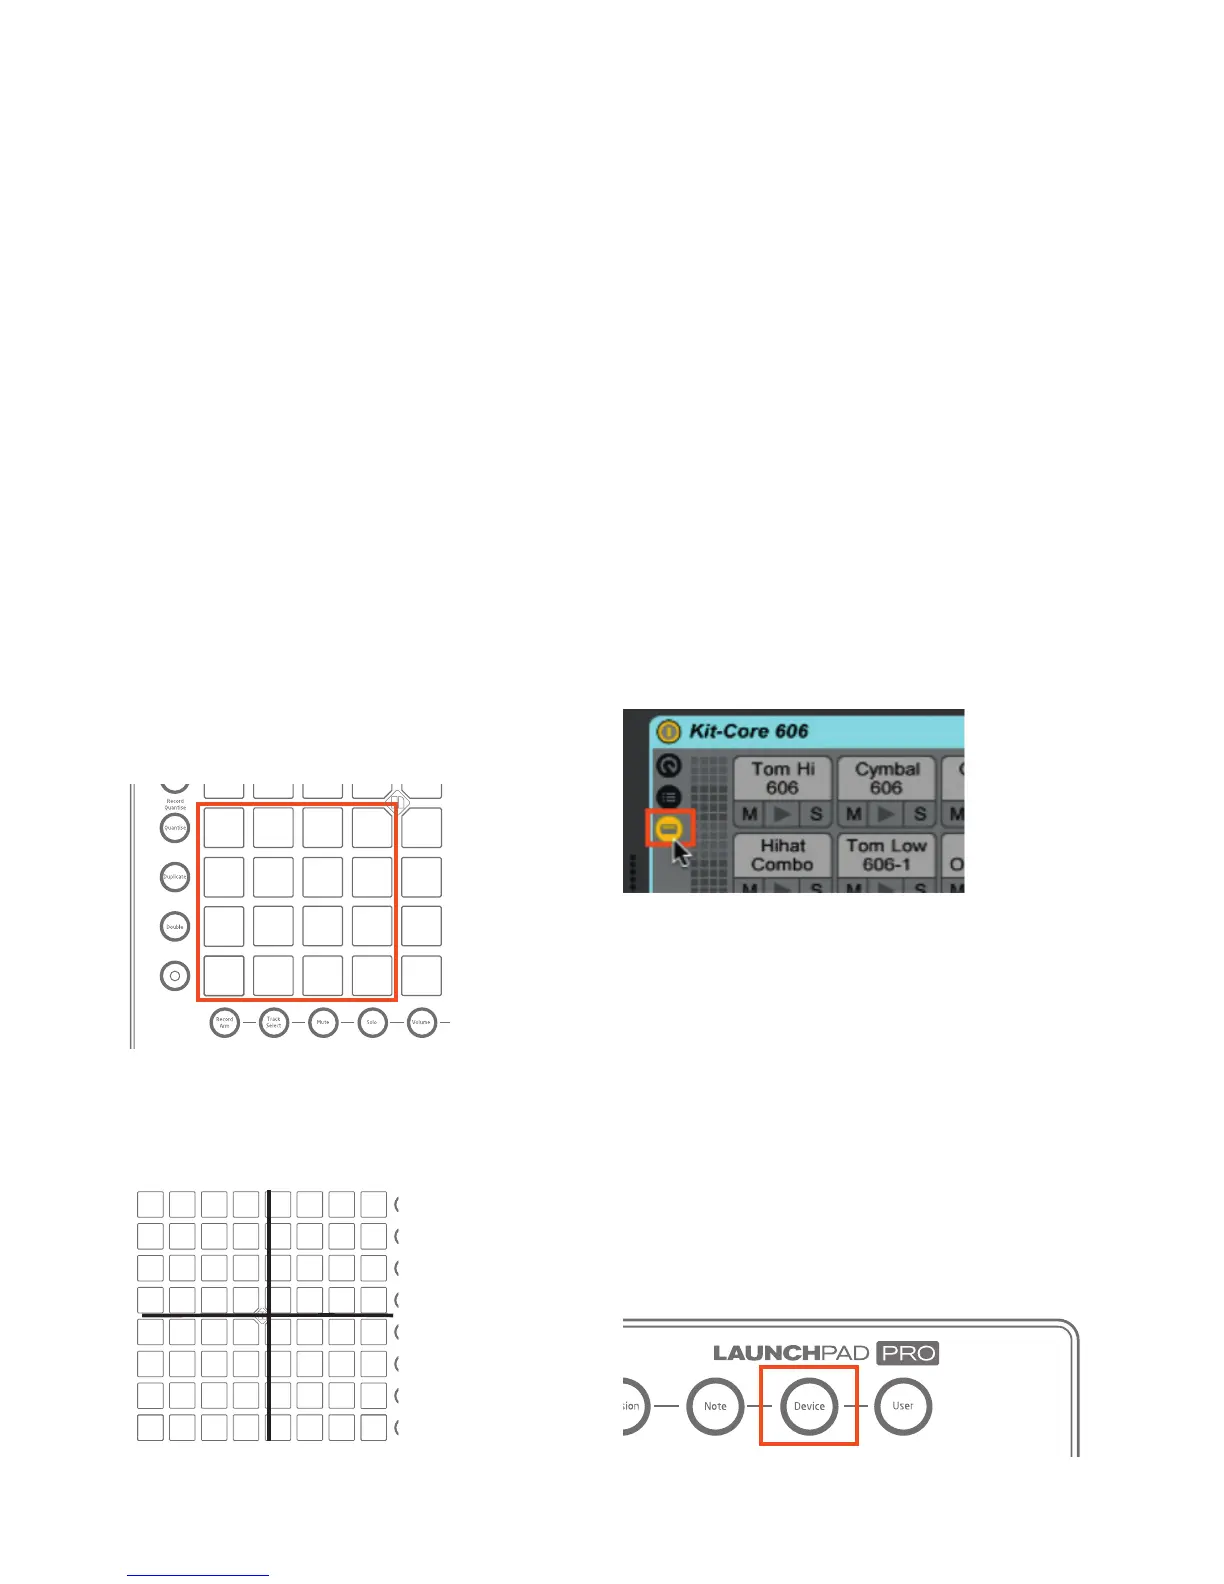
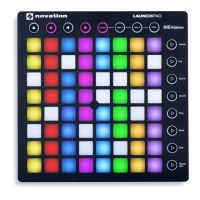
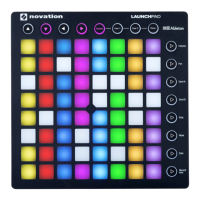
By default, the lower-left corner pad of the 8x8 pad grid
triggers C1 on a Drum Rack. The default fi rst 16 Drum Rack
pads (C1 to D#2) are therefore playable in the lower-left
quarter (4x4) of the Launchpad Pro, as illustrated below:
E2 to G3 are then playable in the 4x4 area directly above
C1 to D#2. Meanwhile, G#3 to B4 continues in the
lower-right 4x4 area, and C5 to D#6 are playable in the
upper-right 4x4 area of the pad grid. The following diagram
illustrates this:
You may notice later that User Mode’s pad layout is identical
to the above diagram, but without LED feedback. (See the
“Creating LED Light Shows” tutorial for information on how
to light up User Mode).
At any given moment, the Launchpad Pro can only display
64 of a Drum Rack’s potential 128 pads. Accessing all of
a Drum Rack’s pads, therefore, relies on the Navigation
Arrows, which light up green. The Up and Down arrow
buttons move Drum Rack coverage up and down in 4 row
increments (blocks of 16 pads). The Left and Right arrow
buttons move Drum Rack coverage up and down one row of
pads at a time.
Colour-wise, Drum Rack pads containing a sample are lit
yellow, while a pad with no sample stays unlit. Purple pads
show that a Drum Rack sample is soloed; orange pads
mean a sample is muted.
Pads turn green when played manually or during playback.
To select a Drum Rack pad simply hit its corresponding pad,
which will trigger the sample and turn the pad light blue. To
select a Drum Rack pad without triggering it, hold Shift and
touch the corresponding pad. Be aware that the Show/Hide
Devices selector needs to be engaged on a Drum Rack for
this to work.
Drum Racks’ Show/Hide Devices Selector.
With a pad selected, you will likely want Device Mode
(described later) to help you adjust its parameters. You can
also press and hold Delete then touch a Drum Rack pad
to delete all occurrences of its note in a clip. This handy
workfl ow is specifi c to Drum Racks, and will not work with
other instruments.
Recording Shortcut: Momentarily enter the Record Arm
page then press a pad. This will automatically arm that track
(if it isn’t already) and begin recording or overdubbing in
that clip slot—highly recommended for live performance.
Device Mode
Device Mode lets you control your MIDI instruments and


![Preview: Novation Launchpad Mini [MK3]](https://data.easymanua.ls/products/284351/200x200/novation-launchpad-mini-mk3.webp)