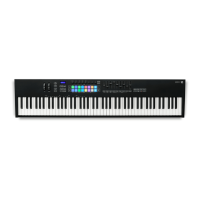
Pan
The Pan button lets you move a track’s audio signal around
the stereo field.
Press and hold Pan to momentarily display the Pan page—
upon release you will return to the previous page or mode.
In Pan, tracks can be panned left to right in varying degrees.
Pan values for the 8 tracks are shown in orange. With the
middle two pads lit the track will be centred; touch unlit
pads to move the pan knob left or right.
Press and release of the Pan button latches the mode.
Pressing Pan again brings you to Session Mode
Like with Volume, Pan view takes advantage of the Pro’s
velocity-sensitive pads: the softer you hit a pad the slower a
track’s pan value moves. Conversely, the more force applied
to a pad the faster panning will occur.
Please note that Session Mode capabilities, such as scene
and clip launching, are not available on the Pan page.
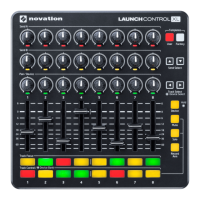
Sends
The Sends page lets you send audio from your tracks to
as many as eight return tracks. This page turns each 8-pad
column into a virtual effect-send knob: simply hit an unlit pad
to move a track’s send knob up or down. The send knob you
are controlling is selected with the scene launch buttons:
the topmost button selects Send A, the second one down
selects Send B, and so on.
Press and hold the Sends button to momentarily display the
Sends page—upon release you will return to the previous
page or mode. Press and release of the Send button latches
the page. Pressing Send again brings you to Session Mode.
Like with Volume and Pan, the Sends page uses the Pro’s
velocity-sensitive pads: the softer you hit a pad the slower a
track’s send value will change. Conversely, the more force
applied to a pad the faster the send value changes.
It’s worth mentioning that although the full version of
Ableton Live allows for twelve Sends, only the first eight
sends are accessible on the Launchpad Pro. Also note
that Session Mode capabilities, such as scene and clip
launching, are not available on the Sends page.
Production Tip: The most common effects to put on
Return Tracks are reverbs and delays. Luckily, Ableton
comes with a great reverb, and various delays. Make sure
they are set to 100% wet and send away.
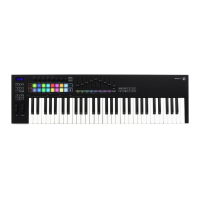
Stop Clip
The last mixer button is Stop Clip. Press and hold this
button to momentarily display the Stop Clip page, where
you can stop clips on a per track basis, or stop all clips at
once. Upon release you will return to the previous page
or mode. The bottommost pads of tracks with playing clips
are lit red, but dim when pressed, stopping the clip on that
track. Hitting the top seven Scene Launch buttons will stop
all playing clips in those scenes, while hitting the bottommost
Scene Launch button will stop all clips in your Set.
Press and release of the Stop Clip button latches the page.
Pressing Stop Clip again brings you to Session Mode.
Note that on the Stop Clip page the Session Mode is
also available in the top seven rows of pads, including clip
launching/stopping/recording, and so on.
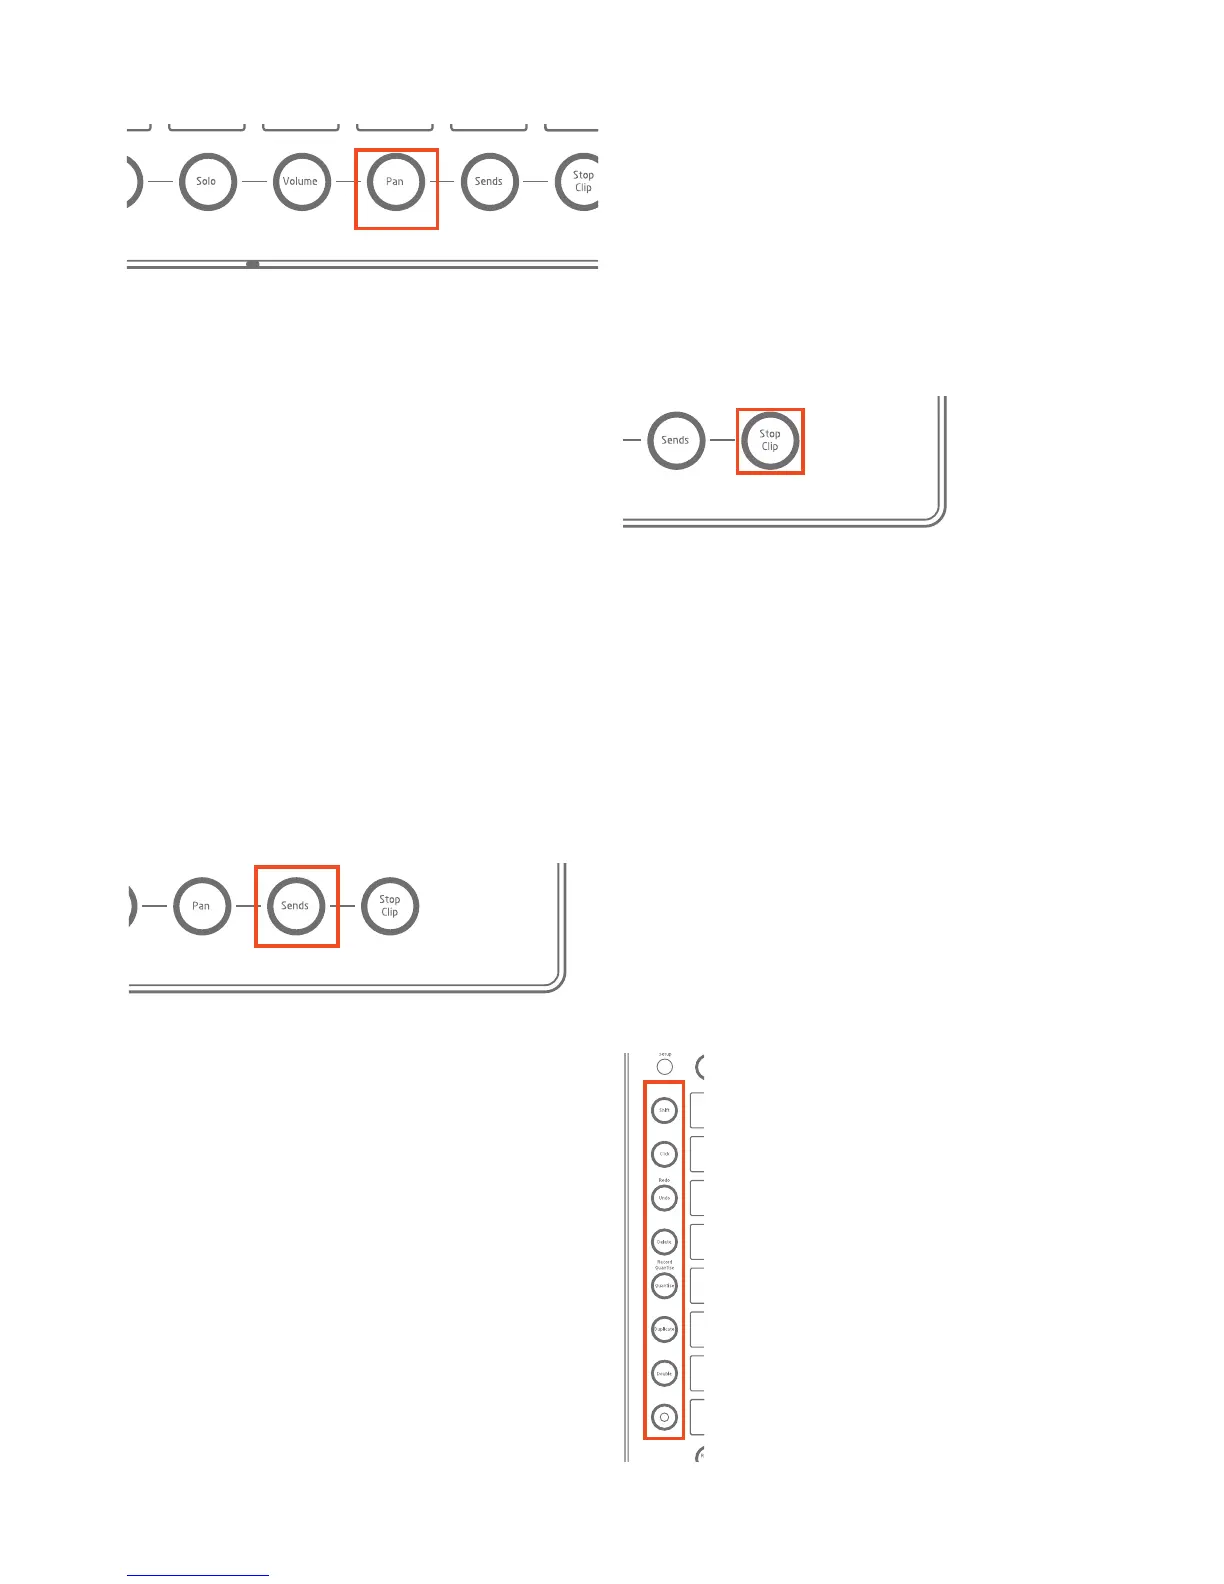
Function Buttons
The far left column contains circular-buttons
called the Function Buttons, which greatly
assist clip creation and editing.
Activation of the Delete, Quantise, Duplicate
and Double functions depends on your location
on the Launchpad Pro:
• In Session Mode, you must hold down one
of these buttons then touch the pad you want
to affect. For example, while holding Delete, hit
the pad whose clip you want to erase.
• With a clip selected and playing in Note
or Device Modes simply hit Delete, Quantise,
Duplicate or Double to perform their respective
actions.


![Preview: Novation Launchpad Mini [MK3]](https://data.easymanua.ls/products/284351/200x200/novation-launchpad-mini-mk3.webp)