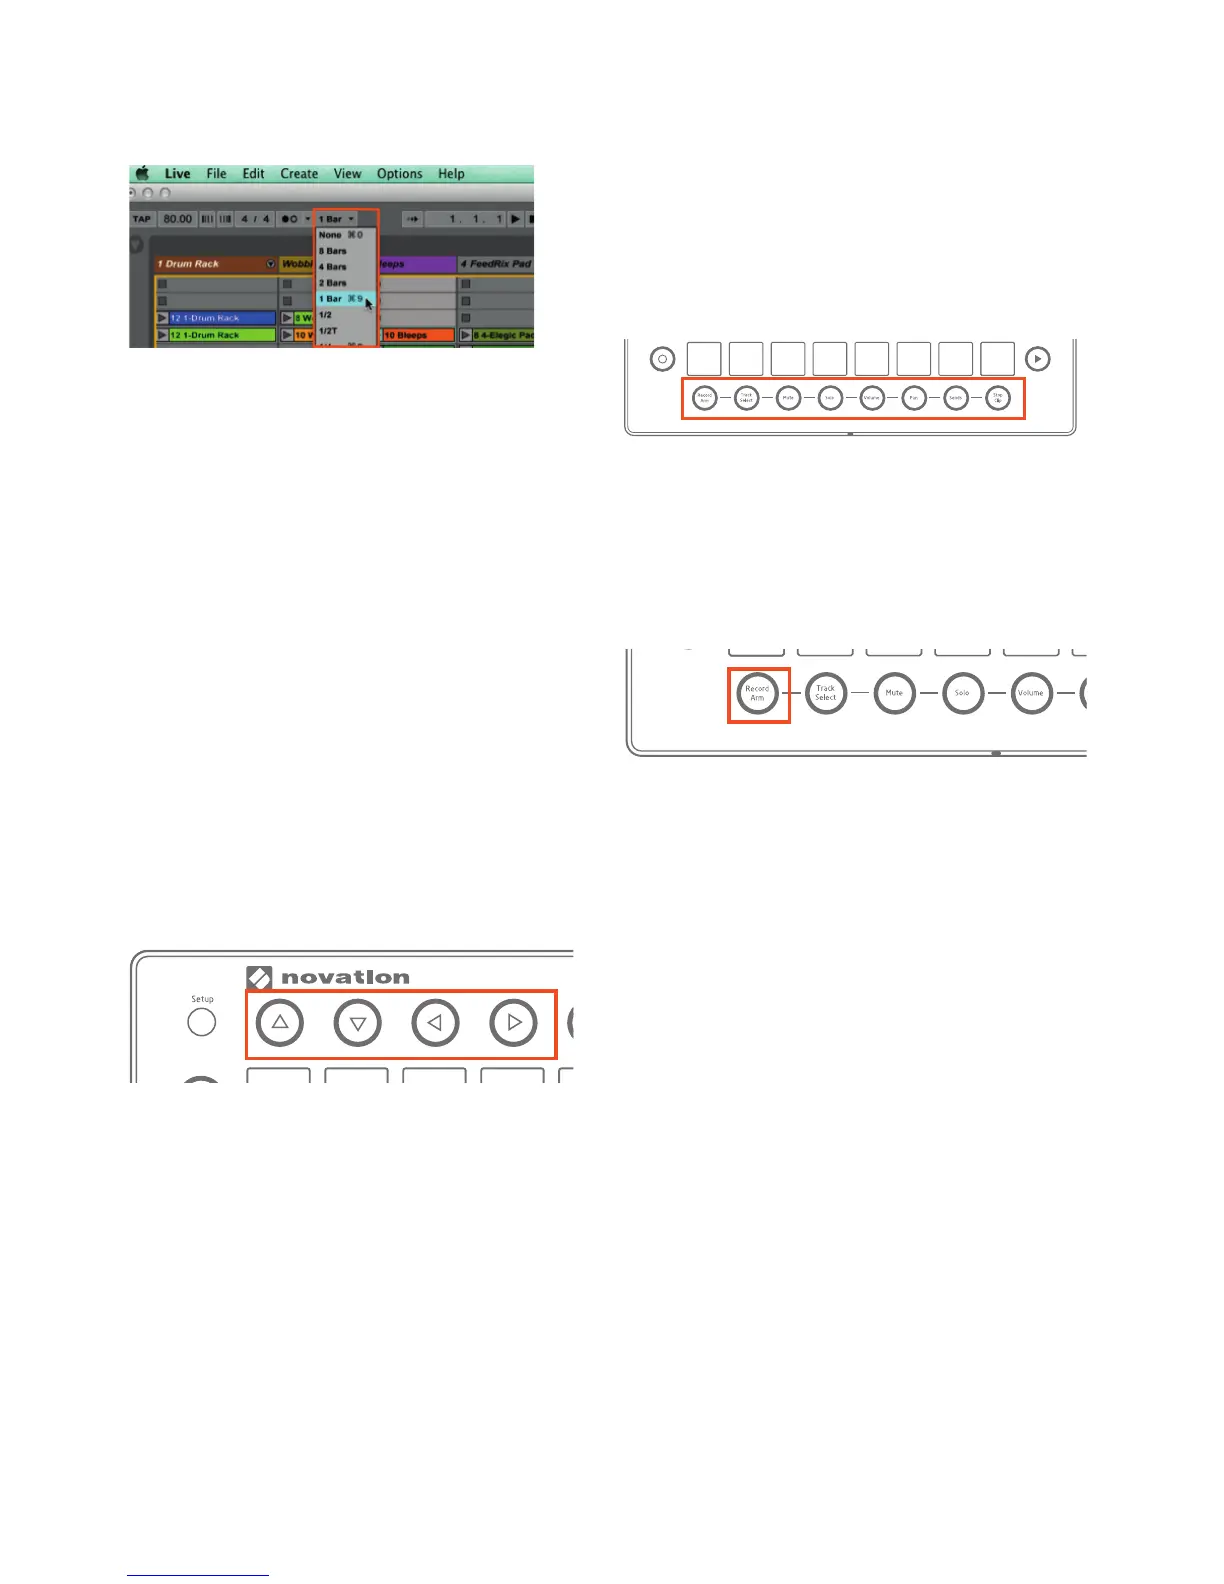
QUICK TIP 2: How quickly your clips launch, stop, or begin
recording depends on Live’s ‘Quantization Menu’, located in
the upper-left corner of the screen.
Live’s ‘Quantization Menu’
Scene Launch
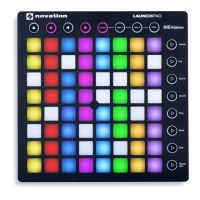
Pressing the Scene Launch buttons on the right side of
the Launchpad Pro will trigger horizontal rows of clips, aka
‘scenes’. These buttons allow you to launch, stop, and/
or record multiple clips with one button, and are fantastic
for performance. Just like the 8x8 grid of pads, the Scene
Launch buttons match the scene colours on your Live
screen.
If you have more than 8 tracks the Scene Launch buttons
will launch the whole scene, not just the eight clips you can
see on the pads.
Workfl ow Tip: While everyone uses Live differently, scenes
are often used to break up music into different sections. For
example, you could trigger the verse, chorus and bridge of
your song with just three Scene Launch buttons.
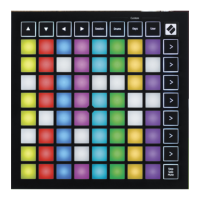
Session Navigation
The simplest way to navigate the Session View is with
the Navigation Arrows, located at the top-left of the
Launchpad Pro.
As one might expect, the Up and Down arrow buttons
move the Pro’s 8x8-pad coverage up or down the Session
View in 1-Scene increments. The Right and Left arrow
buttons move pad coverage left or right, one track at a time.
When you have gone as far as possible in a given direction
the corresponding button will turn off.
With live performance in mind, you may have wondered
how to quickly navigate hundreds, or even thousands of
clips. To move around your Session View in big chunks, fi rst
switch to Session Mode, then press and hold the Session
button. You will now see solid red pads indicating 8x8 areas
containing clips. (If an 8x8 area does not have at least
one clip the pad will be unlit). Simply press one of these
red pads, or use the Up/Down arrow buttons, to jump the
Session View’s focus in 8x8 blocks. If you jump into an 8x8
area where no clips are playing, areas with playing clips will
be represented by solid green pads.
Mixer Buttons
The Mixer’s eight buttons lie along the very bottom of the
Launchpad Pro, providing quick access to many functions
of Ableton’s Mixer section. Starting on the left, let’s examine
each one.
Record Arm
Press and hold Record Arm to momentarily display the Arm
page, where you can arm or disarm a track by pressing its
bottommost pad (or press and hold up to eight bottommost
pads to arm multiple tracks). Upon release of Record Arm
you will return to the previous page or mode. In Record Arm,
all pads on the track(s) chosen for recording are dimly red.
Press and release of Record Arm ‘latches’ the page.
Pressing Record Arm again brings you to Session Mode.
Reminder: Latching means that functions are available
after the press and release of a button until you navigate
away.
Note that on the Record Arm page the Session Mode is
available on the top seven rows of pads, allowing for further
clip launching/stopping/recording, and so on.


![Preview: Novation Launchpad Mini [MK3]](https://data.easymanua.ls/products/284351/200x200/novation-launchpad-mini-mk3.webp)