7Initial operation
WARNING
Crush and impact hazard at the garage door!
During the learning cycle, the drive automatically learns the normal
mechanical force required to open and close the garage door. Force
limits are deactivated until the conclusion of the learning cycle. The
door movement will not be stopped by an obstruction!
n For the entire path of motion, keep the door clear of persons and
objects!
NOTICE
Checking the door before initial commissioning
n Before initial set-up, ensure that the door can be moved smoothly.
n Remove any manual door locking mechanisms that can interfere with or block
the door movement.
n Connect safety switches (slack rope switches) to monitor the ropes.
n Ensure that the door is spring balanced.
NOTICE
Do not interrupt the learning cycle
n The learning cycle must not be interrupted, so that no incorrect position is re-
corded. Do not interrupt the learning cycle.
When the drive is switched on for the first time or after resetting to default settings,
the setup wizard is started. The installation wizard guides you step by step through
the initial installation. The display depends on the IPDvariant used. When using the
IPD-E, use the LED on the DCC; when using the IPD-S, use the 7-segment display on
the IPD-S. The following steps are carried out:
1. Selection of the door profile
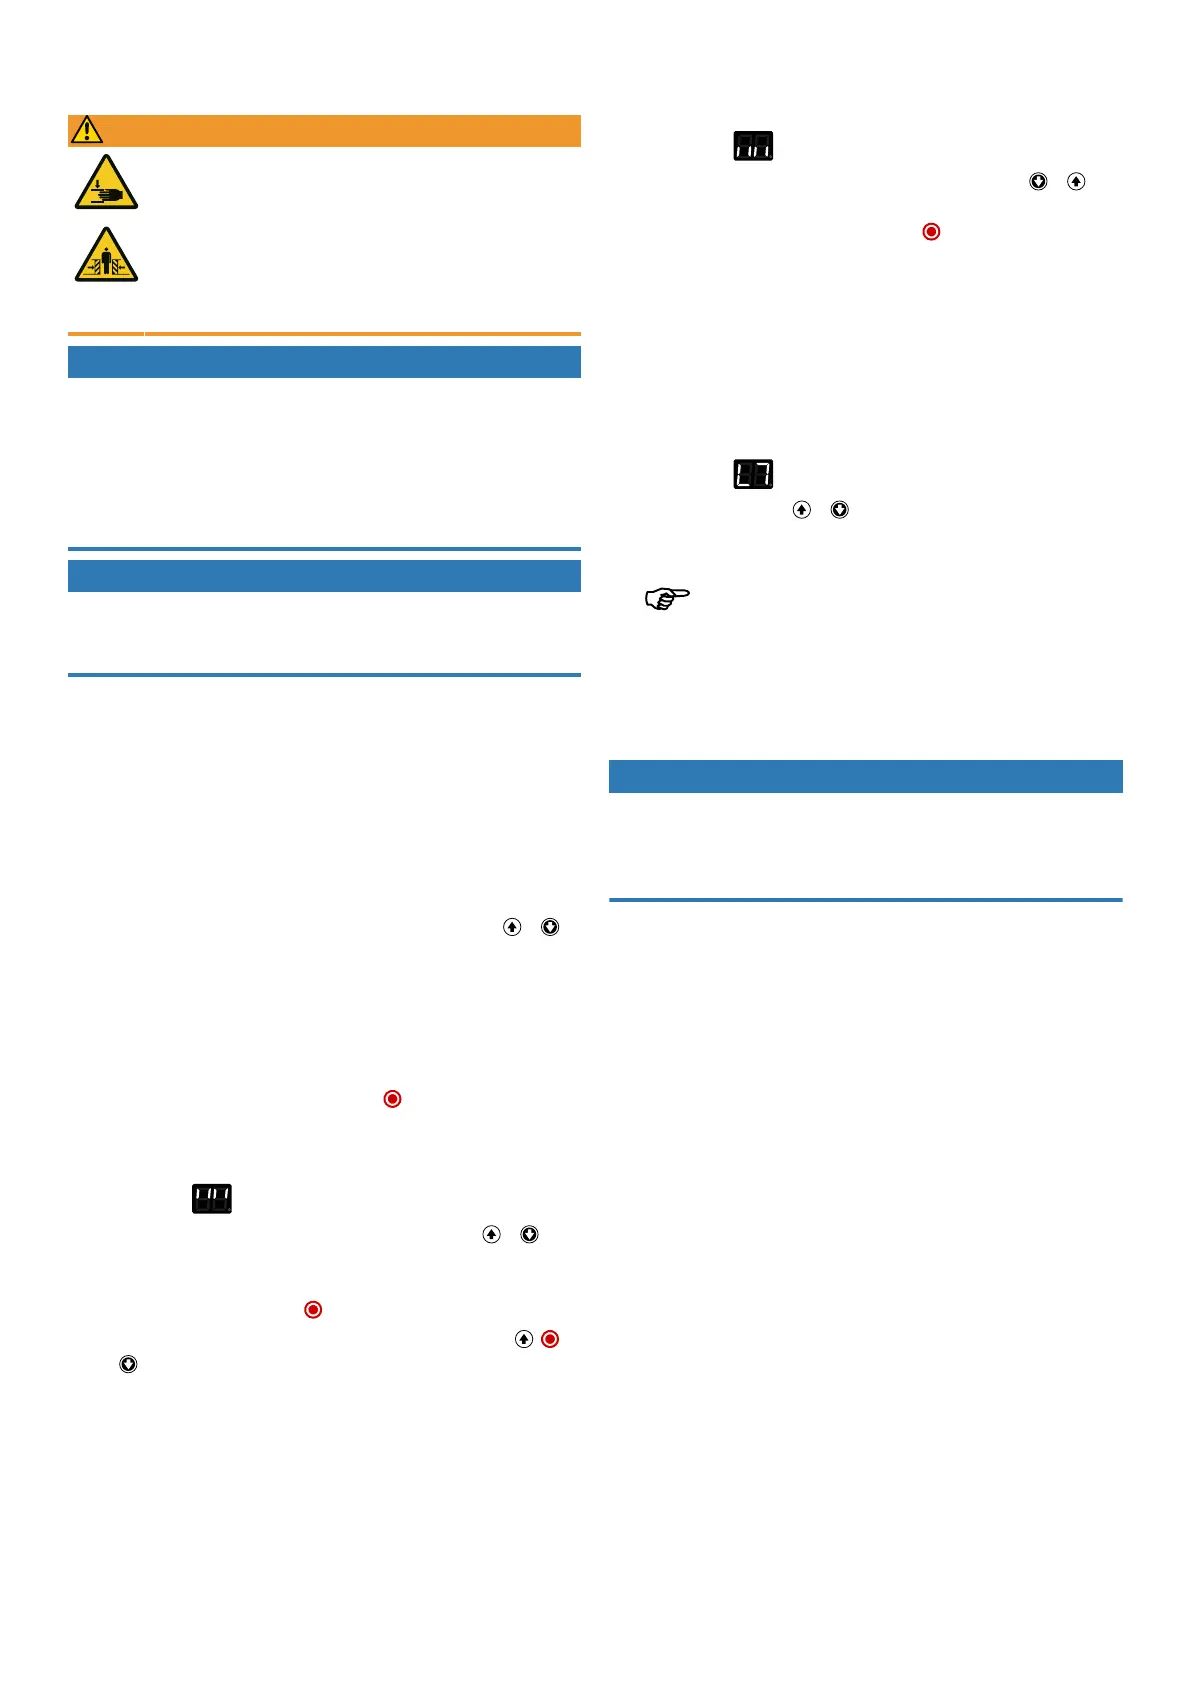
DCC indication: the number of flashes indicates the current door profile.
IPD-S indication: 7-segment display indicates the current door profile (P1...P9).
Select a door profile according to the installed door by pressing the or
button (in sequence fast/medium/slow):
1–3 standard fittings (cylindrical drum)
4–6 raised fittings (semi-conical drum)
7–9 vertical runner (conical drum)
Example7 = vertical runner, fast
Confirm the setting by pressing and holding the button.
2. Approaching and confirming the door OPEN end position
DCCindication: fast flashing of the red LED
IPD-Sindication:
Move the door into the desired door OPENposition. Pressing the or but-
ton will move the door into the desired direction. The drive must be operated at
least a half-turn without interruption. Once the desired position is reached, con-
firm it by pressing and holding the button.
The rotation direction can be changed by simultaneously pressing the ,
and button for 3seconds.
3. Approaching and confirming the door CLOSE end position
DCC indication: slow flashing of the red LED
IPD-Sindication:
Move the door into the desired door CLOSEposition. Pressing the or but-
ton will move the door into the desired direction. Once the desired position is
reached, confirm it by pressing and holding the button. A minimum distance
of approx.1m must be covered between the OPEN and CLOSE positions.
4. Selection of alternative safety sensors
If an additional closing edge safety device or a photoelectric sensor is connec-
ted, configure it in the menu items "Select closing edge safety deviceJ3" and
"Select photoelectric sensorJ2".
5. Carrying out a learning cycle
DCC indication: red LED permanently switched on
IPD-Sindication:
When briefly pressing the or button, the door performs a force learning
cycle by opening and closing.
After completion of the learning cycle, the initial set-up is complete.
The learning cycle is limited to a maximum of five door cycles. If the
learning cycle could not be completed after five door cycles, it is cancelled and
the setup wizard returns to step2 "Approaching and confirming the door
OPENend position". Readjust the end positions or install an active closing edge
safety device.
6. Test run
NOTICE
Compliance with standard EN12453
Check the switch-off position of the door after every setting you have carried out.
The switch-off setting must correspond to a maximum distance from the ground of
50mm, otherwise compliance with the standard EN12453 is not ensured.
When programming and the force learning cycle have been completed, carry out
a test run by checking all operating and safety functions. Once the test run and
force measurement processes have been successfully completed in accordance
with EN12453, the door system is ready for operation.
18|Novoferm