29
Operation of SMH/HMH Series
English
4 – 2 Assembling, Mounting and Removing the Cutting Accessory
(Optional)
WARNING
● Be sure to use the NSK recommended Cutting Accessory for each Attachment (see "3 – 3 Part Names and Specifications").
When using an unrecommended product, it cannot be firmly fixed. This may lead to the product coming off during the surgical
operation.
● DO NOT rotate the Attachment if the chuck of the Attachment is open. Doing so may cause thermal injury and/or damage to the
product due to heat generation of the Attachment.
CAUTION
● After mounting the Cutting Accessory and locking the chuck, pull it lightly to confirm that it is securely connected to the Attachment.
● Before use, confirm that the Cutting Accessory does not come off by operating the Attachment.
● DO NOT operate the Attachment when the Cutting Accessory is not mounted.
● Before mounting or removing the Cutting Accessory, be sure to stop the Attachment completely.
● For Perforator Handpiece 200 or Perforator Handpiece, use a commercially available perforator with Hudson end. Use the perforator in
accordance with its Operation Manual.
● Mount the Cutting Accessory to the Attachment after mounting the Irrigation Nozzle.
● Be sure to use the NSK-specified Irrigation Nozzle (see "3 – 3 Part Names and Specifications").
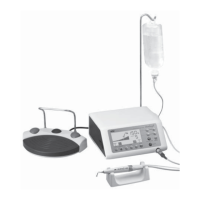
For the related connection on the Control Unit, refer to OM-SE0021E Primado2 OPERATION MANUAL Control Unit and Foot Controls.
4 – 2 – 1 Slim Attachment 300
Connecting and Disconnecting the Slim Tube
CAUTION
● Be sure to remove the Cutting Accessories from the Attachment before disconnecting the Tube.
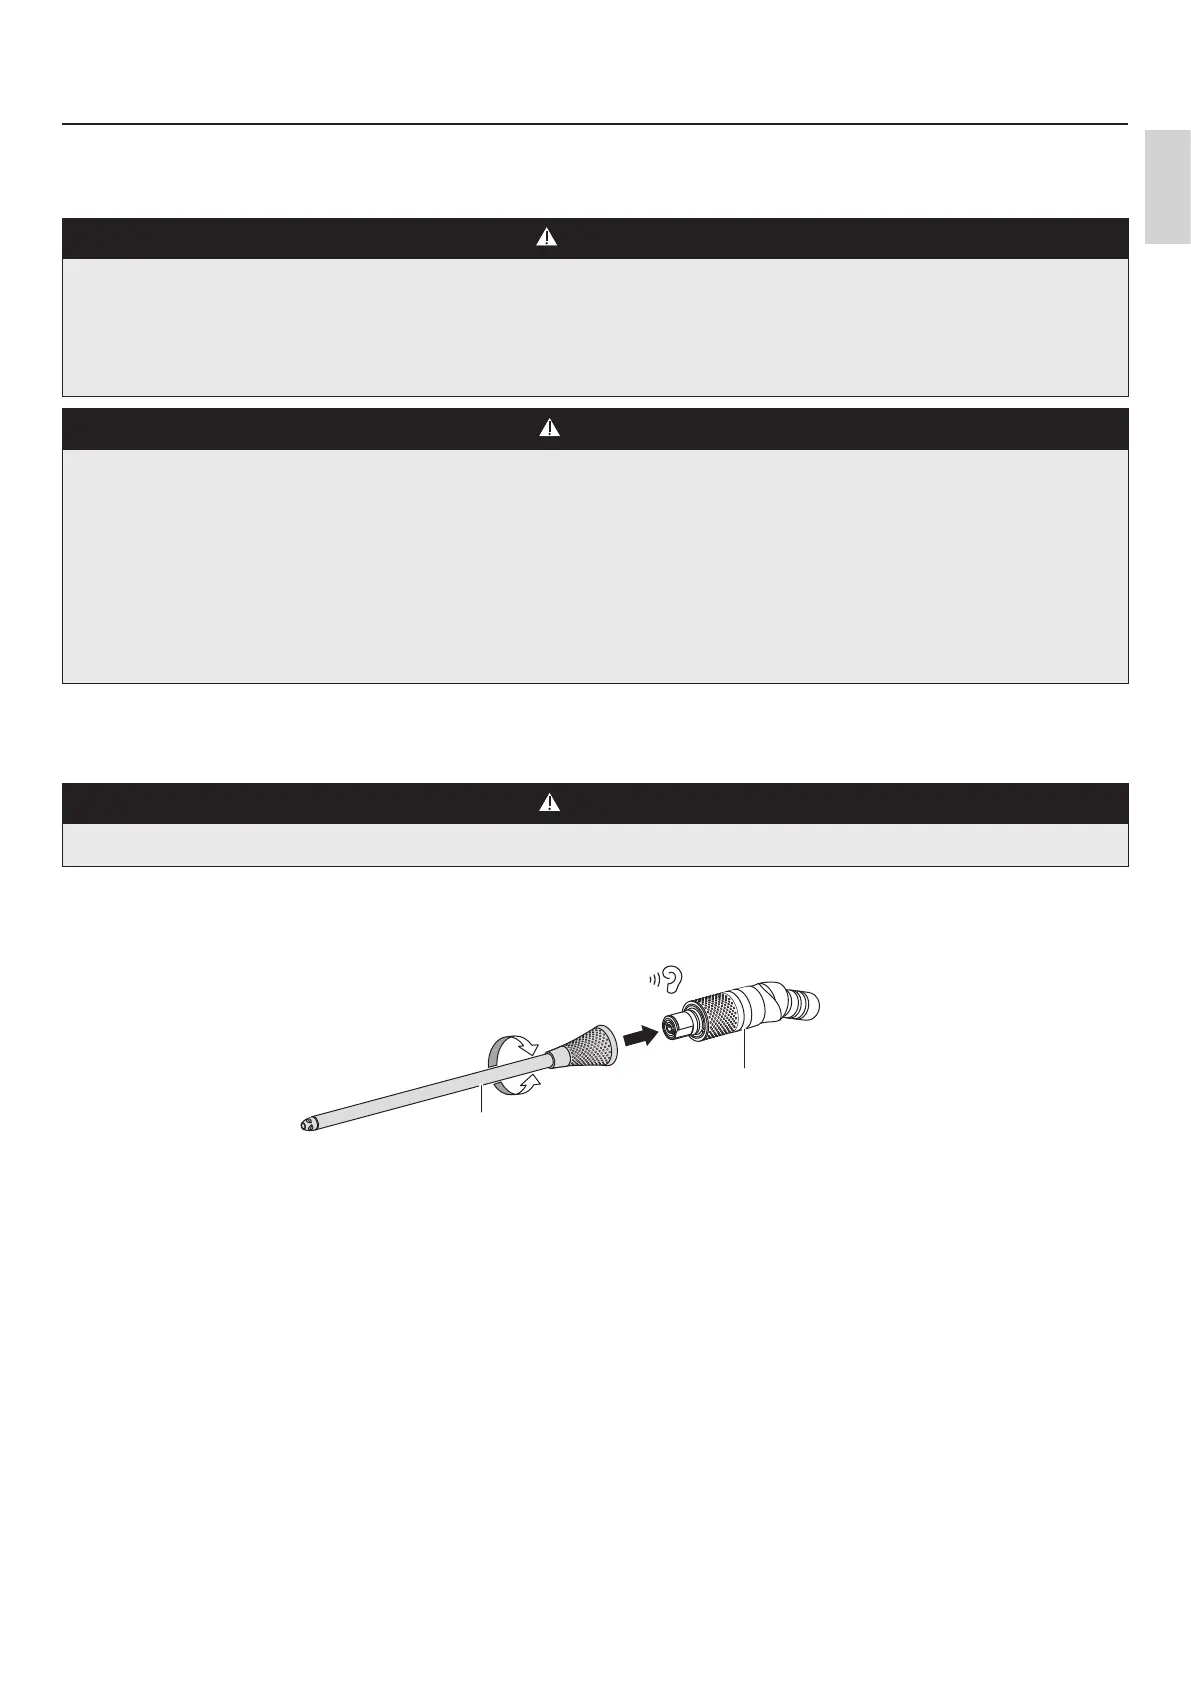
_ Connecting
Insert the Tube straight into the Hub Ⓑ while rotating it slightly, then push the Tube in until it clicks.
Ⓐ
Ⓑ
_ Disconnecting
Pull the Tube Ⓐ straight out from the Hub Ⓑ.