10
MACHINE SET UP
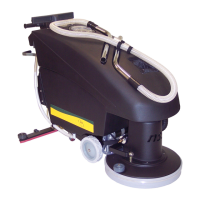
Connecting Battery Pack to Machine
When the machine is shipped with batteries, the
machine will arrive with the battery pack
disconnected from the machine.
Lift up on the back of the seat plate to expose the
battery pack. See Fig. 3 Item 30.
Connect the cable with the Anderson connector
from the battery pack into the Anderson connector
mounted to the inside of the control panel. See Fig.
3 Item 27.
For machines shipped without batteries
See Battery Installation in the Maintenance Section
later in this manual.
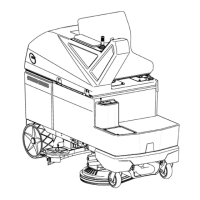
Raising and Lowering the Pad
The Foot Plate (Fig. 1 Item 13) must be in the up
position to raise the pad head into the pad change
position. See Fig. 4.
Move the front of the machine from/to pad
changing position or operating position by grasping
the handle (Fig. 1 Item 4) on the front and moving
it to the desired position.
Pad Installation / Changing
See daily maintenance for Pad Installation and
Changing.
Empty and Clean Filter Bag
See daily maintenance for Filter Bag maintenance.
Seat Slide Adjustment
Grasp the lever (Item 14) on the left side of the seat
(Item 16) and move it towards the outside of the
machine to move the seat.
Position the seat in a comfortable operating
position and release the lever to lock the seat in
place.
Seat Belt
The seat belt on the left side of the seat is
retractable and the seat belt on the right side is
stationary. (Item 18)
Grasp the left side and pull out and fasten into the
right side.
Push the button to release.
MACHINE OPERATION
Floor Preparation
Make sure the floor has adequate floor finish.
Burnishing results will be poor if the floor finish is in
poor condition.
Dust mop and scrub the floor before burnishing.
Check that floor surface is clean and dry.
Pre-Operation Check List
Be sure you understand the operator controls and
their functions. See the Machine Components and
Touch pad sections of this manual.
Make sure all safety devises and machine controls
are working correctly.
Check that the battery pack is connected to the
machine.
Check that a new or clean pad is installed.
Check that the filter bag is clean, zipped all the
way up and installed properly.
Operating the Machine
Step onto the machine from the right side and sit in
the seat.
Adjust the seat to a comfortable operating position.
Fasten the seat belt.
Turn the key switch to the ON (I) position. Wait
until you hear a click, and the Fasten the Seat Belt
screen is shown. Push OK and the Battery Screen
is shown. Push Ok and the main screen will
appear.
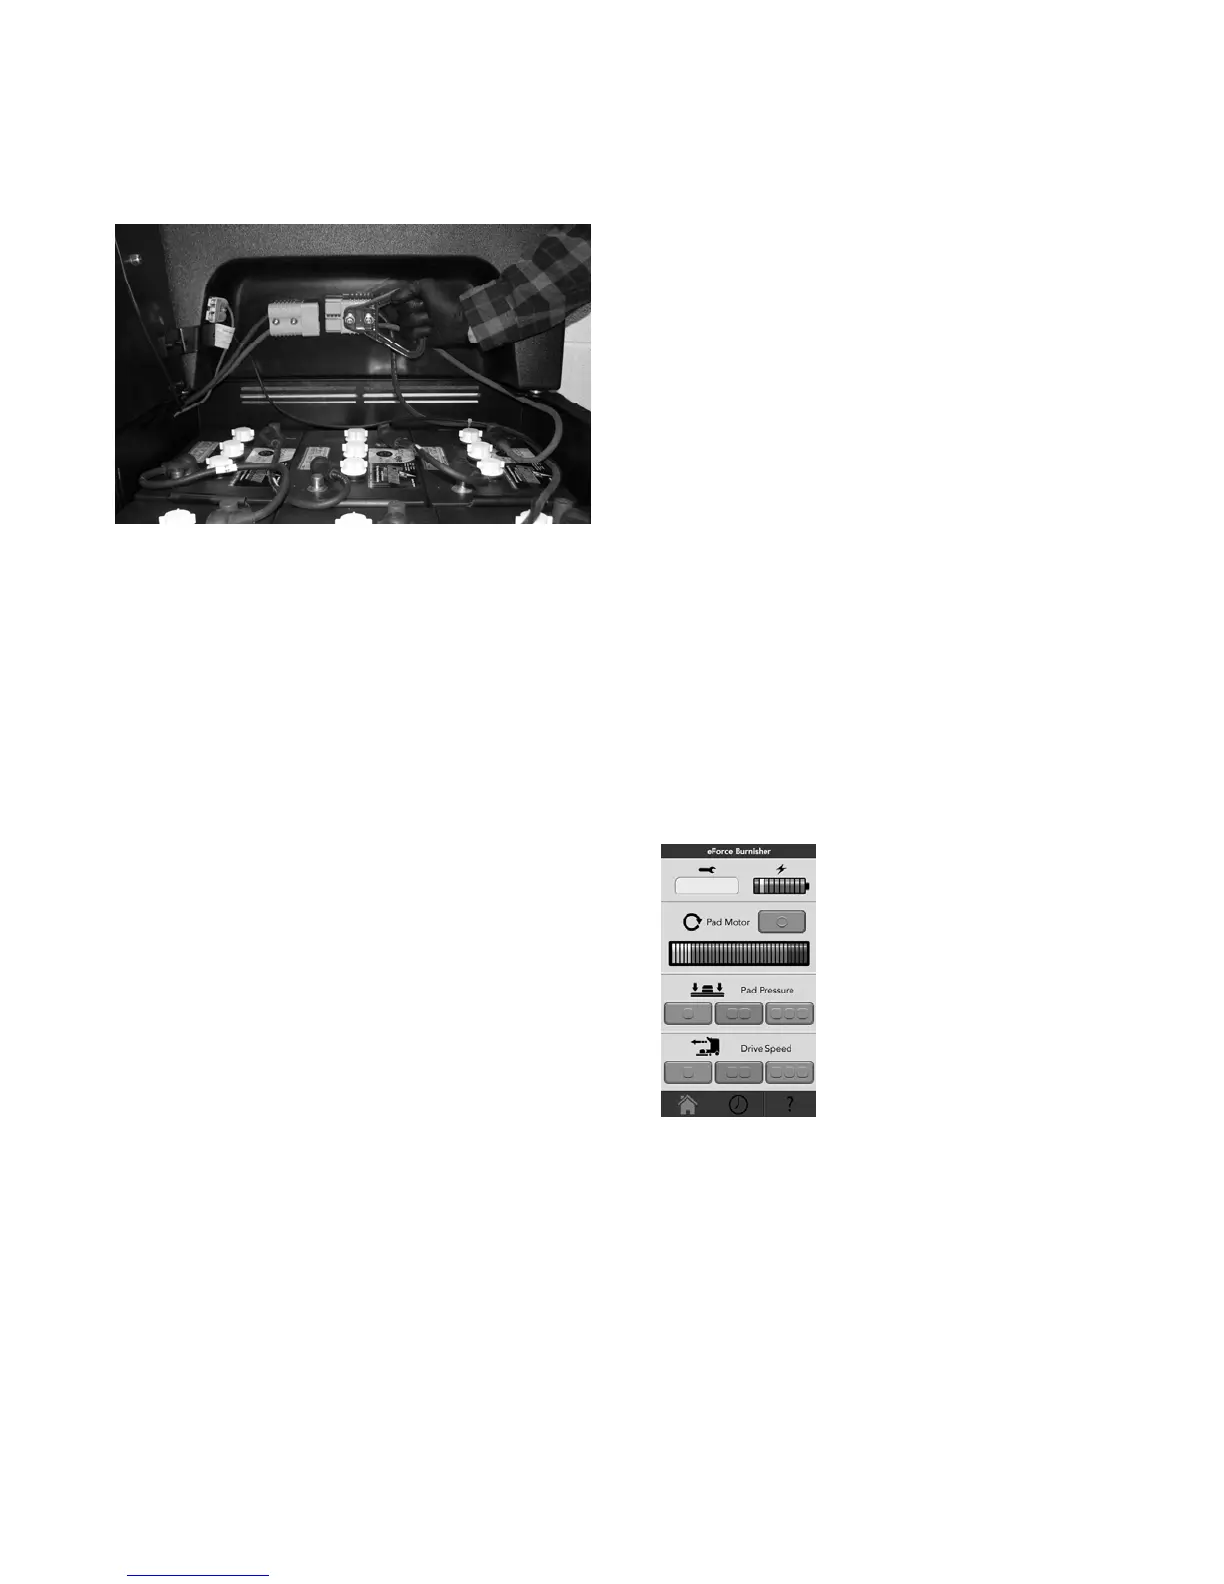
Main Screen
The service codes will be
displayed under the wrench.
The battery charge level is
represented by the battery. As the
battery is depleted, the number of
colored bars on the battery meter
decreases.
In the pad motor section, there is
a button that turns on and off the
pad motor. The amp meter
correlates to the amp motor
current. Always run in green area.
In the pad pressure section, there are three buttons.
The current setting is indicated by displaying the
button green.
In the drive speed section, there are three buttons.
The current setting is indicated by displaying the
button green.
The buttons at the bottom are the navigation buttons
Home, Clock and Help sections.
Check that the battery meter is reading in the high
or green range. The machine should be put on
charge if not in the high range. See Daily
Maintenance, Charge the Batteries for more
information.