16
Pad Pressure Adjustment
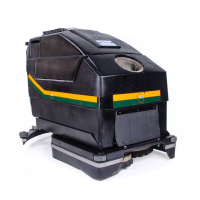
The NSS eForce Burnisher is preset at the factory
for medium duty applications. It can be tuned to
your specific application for optimum
performance.
ONLY an authorized NSS Service Station should
perform this adjustment.
Tools required for Pad pressure adjustment
1) ¾ open end wrench
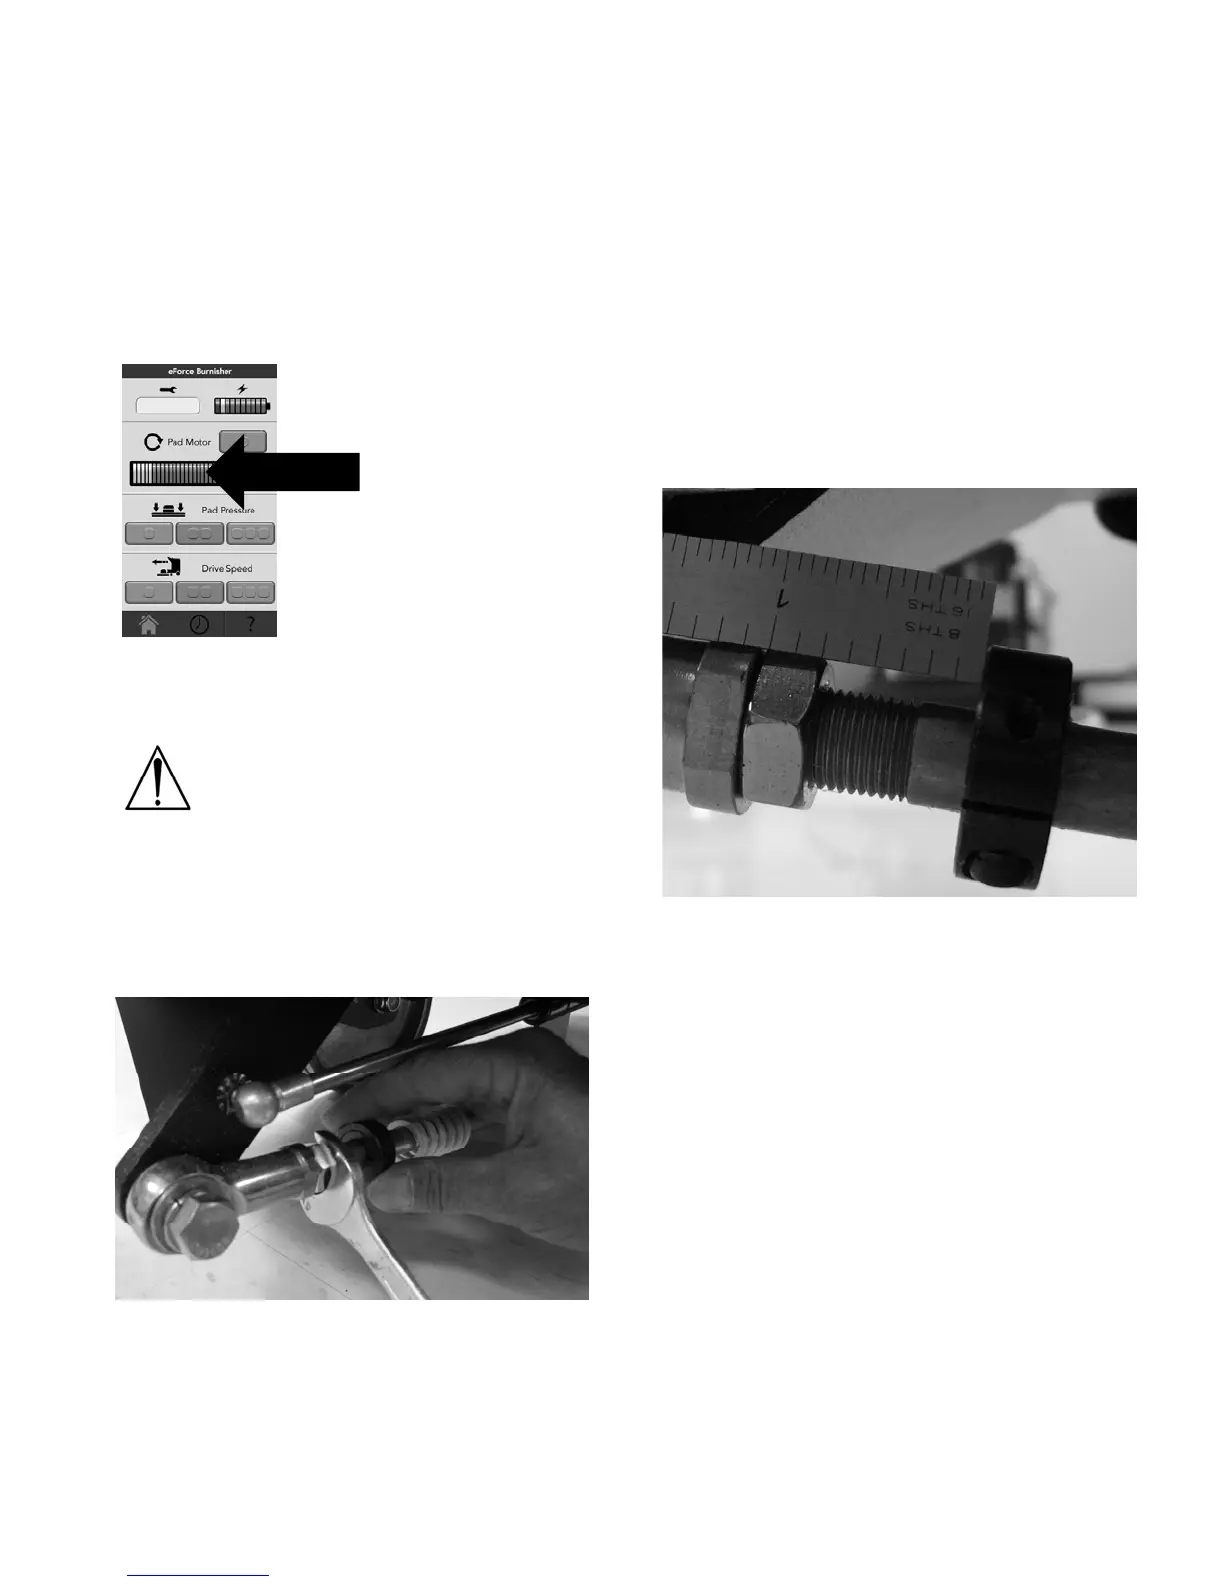
Set the pad pressure in
the middle of the amp
meter
Checking the Pad Motor Amperage
First install a new pad on the pad driver.
Caution: Checking the Amps with a used
pad will cause the machine to have high
amps when a new pad is installed.
Lower the Pad Motor into the operating position.
Turn on the Pad Motor switch and leave the Pad
Pressure on the low setting.
While running the machine, read the amp meter in
the Pad Motor section on the Main screen. The
amp meter should be reading in the middle of the
green area of the amp meter.
If adjustment is required, follow these
instructions.
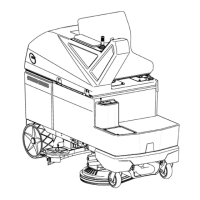
It will be easier to access the lock nut and spring
guide rod assembly with the machine in the pad
change position.
First loosen the lock nut on the spring guide. With
the lock nut loose, the spring guide rod assembly
will be easily turned by grasping the set collar on
the spring guide rod.
Turn the spring rod guide assembly ½ to 1 turn at a
time. A little adjustment goes a long way.
Thread the spring guide rod assembly out of the
ball joint to decrease the pad pressure. Thread the
spring guide rod assembly into the ball joint to
increase the pad pressure.
Every time an adjustment is made check the amps.
This may require a few tries to get the Pad
Pressure were it should be.
After the adjustment is made tighten the lock nut
and redo the test. If it has not changed the process
is complete.
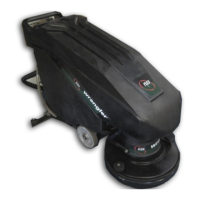
Fall back setting
If your machine has come totally out of adjustment, or
you need to replace the Spring Rod Guide Assembly
you may need to start from the beginning.
The factory starting setting for the pad pressure is
3/4 of an inch [19mm] from the set collar to the lock
nut.
From this setting, proceed with the Pad Pressure
Adjusted.