3. ENGINE
3-
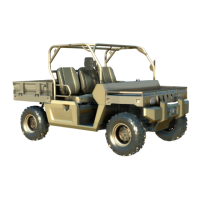
1. Bearing cover
2. Drive shaft bearing
Check drive shaft for cracks, bend, pitting or other
visible damages.
Check drive shaft splines for wear or damages.
Check oil seal running surface of the drive shaft
for scratches. Replace if necessary.
Engine Drive Shaft Installation
The installation is the reverse of removal
procedure. Pay attention to the following details.
Clean all metal components in solvent.
Crankcase surfaces and bearing covers are best
cleaned using a combination of LOCTITE
CHISEL (GASKET REMOVER) (P/N413 708
500) and a brass brush. Brush a first pass in one
direction then make the final brushing
perpendicularly (90°) to the first pass.
NOTICE Do not wipe with rags. Use a new clean
hand towel only.
Use a suitable installer for installing bearings.
Use LOCTITE5910 (P/N293800 081) on mating
Su faces.
IMPORTANT: When beginning the application of
the bearing cover sealant, the assembly and the
first torquing should be done within10 minutes.
it is suggested to have all you need on hand to save
time.
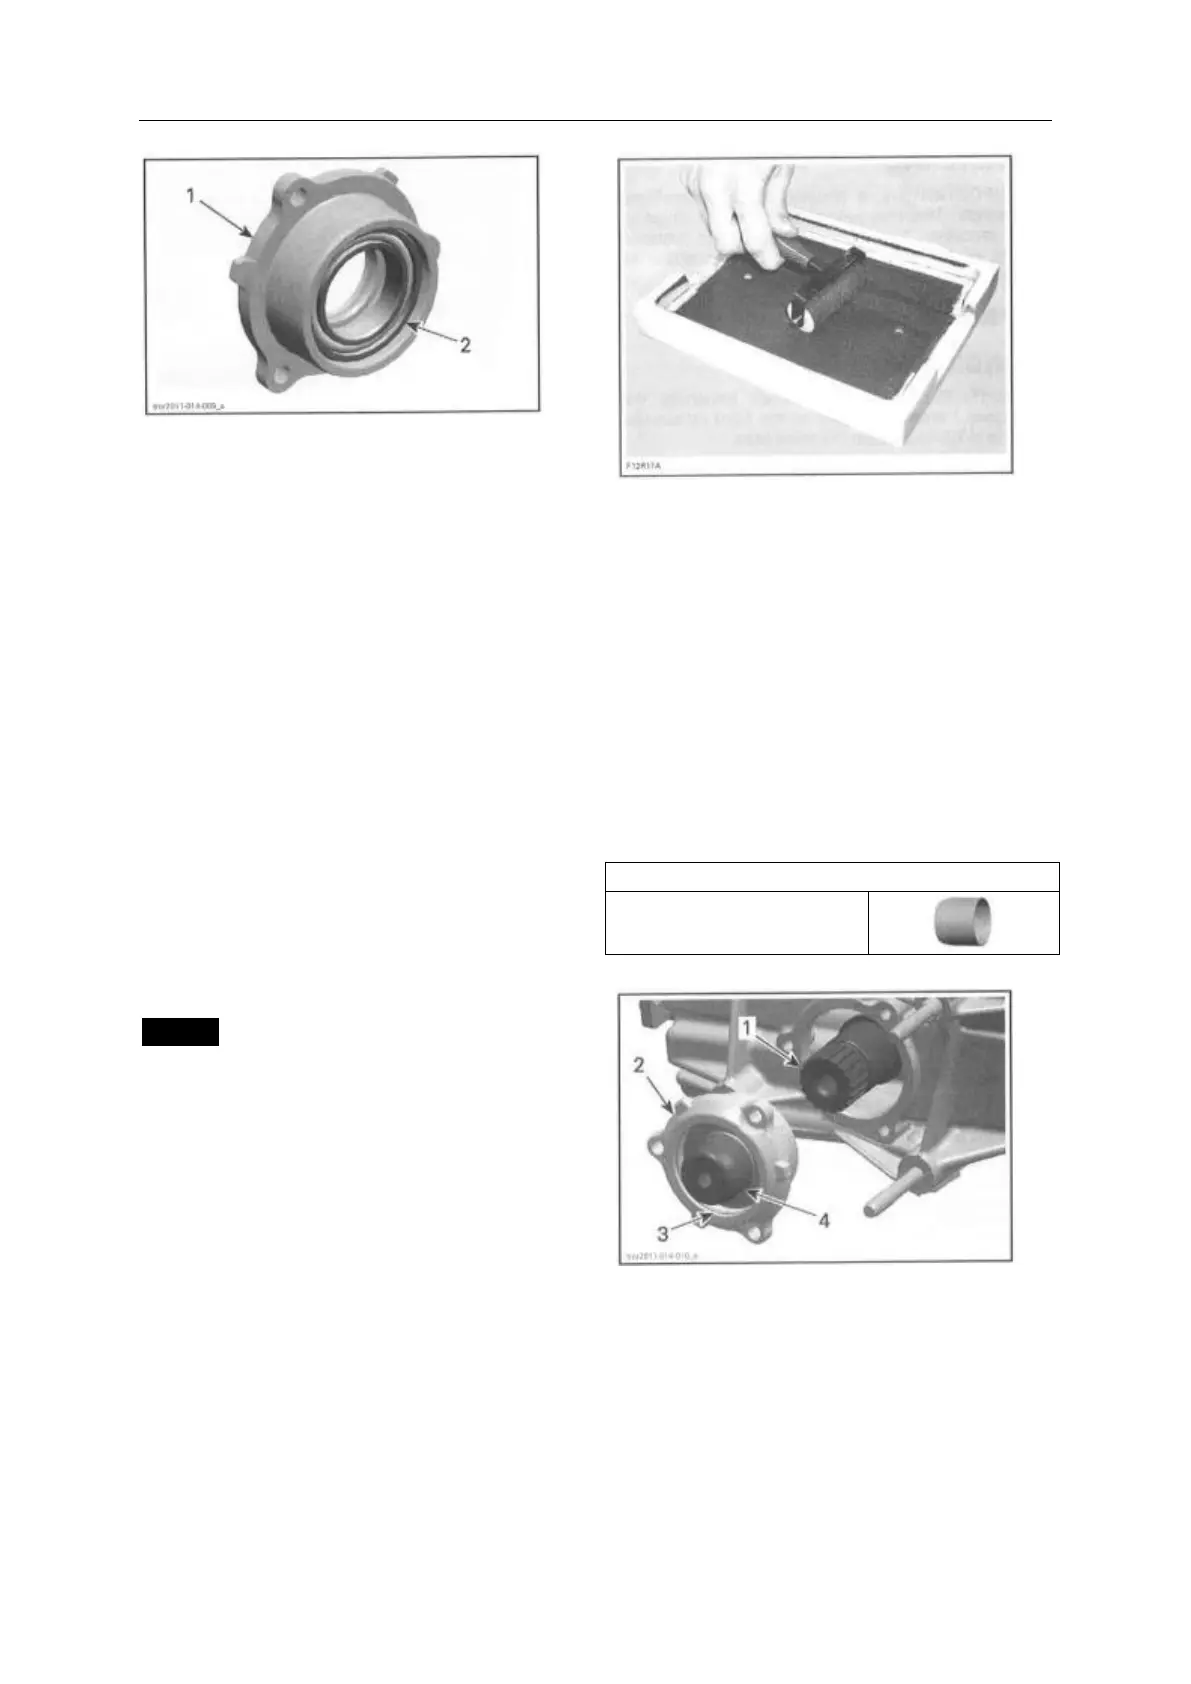
Use a plexiglass plate and apply some sealant on it.
Use a soft rubber roller50mm-75mm (2in_ 3in),
available in arts products suppliers for printing,
and rol1 the sealant to get a thin uniform coat on
the plate (spread as necessary). When ready, apply
the sealant on bearing cover surfaces.
Do not apply in excess as it will spread out inside
crankcase.
NOTE: It is recommended to apply this specific
sealant as described here to get a uniform
application without lumps. If you do not use the
roller method, you may use your finger to
uniformly distribute the sealant (using a finger
w1ll not affect the adhesion).
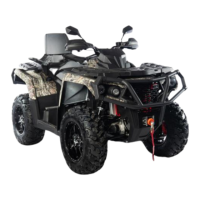
Rear Bearing Cover Installation
For bearing cover installation on gearbox side,
protect the oil seal to avoid damaging the sealing
lip.
1. Drive shaft
2. Bearing cover gearbox side
3. O-ing
4. Protection sleeve