3. ENGINE
3-
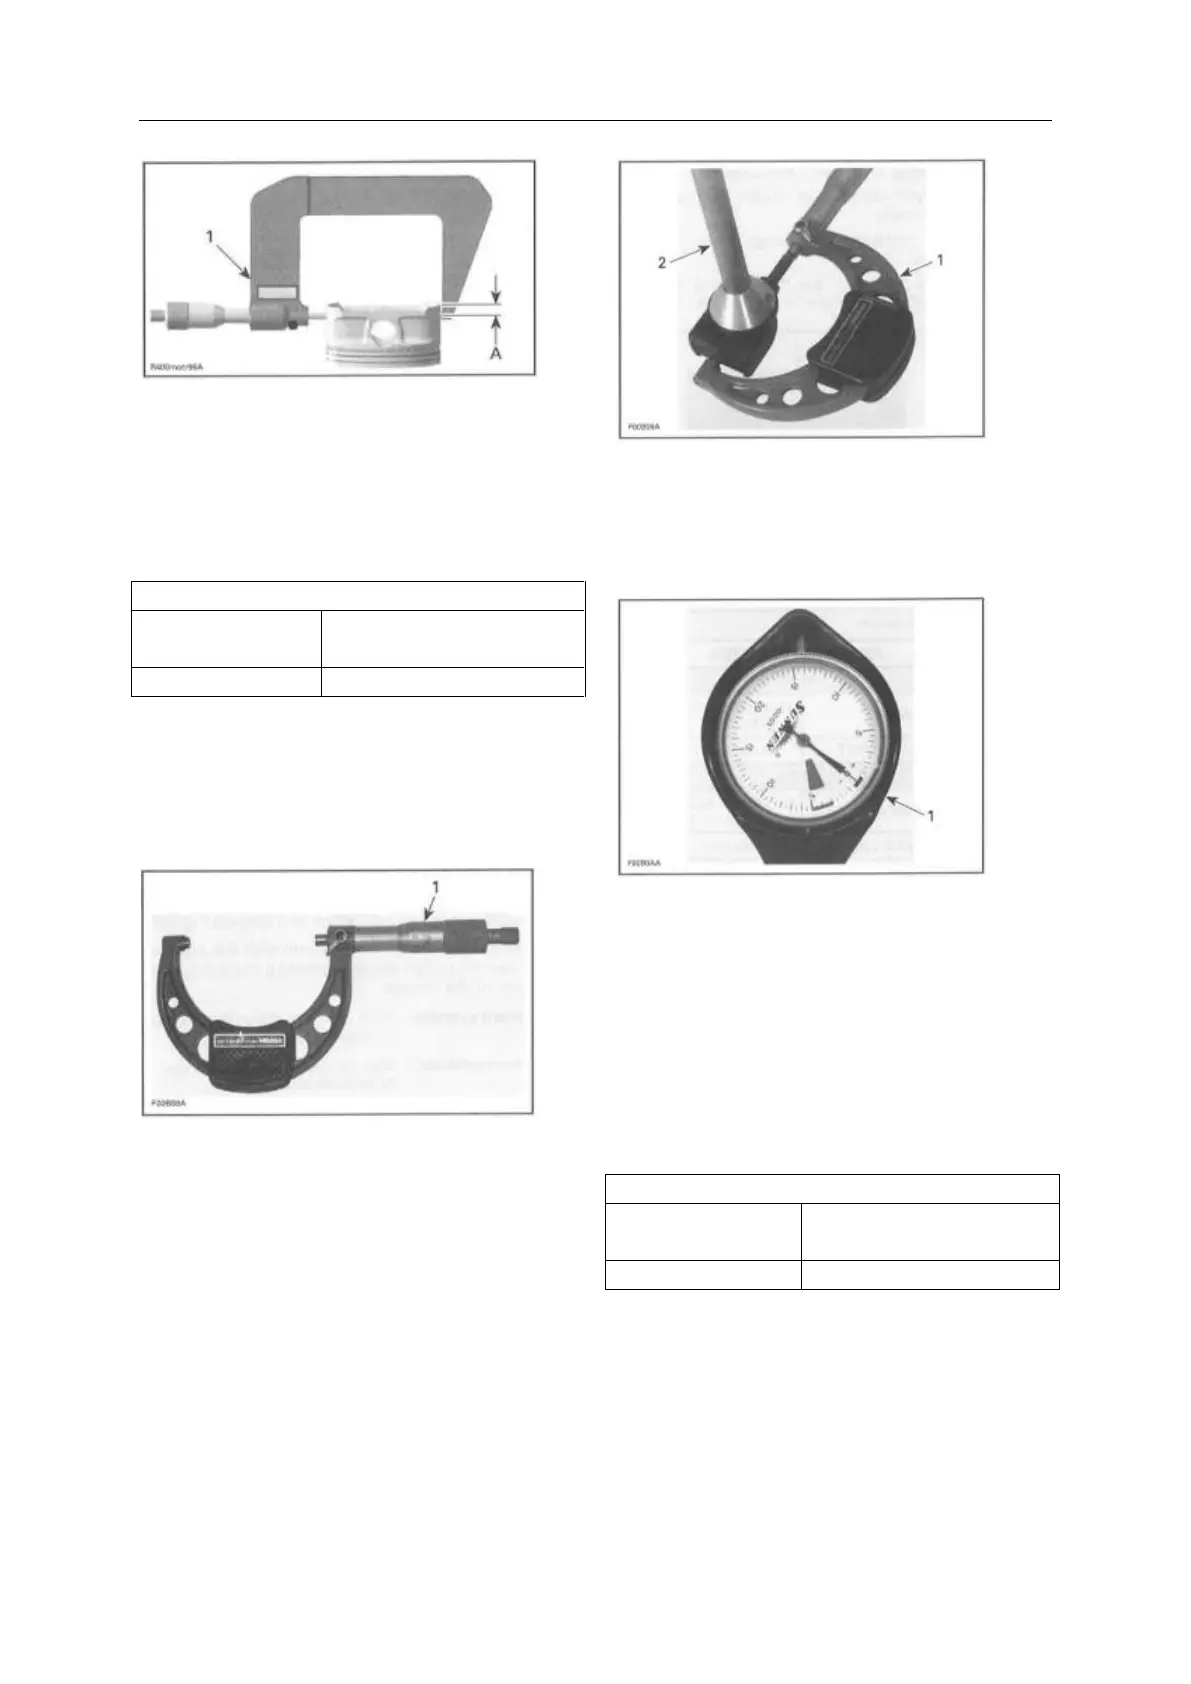
1. Measuring perpendicularly (90°) to piston pin
A. 8mrn (375in)
The measured dimension should be as described in
the following tables. If not, replace piston.
90.950 mm to90.966mm
(3.5807in to3.5813in)
Piston/Cylinder Clearance
Adjust and lock a micrometer to the piston
dimension.
1. Micrometer set to the piston dimension
With the micrometer set to the dimension, adjust a
cylinder bore gauge to the micrometer dimension
and set the indicator to 0(zero).
1. Use the micrometer to set the cylinder bore
gauge
2. Dial bore gauge
TYPICAL
1. Indicator set to 0(zero)
Position the dial bore gauge20 mm (.787 in) above
cylinder base, measuring perpendicularly (90°) to
piston pin axis.
Read the measurement on the cylinder bore gauge.
The result is the exact piston/cylinder wall
clearance.
PISTON/CYLINDER CLEARANCE
0.027mm to 0.057 mm
(.0011 in to.0022in)
NOTE: Make sure used piston is not worn.
If clearance exceeds specified tolerance, replace
piston by a new one and measure piston/cylinder
clearance again.
NOTE: Make sure the cylinder bore gauge
indicator is set exactly at the same position as with
the micrometer, otherwise the reading will be false.
 Loading...