Using the Printer Without a Computer16
COPYING A DOCUMENT
11 Switch on the printer. See "Switching the Printer On and Off".
2 Make sure that the out-of-ink indicators on the front panel are switched off. If either indicator is on, you should
replace the corresponding ink cartridge.
For more information, see “Replacing the Ink Cartridges”.
3 Load the paper on which you want to print.
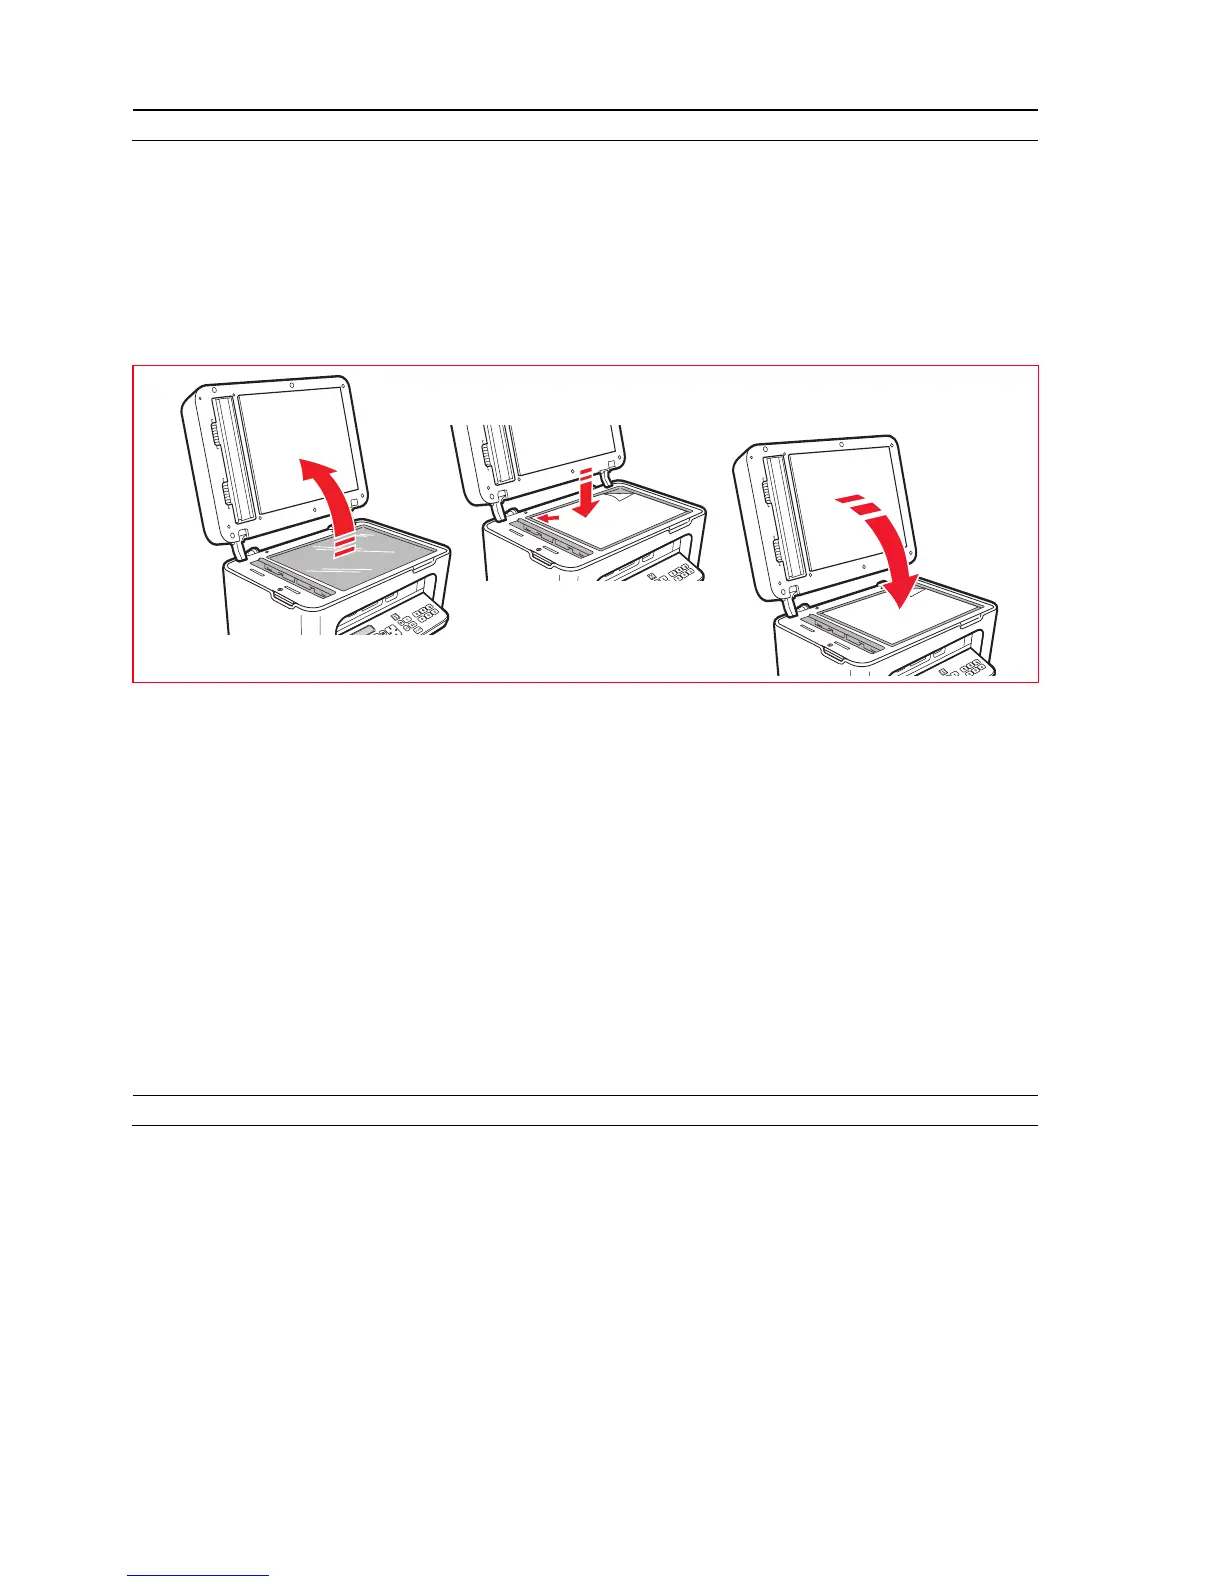
4 Place the document you want to copy on the scanner glass or, if it consists of multiple pages, in the automatic
document feeder.
5 Select the copy quality: Photo or Normal, pressing the Select print quality key.
a To copy a normal B/W text, or a mixed document in B/W and colour, select
Normal
.
b To copy a document and print it on special ink-jet paper, select
Photo
. For more information, see "Printer
Keyboard”.
6 Select the contrast: dark, medium or light, pressing the Copy contrast key. For more information, see "
Printer
Keyboard
".
7 To make more than one copy, press the "+" (plus) key the number of times necessary to display the number of
copies required on the counter.
8 Press the Start B/W copy or Start colour copy key, as required.
Note: If you want to copy the document onto a different sized page, keep the Start B/W copy or Start colour
copy key pressed to activate the Fit to page function. The printer automatically resizes the original to
correspond to the size of paper loaded.
Note: The Fit to page function is not available if the documents to copy are loaded onto the automatic document
feeder.
PRINTING PHOTOS FROM A DIGITAL CAMERA
When a digital camera or a compatible memory device is connected to the printer, the Start printing key illuminates.
Pressing the Start printing key causes the Photo Index to be printed, a document reproducing all the images present
in the memory connected to the printer, and that allows you to choose the images to print, the number of copies and
the paper size.
To print the Photo Index:
1 Leave connected the memory used for printing the Photo Index.
2 Position the Photo Index, completed in all its parts, on the scanner glass.
3 Press the Start printing key until the print operation starts (approx. 8 seconds): the photos are printed as indicated.
• The pre-configured print quality is suitable for special ink-jet paper, and can be modified from the printer
keyboard.
• The photos printed are automatically adjusted to fit the size of the paper in the automatic feeder.