IMPORTANT
This
un
it employs a UIS optical system, and should be used only
with
UIS
eyepieces, objectives, and
condensers. Less than optimum performance may result if inappropriate accessory
are
used.
• Getting Ready
•
~
~
/'
~
GP'!~
.;:
;9
.'
.
:::
...
~
~
~
~
Swit
ch
1. The microscope
is
a delicate instrument. Handle it carefully
and
p
ro
tect
it
from
physical shock.
2. The BX50
can
be used
with
up to
two
intermediate tubes (e.g., a
U-
CA
magnification changer and/or U-
EPA
eyepoint adjusters). However, be
sure
to
read
the instructions provided
with
the respective intermediate
tube lor restrictions when using
two
tubes in seri
es
on
top of each
other.
3. Avoid locations that
are
exposed to direct sunlight, high temperature
or
humidity, dusty places, and places t
ha
t are subject to strong vibrations.
Make sure that the work surface is flat and
level. (Ambient temperature
and humidity should be
in
the range
0-40
c
C,
30
-90%.)
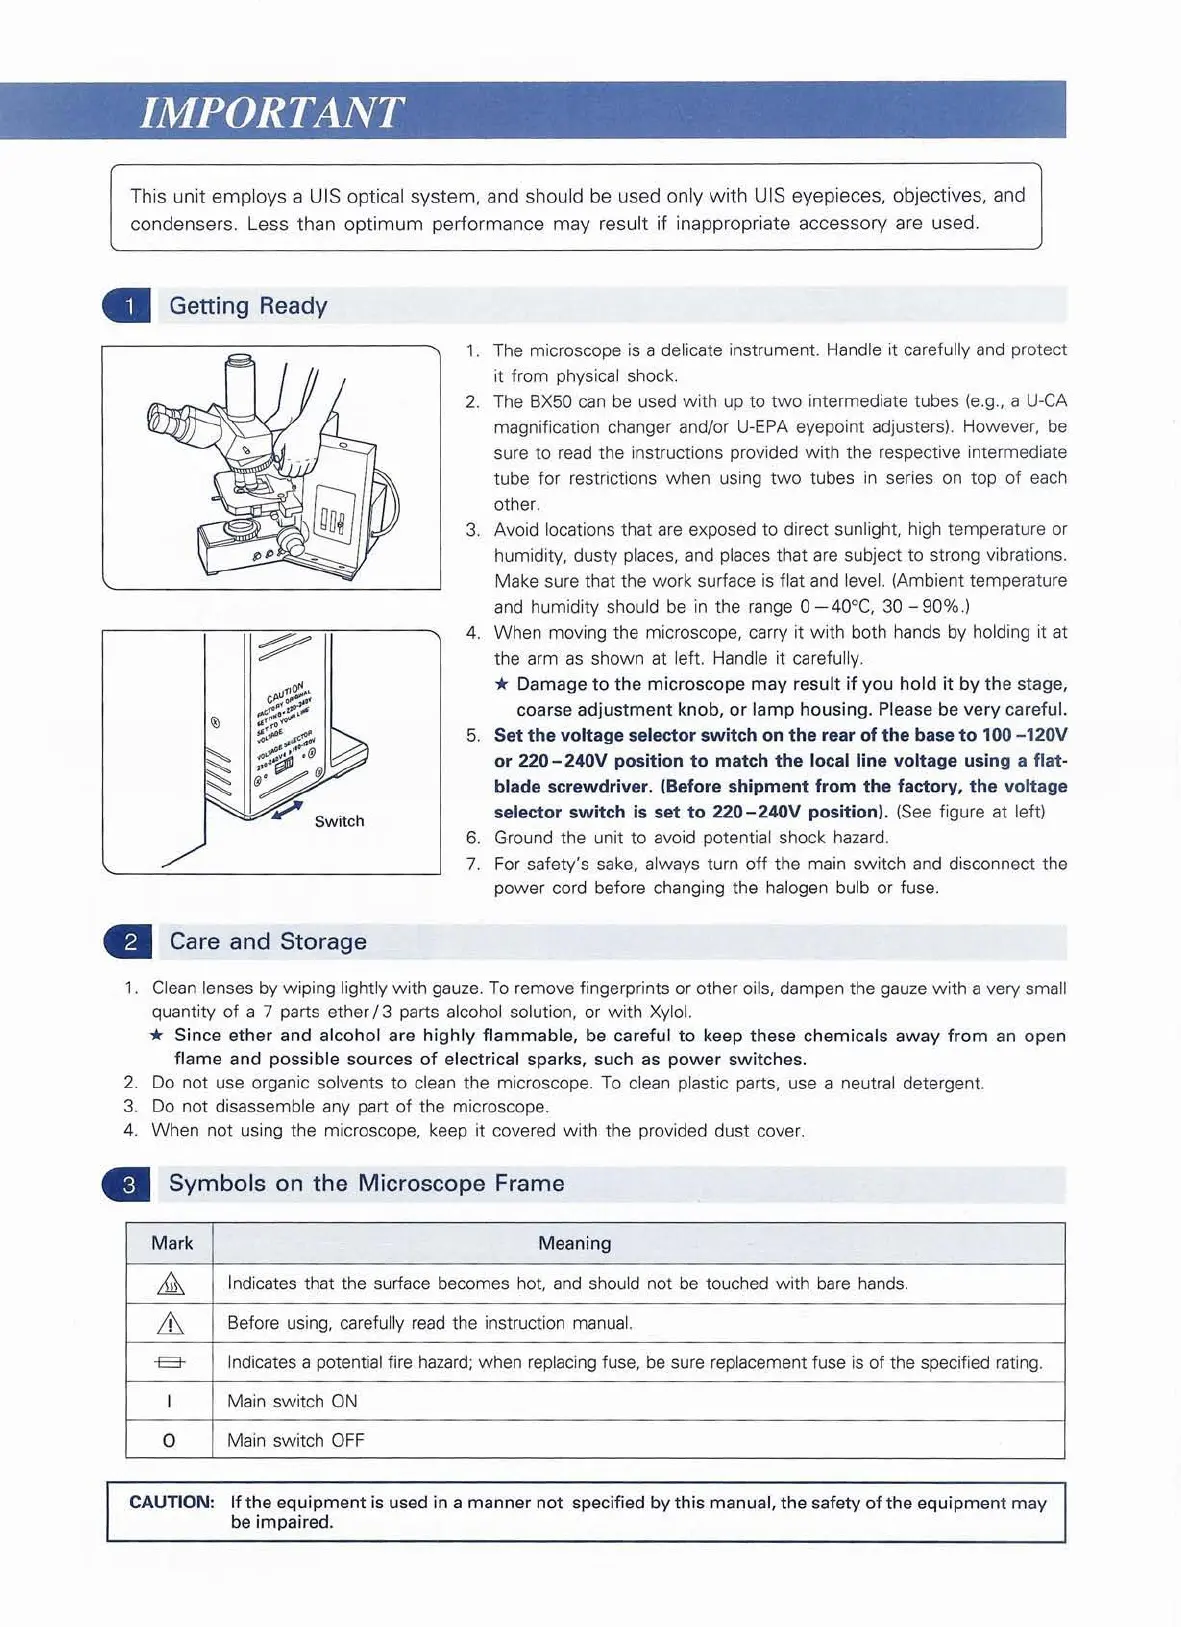
4.
When moving the microscope, carry it
wi
th both
ha
nds by holding it at
the arm
as
shown at left. Handle it carefu
ll
y.
* Damage
to
the
mic
roscope
may
result
if
you
hold
it
by
the stage,
coarse
adjustment
knob,
or
lamp
housing
. Please be
very
ca
re
ful.
5.
Set
the
vo
lt
age
selector
switch
on
the
rear
of
the
base
to
100
-120V
or
220-240V
pOSition
to
match
the
local line
voltage
using
a
flat
-
blade
screwdriver.
(Before
shipment
from
th
e
factory,
the
volt
age
selector
switch
is
set
to
220-240V
positionJ.
(See
figure at left)
6. Ground the unit to avoid potential shock
haz
a
rd.
7. For safety's sake, always turn
off
the main switch and disconnect the
power cord before changing the halogen bulb
or
fuse.
• Care and Storage
1.
Clean
lenses by wiping lightly w ith gauze.
To
remove fingerprints or other
oi
l
s,
dampen the gauze
with
a very small
quantity
of
a 7 parts ether
{3
parts alcohol solution.
or
with Xylol.
* Si n
ce
e
th
er and alcohol are
highly
flammable,
be careful
to
keep these chemicals
away
fr
om
an
open
flame
and
possible sources
of
electrical sparks, such
as
power
switches.
2.
Do not use organic solvents to clean the microscope.
To
clea
n plastic parts, use a neutral detergent.
3.
Do not disassemble any part
of
the microscope.
4. When not using the microscope, keep it covered
with
the provided dust cover.
•
Symbols
on
the
Microscope
Frame
Mark
Meaning
.1lh
Indicat
es
that the surface becomes hot.
and
should not be touched with
bare
hands.
&,
Before using,
ca
refully
read
the instruction manual.
-13
Indicates a potential fire
hazard;
when replacing fuse. be sure replacement luse is of the specified
rat
ing.
I Main switch
ON
0
Main switch
OFF
CAUTION:
If
the
equipment
is used in a manner not speCified
by
this
manual, the safety
of
the
equipment may
be impaired.