~
o
~
o
u
w
:I:
>-
'"
z
iii
:0
1 1
USING
THE
CONTROLS
5-1 Base
Illl:!OO
2
~
0.-------
" "
~
" .
: ': V
. "
"-
..
" .
" .
" .
Fig. 17
~@
-
0
m.~
Dark
·'
rn
i
<Jj
.Jj
~~
or
Fig.
18
Using
the
Li
ght
Preset
Button
__
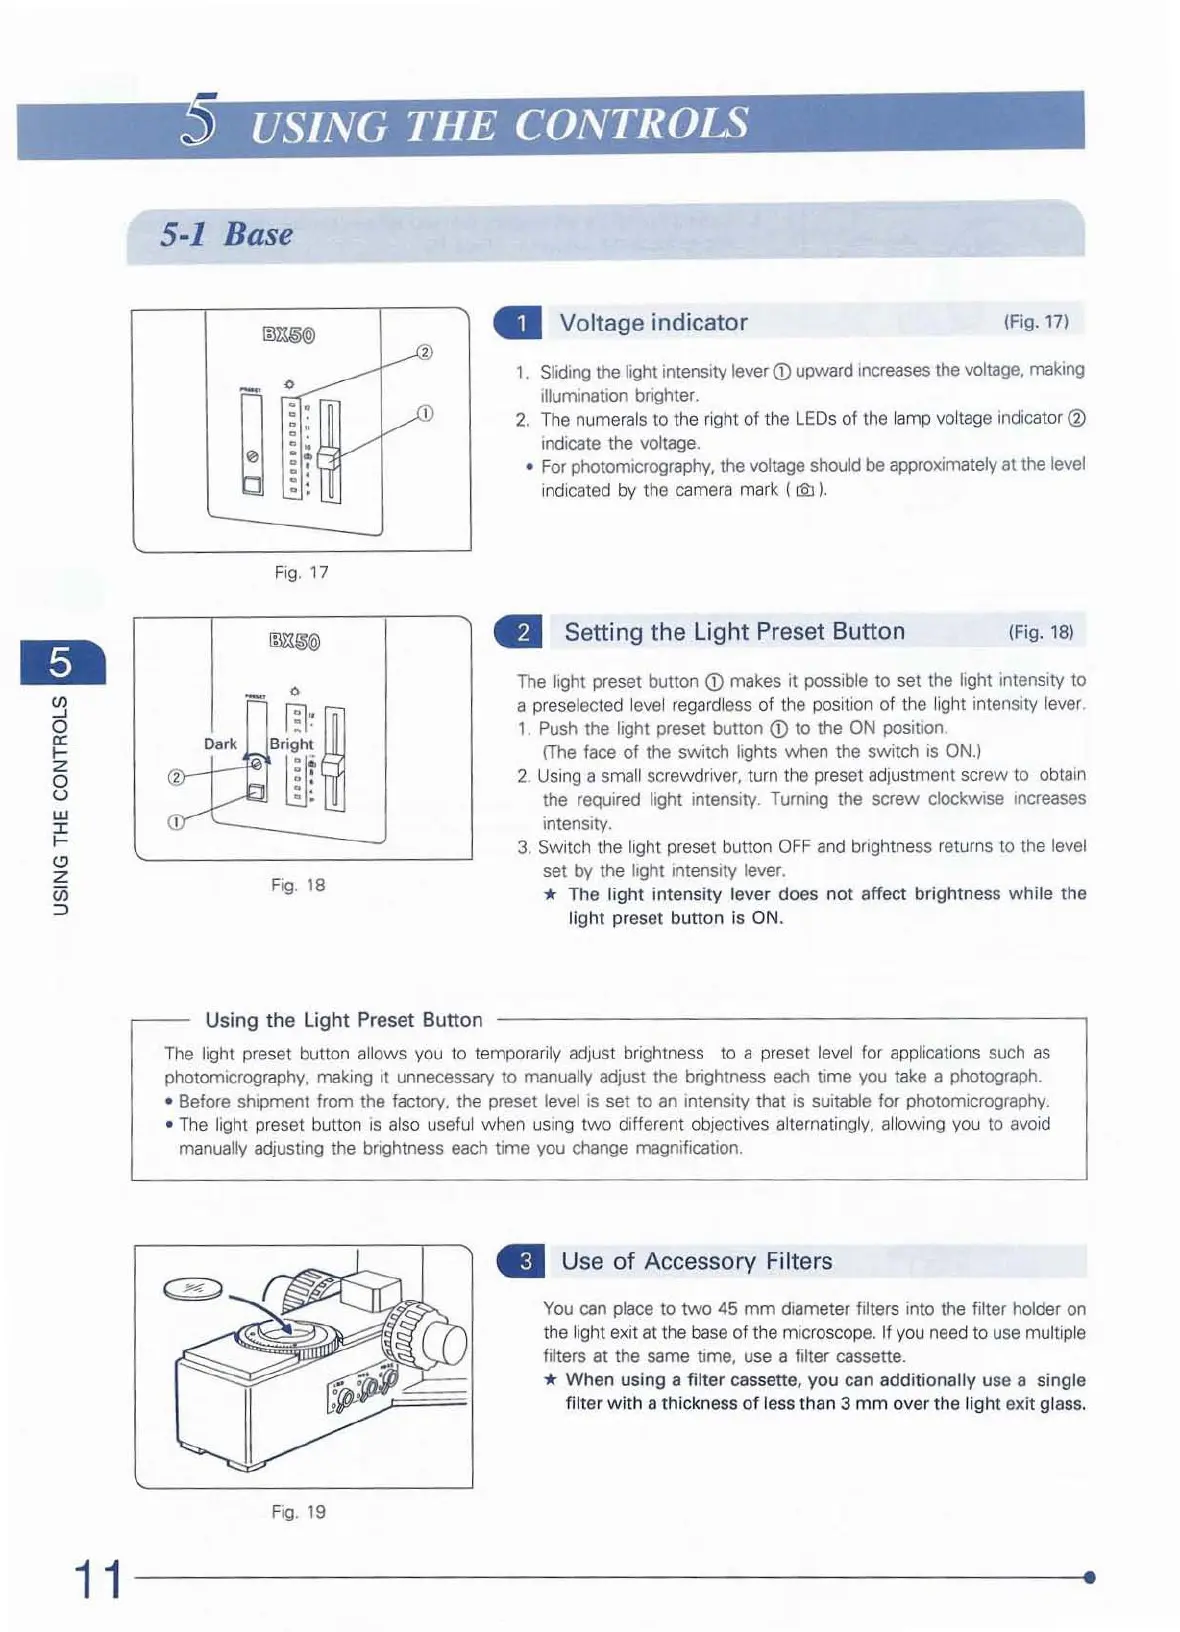
Voltage
indicator
(Fig. 17)
, .
Sliding the light intensity lever
<D
upward
Increases the voltage, making
illumination brighter.
2.
The numerals
to
the right
of
the
LEDs
of
the l
amp
voltage indicator
<i>
indicate the voltage .
• For
photom
icrography.
the
voltage should be approximately at
the
level
indicated
by
the
camera
mark
(~).
II
Setting the Light Preset Button
(Fig
. lS)
The light
preset
button
<D
makes
it
possible
to
set
the light intensity
to
a preselected level regardless of the position of the light intensity lever.
1.
Push the light preset button
ill
to the ON position.
(The
face
of the switch lights when the switch
is
ON.)
2. Using a small screwdriver, turn the preset adjustment screw
to
obtain
the
requi
red
light intensity. Turning the screw clockwise Increases
Intensity.
3.
Switch the light preset button
OFF
and
brightness returns
to
the
level
set by
the
light Intensity lever.
* The l
ight
intensity lever does
not
affect brightness
whi
le the
light pr
ese
t button is
ON
.
The
light preset button allows
you
to temporarily adjust brightness
to
a preset level for applications
such
as
photomICrography. making it unnecessary to manually adjust the brightness
each
time
you
take
a photograph .
• Before shipment from
the
factory. the preset level
IS
set to
an
Intensity that
IS
suitable for photomicrography .
•
The
light preset button
IS
also
useful when using two different objectives alternatingly, a
ll
owing you to
avoid
manually adjusting the brightness
each
time you
change
magnificati
on
.
Fig
.
19
..
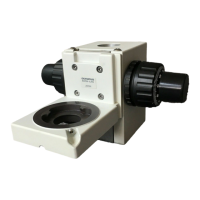
Use
of
Accessory Filters
You
can
place
to two
45
mm diameter filters
in
to
the
filter holder
on
the light exit
at
t
he
base
of the microscope. If you need to
use
multiple
filters
at
the
same
time, use a filter cassette.
* When using a filter cassette, you
can
additionally u
se
a single
filter
wit
h a thi
ck
n
ess
of less than 3 mm over the light exit glass.
•