<n
~
0
a:
>-
Z
0
u
w
:I:
f-
<::J
Z
iii
:>
5-6 Immersion Objectives
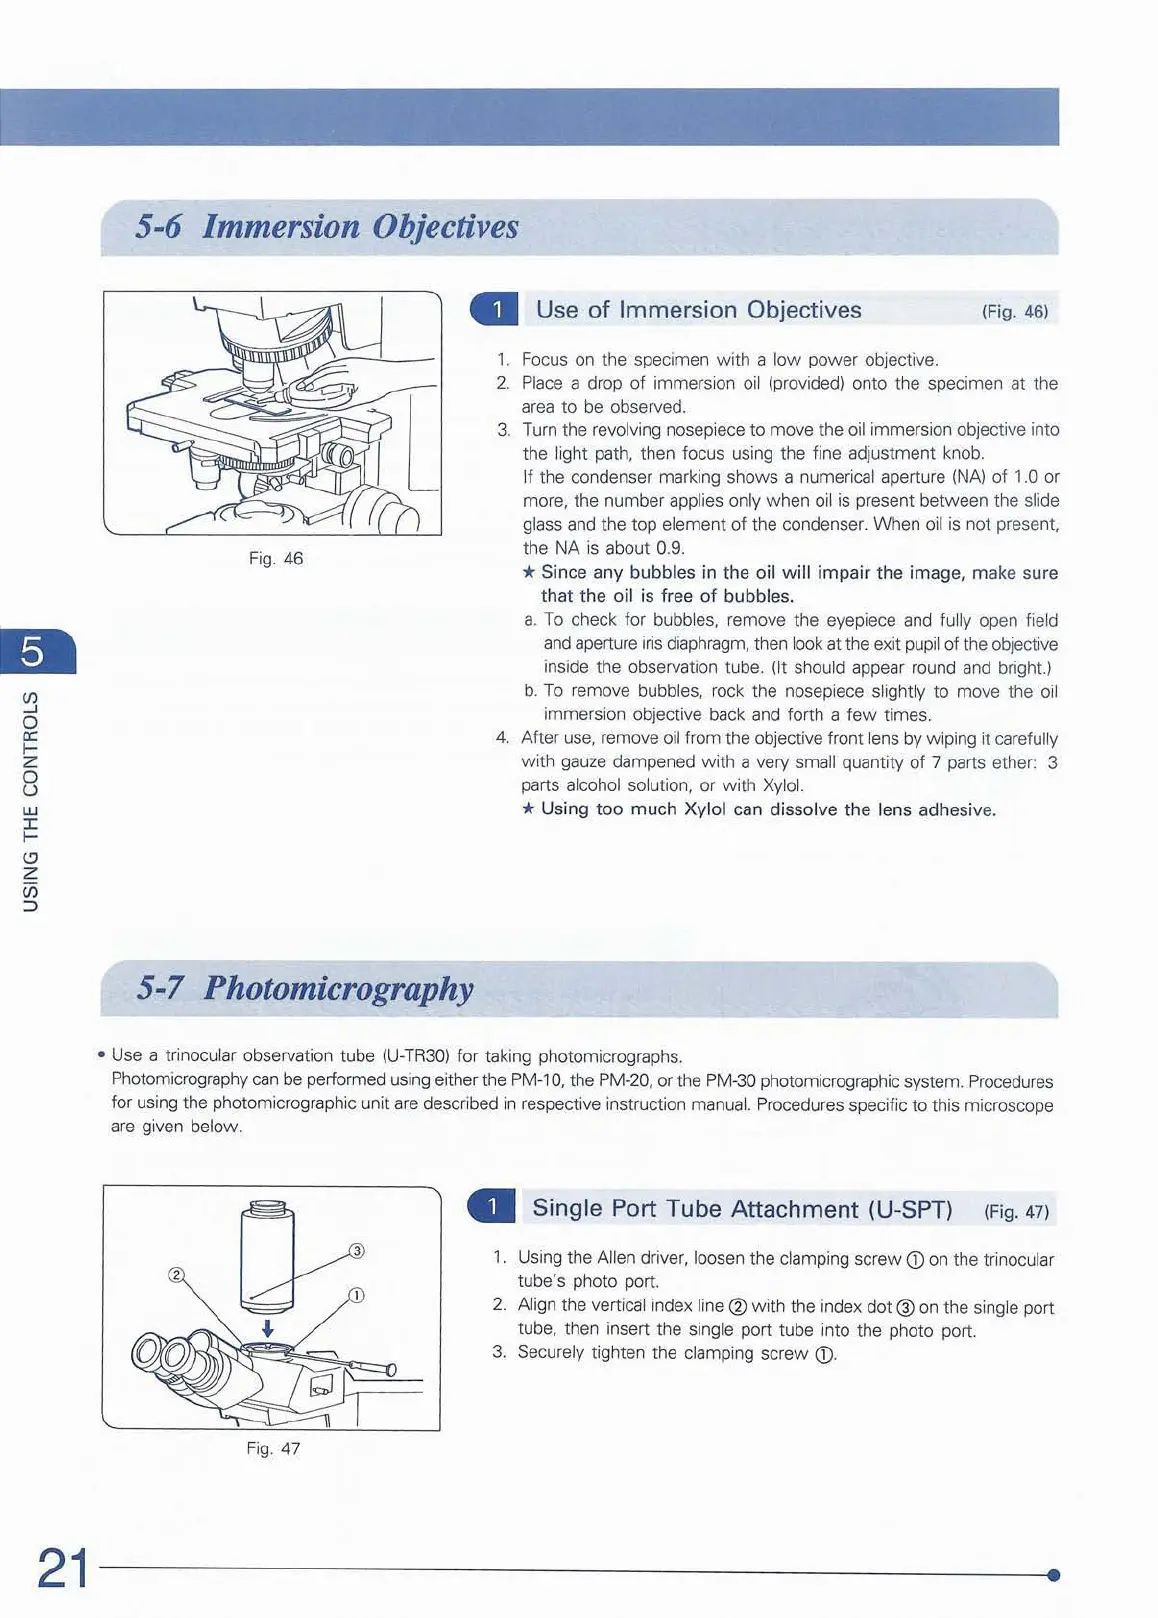
Fig.
46
•
Use
of Immersion Objectives (
Fi
g.
46)
, . Focus on the specimen with a
low
power objective.
2.
Place a drop 01
imme
rsion oil (provided) onto the specimen at the
area to
be
observed.
3. Turn the
revolving nosepiece to move the oil immersion objective into
the lig
ht
path, then focus using the fine
ad
j
ustment
knob.
4.
If the condenser marking shows a numerical aperture INA)
of
'.0
or
mo
r
e,
the number applies only
when
oil
is
present
between
the slide
glass and the top element
of
the condenser. When oil
is
not present.
the
NA
is about
0.9.
* Since any bubbles in the oil
will
im
pair
th
e
imag
e,
make sure
that the oil is free
of
bubbles.
a. To check for bubbles, remove the eyepiece and fully open field
and aperture iris diaphragm, then
look at the exit pupil
of
the objective
inside the observation tube. (It should appear round and bright.)
b.
To remove bubbles, rock the nosepiece slightly to move the oil
immersion objective back and forth a
few
times.
After use. re
mov
e oil from the objective front lens by wiping
it
carefully
w ith gauze dampened
with
a very small quantity
of
7 parts ether: 3
parts alcohol
solution, or
with
Xylol.
* U
sing
t
oo
much
Xylol
can
dissolve
the
lens
adh
esive.
5-7 Photomicrography
• Use a trinocu
la
r observation tube {U·TR30) for taking photomicrographs.
Photomicrography
can
be performed using
ei
ther the PM
·l
0,
the PM-2
0,
or the PM-30 photomicrographic system. Procedures
for using the photomicrographic unit are described in respective instruction
manua
l.
Procedures specific to this microscope
are given below.
,
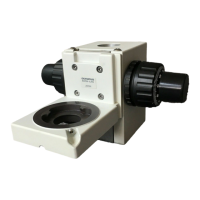
Fig
.
47
• S
ingl
e Port
Tub
e
Att
ac
hment
(U-
SPT
)
(F
ig
. 47)
1.
Using the Allen driver, loosen the clamping scr
ew
<D
on the trinocul
ar
tube's photo port.
2. Align the verti
ca
l
in
dex line @
with
the ind
ex
dot@on
the single port
tube, then insert the single port tube into the photo port.
3.
Securely tighten the clamping
screw
<D.
21
----------------
------
----
--