~
.J,.
.
G
Fig
.
48
roc
®r
G
0
•
Lk
'"
P
Fig. 49
i'r.-
!
'~I
."
,
LL-
L
"JJ
:.J
Fig. 50
BX50
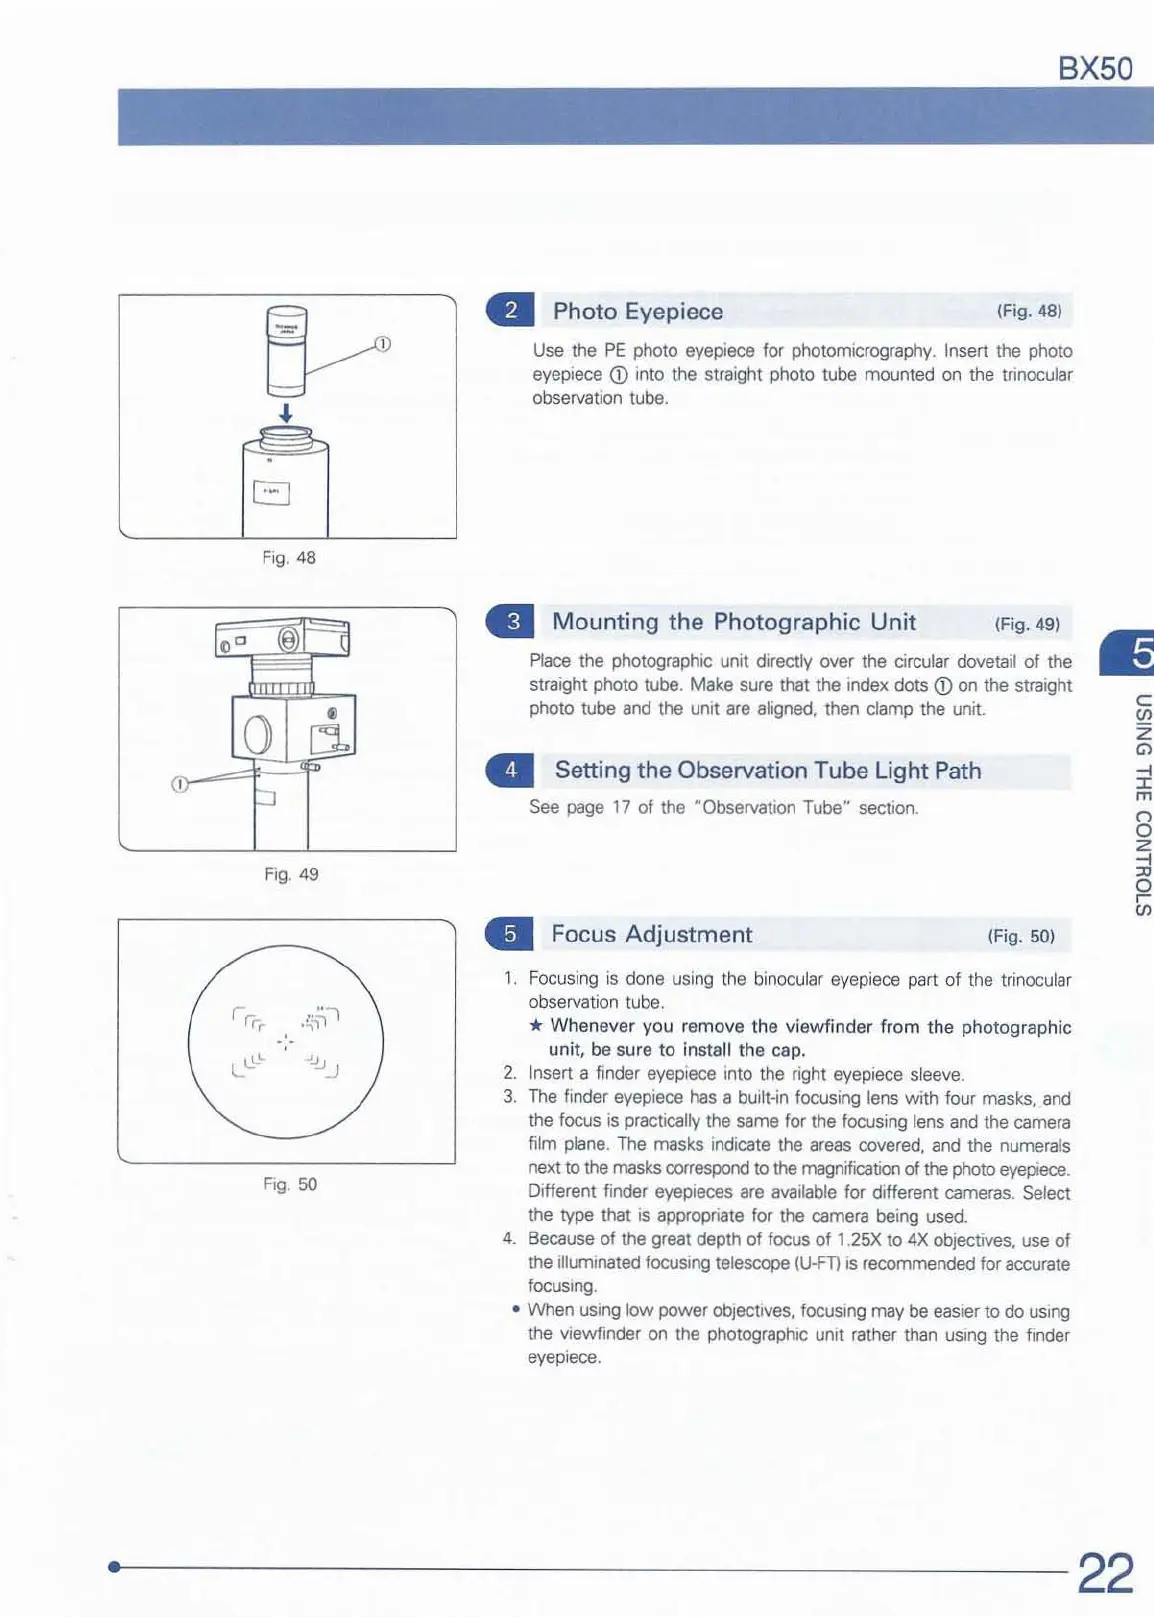
• Photo Eyepiece
(Fig.
48
)
Use the
PE
photo eyepiece for photomicrography. Insert the pholo
eyepiece
CD
into the straight photo tube mounted on the trinocular
observation
tube .
..
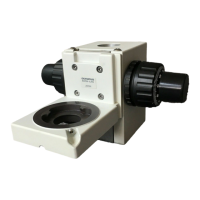
Mounting
the
Photographic
Unit
(Fig.
49
)
Place the photographic unit
directly over
the
circular dovetail of the
straight photo tube. Make sure that the index dots
<D
on the straight
photo tube and the unit are aligned, then clamp the unit.
a Setting the Observation Tube Light Path
See page 17 of the "ObservatIon Tube" section.
til
Focus
Adjustment
(Fig. 50)
1.
Focusing
is
done using t
he
binocular eyepiece part of the trinocular
observation tube.
* Whenever
you
remove the
vi
e
wfinder
from
the photo
gr
aphic
unit, be sure
to
install the cap.
2.
Insert a finder eyepiece into the right eyepiece sleeve.
3.
The
finder eyepiece has a built-in focusing lens with lour masks, and
the focus
is
practically the same for the focusing lens and the camera
film plane.
The
masks indicate the areas covered, and the numerals
next to the masks
CQ(respond
to the magnification of the photo eyePiece.
D1Herent
finder eyepieces are available for different cameras. Select
the type that
is
appropriate for the camera being used.
4.
Because of the great depth
of
focus
of
1.
25X
to
4X
Objectives, use of
the illuminated focusing
telescope (U-FT) is recommended for accurate
fOCUSing
.
• When using low power objectives, focusing may be easier
to
do
uSing
the viewfinder on the photographic unit rather than
uSing
the finder
eyepiece.
~·
------------------------
----
22
c
~
Z
'"
:;!
m
8
Z
--<
:n
o
U;